50
4.
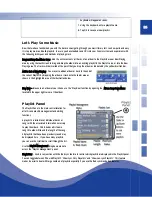
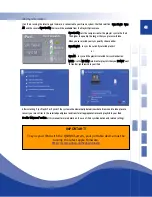
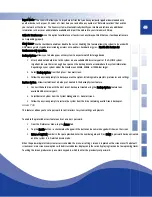
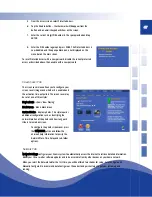
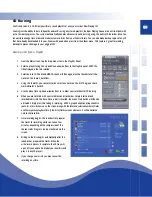
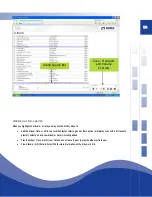
Check the Requires Authentication option if the network you are defining requires authentication or is secured with
user permissions.
5.
When checked, User Name, Password, and Confirm Password entry fields appear on the screen. (This is often the login
and password used to log into the machine in question.)
6.
Tap the SAVE button.
7.
Tap the TEST CONNECTION button.
8.
Check the DONE box when you are finished.
9.
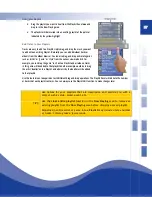
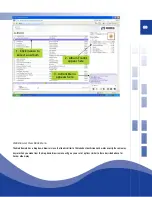
You may also EDIT or DELETE Network Places from Network Places Screen.
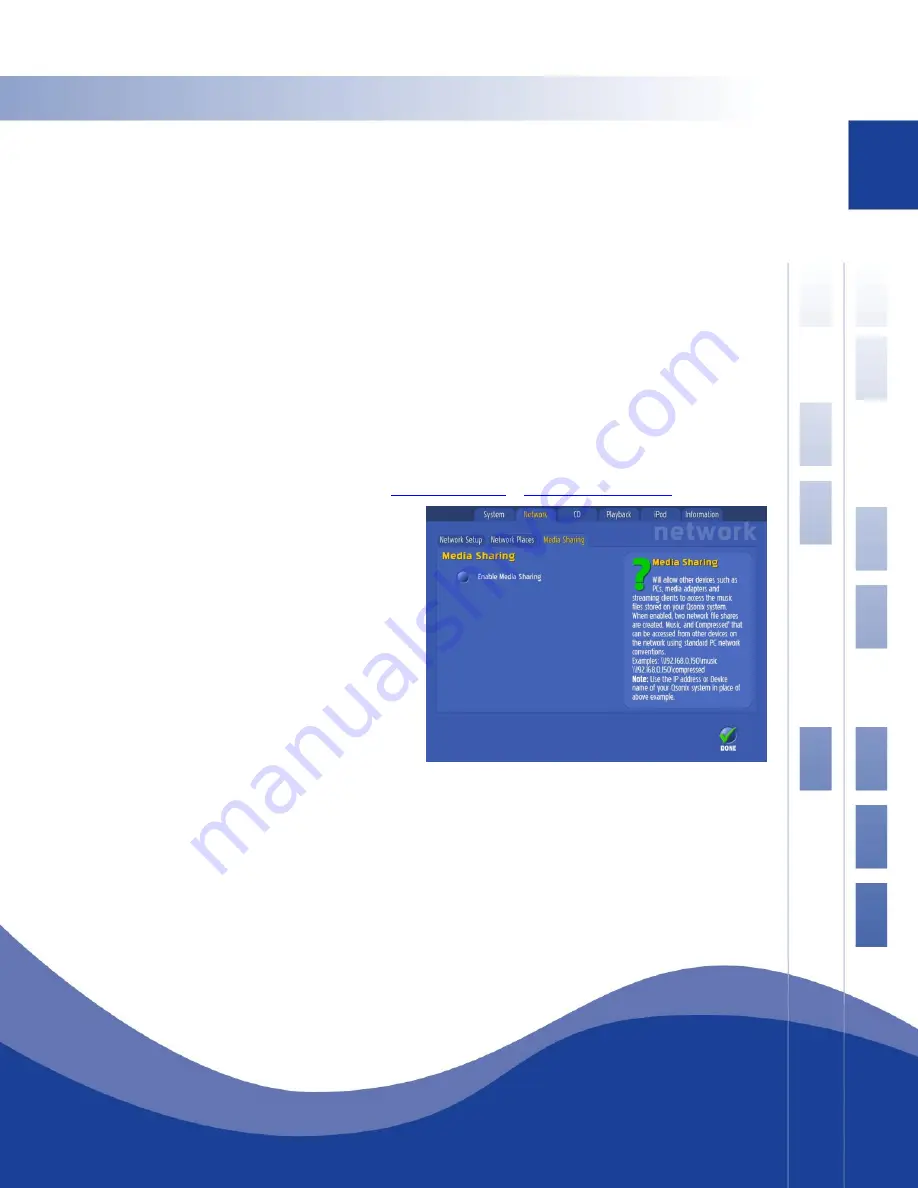
Media Sharing
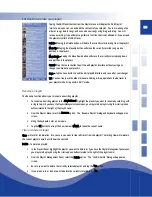
Media Sharing allows other devices such as PCs, media adapters and streaming clients to access the music files stored on your
QSONIX system. When enabled,
two network files shares are created
, one named \Music and one named \Compressed These file
shares can be accessed from other devices on the network using standard PC network conventions. For example if the IP address
of your Qsonix is 192.168.0.100 (check the Qsonix information tab for the IP address) then you can access the shares by using the
following network paths on the device you are configuring
\\192.168.0.100\music
or
\\192.168.0.100\compressed
1.
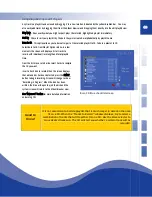
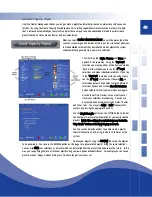
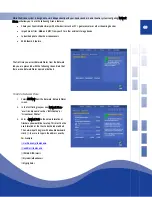
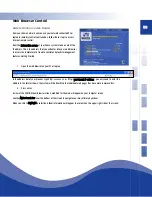
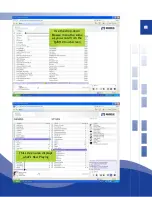
Select the Tools icon from the Main Screen.
2.
Select the Network tab.
3.
Select Media Sharing.
4.
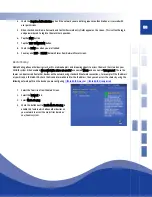
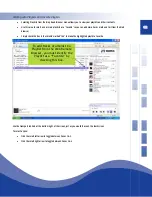
Check the button next to Enable Media Sharing to
enable this feature which allows other devices on
your network to access the music files stored on
your Qsonix system.
Summary of Contents for QJB110
Page 1: ...1...

