40
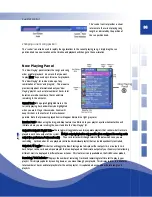
Using drag-and-drop to edit Playlists
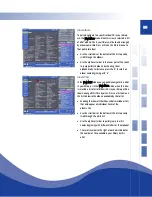
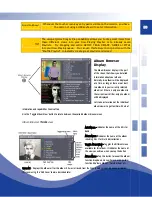
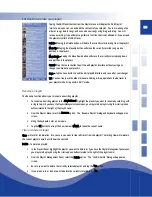
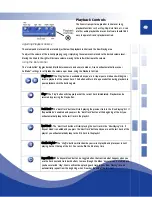
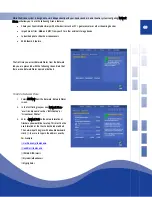
Any track in a playlist can be moved by dragging it to a new location, indicated by the yellow insertion bar. You may
also easily add tracks by dragging them from the Album browser and dropping them directly into the edit playlist view.
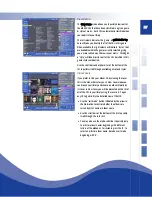
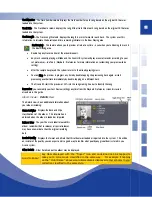
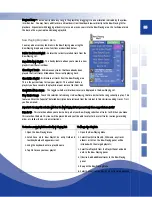
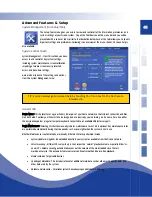
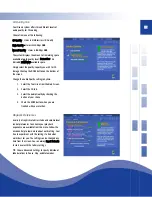
Play Now – Does exactly what you might expect: plays the selected (highlighted) playlist immediately.
Sort By – Chose to sort your playlists by the date they were created, or alphabetically by playlist name.
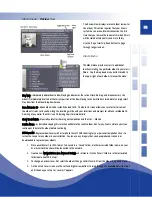
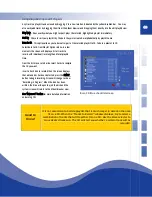
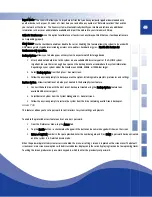
Burn to CD – This option allows you to burn all or part of the selected playlist to CD. To burn a playlist to CD,
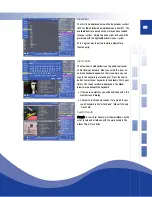
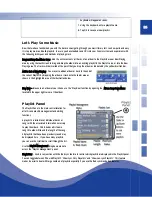
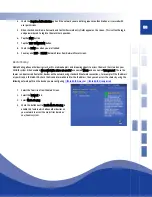
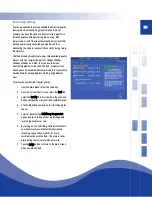
Select Burn to CD from Playlist Options Menu. In a few
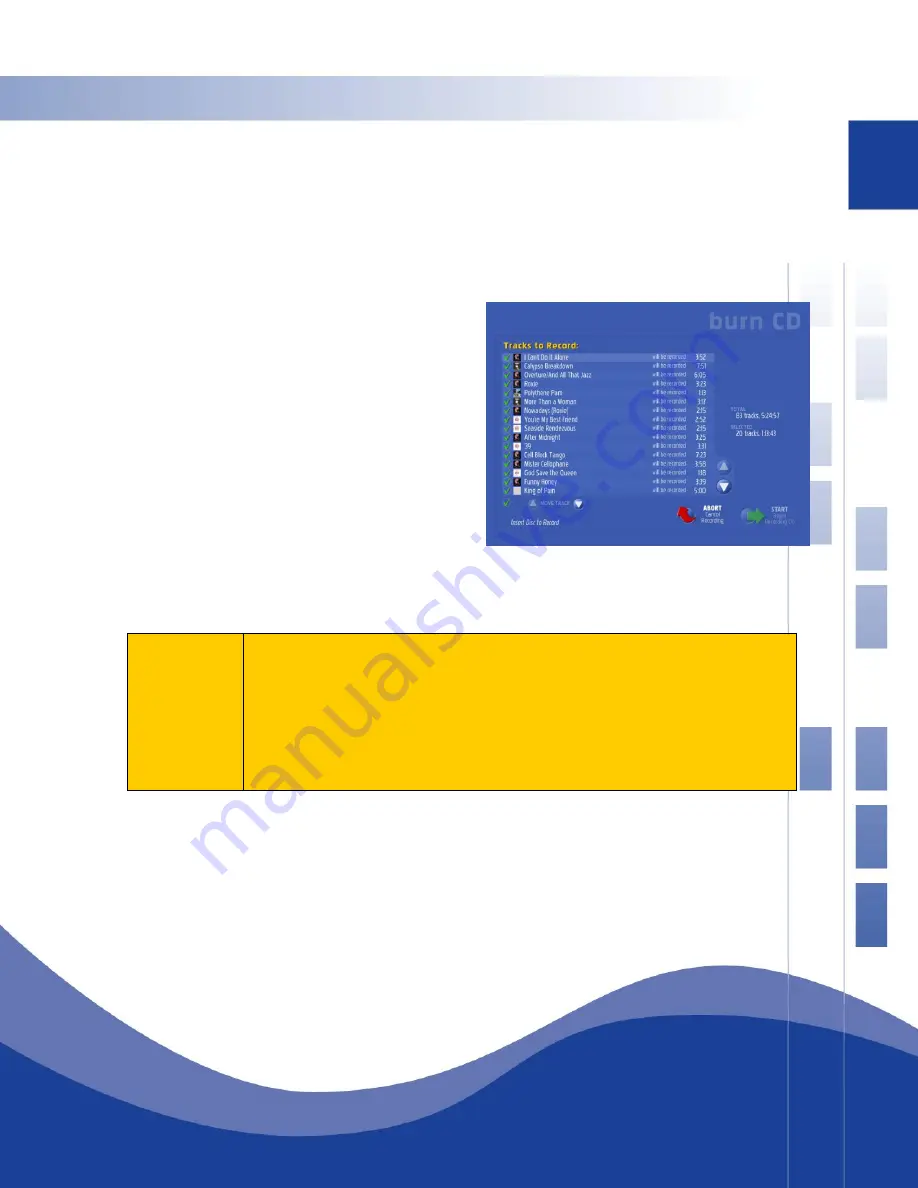
moments the screen will display a list of tracks to
record, with individual track length and total playlist
time.
From the list, move, select or de-select tracks to compile
the CD you want.
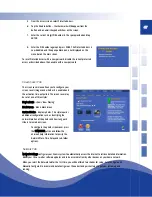
Insert a fresh disk to record. When the screen displays
that a blank disc has been detected, press the START
button to begin recording. Screen will change to show
“Recording in Progress”. When the disk has been
written, the drive will open to eject the disk and the
system screen will return to the Album Browser view.
See “Advanced” Section for more detailed information
on burning CD’s
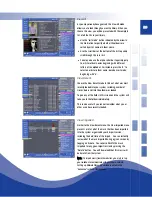
Burn CD Blue checklist screen
Good to
Know!
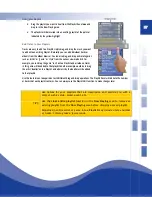
It is not uncommon to build a playlist that is much longer in duration than can
fit on a CD. When the “Tracks to Record” window displays, try to select a
combination of tracks that will together fit on a CD. Use the Move selector to
move desired tracks up. The list will tell you whether a certain track will be
recorded.
Summary of Contents for QJB110
Page 1: ...1...

