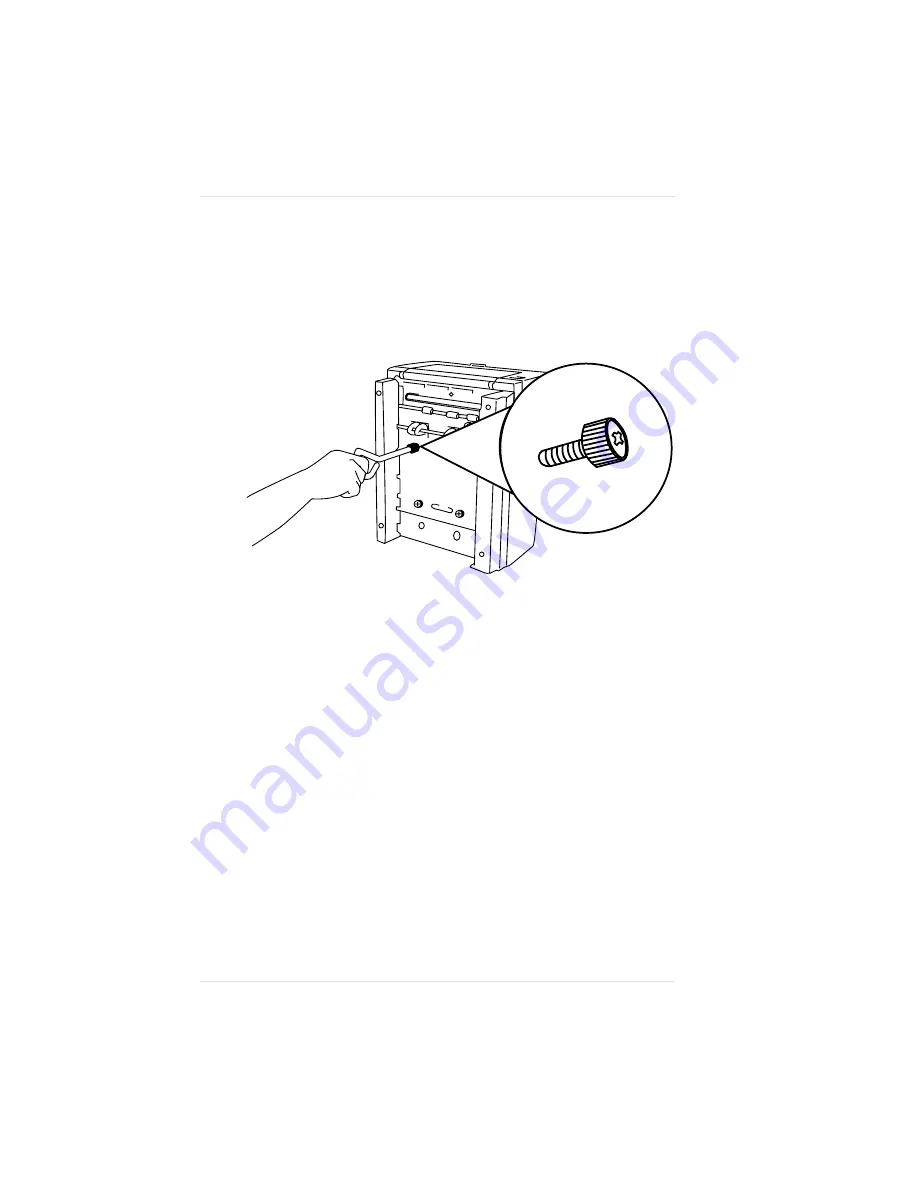
5.
Fasten the feeder to the printer using the four screws provided
with the shipment. First, tighten all four screws with your
fingers, then tighten them securely with the screwdriver
provided.
6.
Place the printer back in its normal orientation and verify that
the feeder tray is securely installed on the printer. Make sure
that there is no gap between the feeder and printer, and that
the feeder is not loose (fig. 4.5).
Fig. 4.5 Fasten Feeder to Printer Bottom
Chapter 4
4 - 6
U s i n g O p t i o n a l A c c e s s o r i e s
Summary of Contents for PS 410
Page 1: ...QMS PS 410 User s Guide 1800148 001E...
Page 8: ...v i...
Page 14: ......
Page 16: ......
Page 24: ......
Page 26: ......
Page 46: ......
Page 62: ......
Page 82: ......
Page 84: ......
Page 102: ......
Page 114: ......
Page 116: ......
Page 138: ......
Page 140: ......
Page 154: ......
Page 156: ......
Page 170: ......
Page 204: ......
Page 206: ......
Page 222: ......
Page 224: ......
Page 232: ......
Page 240: ......
Page 241: ...Appendix C Optional Accessories Available QMS Accessories C 1...
Page 242: ......
Page 245: ...Appendix D Character Encoding Tables Character Encoding Tables D 1...
Page 246: ......
Page 249: ...Appendix D Symbol Encoding Character Encoding Tables D 3...
Page 252: ......
Page 256: ......
Page 258: ......
Page 280: ......


