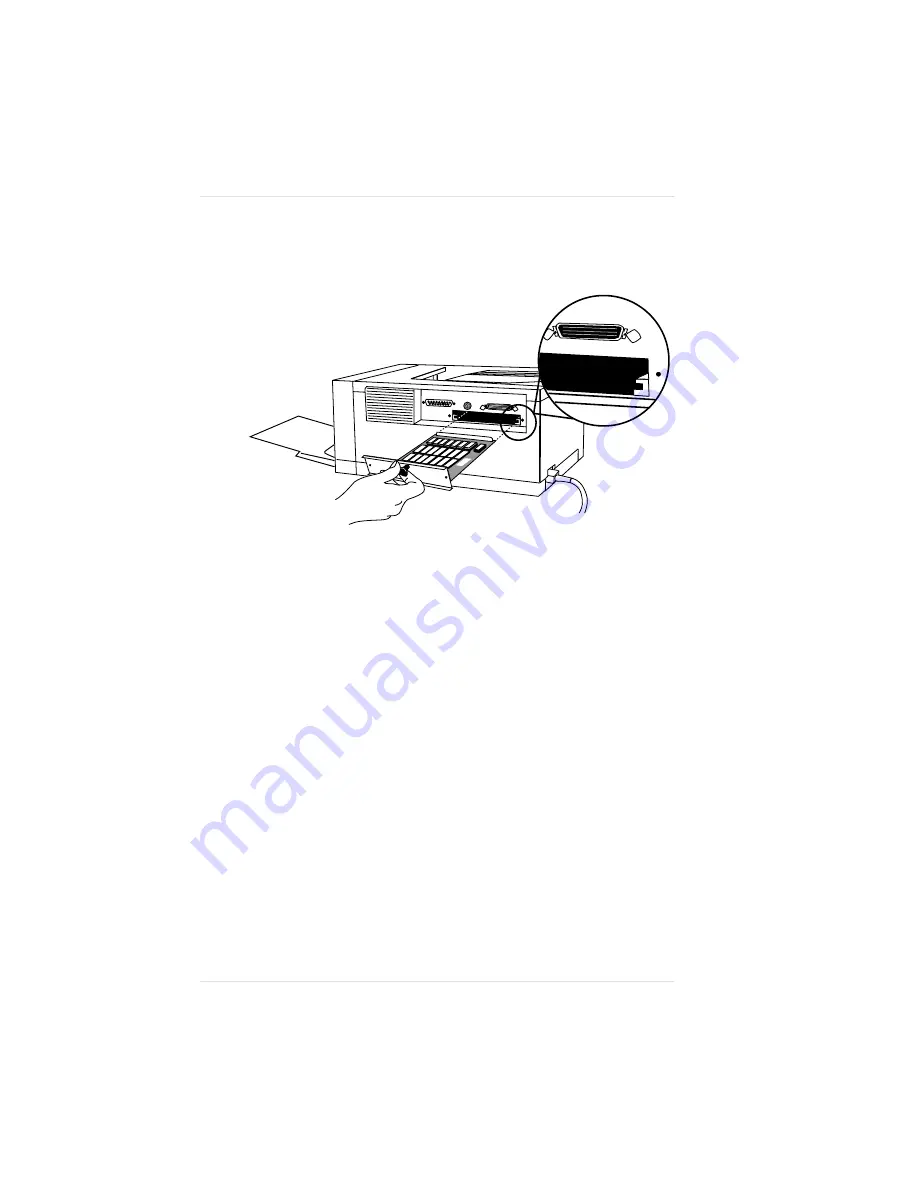
5.
Slide the module into the printer using the slot guides.
6.
Make sure the module is firmly seated by placing your free
hand on the front of the printer and firmly pushing against the
knob of the access panel.
7.
Replace the screw at each corner of the access panel. Plug in
power cord and interface cables; then turn on the printer.
8.
Print a test configuration page by taking the printer offline;
then push the TEST/CANCEL button. Wait for the two pages
to print. The test configuration page should show the RAM
size according to the size module you installed.
Fig. 4.13 Slide Module into Printer
♦
Chapter 4
U s i n g O p t i o n a l A c c e s s o r i e s
4 - 1 9
Summary of Contents for PS 410
Page 1: ...QMS PS 410 User s Guide 1800148 001E...
Page 8: ...v i...
Page 14: ......
Page 16: ......
Page 24: ......
Page 26: ......
Page 46: ......
Page 62: ......
Page 82: ......
Page 84: ......
Page 102: ......
Page 114: ......
Page 116: ......
Page 138: ......
Page 140: ......
Page 154: ......
Page 156: ......
Page 170: ......
Page 204: ......
Page 206: ......
Page 222: ......
Page 224: ......
Page 232: ......
Page 240: ......
Page 241: ...Appendix C Optional Accessories Available QMS Accessories C 1...
Page 242: ......
Page 245: ...Appendix D Character Encoding Tables Character Encoding Tables D 1...
Page 246: ......
Page 249: ...Appendix D Symbol Encoding Character Encoding Tables D 3...
Page 252: ......
Page 256: ......
Page 258: ......
Page 280: ......


