79
7.3 Appendix: TFTP and DHCP server configuration
To use
TFTP configuration by script
, you need a
TFTP
¹ server with a
DHCP
server associated to it (code
66
option).
¹ Trivial File Transfer Protocol
The network interfaces of the AMP300 devices must be configured to obtain their IP address with the
DHCP
server.
The
TFTP configuration by script
downloading operation (specific or general) is realized with a dialog step with the DHCP server (during the device
booting). The Qeedji device configures first its network parameters obtained by
DHCP
server, and then launches
TFTP
download.
◬
the installation phase is launched only when the script has never been downloaded before or if its content has been modified since the last
download (md5 check).
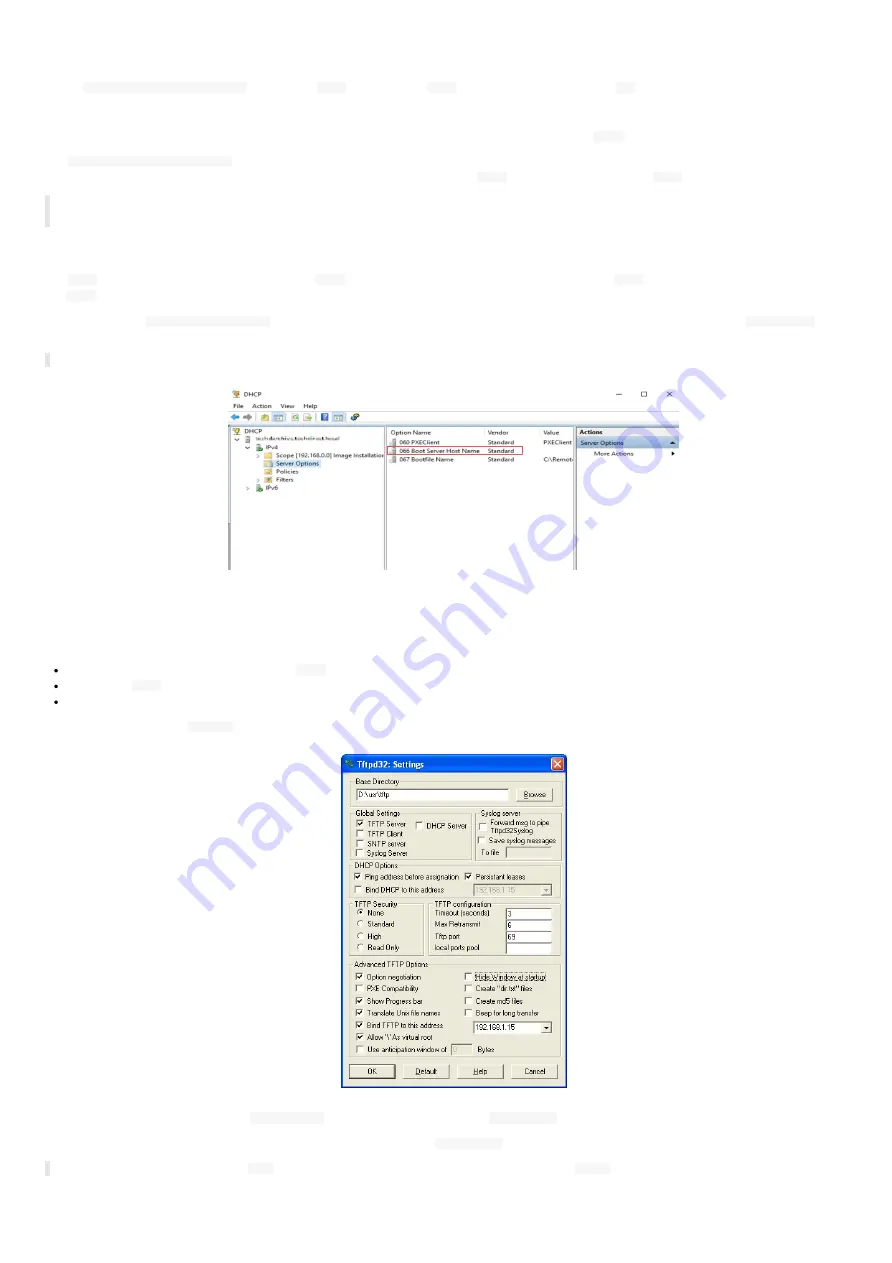
DHCP server configuration
The
DHCP
must be configured to be associated to
TFTP
server. For that, you need to use code 66 option (
TFTP
Server), using the IPv4 address value of
the
TFTP
server.
For example, for a
Microsoft DHCP server
, you need to define the option
Boot Server Host Name
and give the IPv4 address of the
TFTP server
. It can
be in
Extended option
and/or
Server Options
.
☛
The service must be restarted before the new parameters are fuly reflected.
TFTP server configuration
The configuration is depending on the software client used. In all cases, you need to:
get the directory URL that can be seen by
TFTP
clients ,
choose the
TFTP
security
None
,
keep the default port (
69
).
Here is an example of the
tftpd32
software with MS-Windows.
In this example, the server address is
192.168.1.15
and the exported directory is
D:/usr/tftp
.
Copy the Javascript configuration script in the exported directory of the
TFTP server
.
☛
It is recommended to have one
.js
configuration script per device by following the pattern
<MAC>
.js (e.g. 00021Cfe1215.js)
.
Summary of Contents for AMP300
Page 1: ...User manual AMP300 9 10 10 002B...
Page 4: ...4 Part I Description and installation...
Page 9: ...9 1 3 1 Device dimensions...
Page 10: ...10 1 3 2 Device xture...
Page 19: ...19 Part II System con guration...
Page 34: ...34 This message is then displayed until the device is rebooting automatically once...
Page 41: ...41 When the micro SD card is installed properly the SD card should be not visible...
Page 42: ...42 Part III Applicative user interface...
Page 44: ...44 Part IV Administration console user interface...
Page 64: ...64 Part V Technical information...
Page 67: ...67 5 2 Antenna return loss This is the return loss diagram for the WIFI Bluetooth antenna...
Page 69: ...69 Part VI Contacts...
Page 71: ...71 Part VII Appendix...


