16
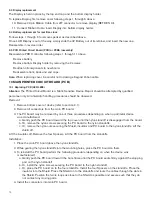
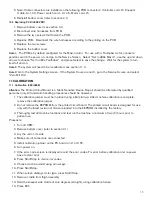
15. Hold the kneepot side cradle at 90 degrees (right angle) using calibration fixture.
16. Press FLEX.
17. Hold kneepot side cradle at maximum extension.
18. Press EXT.
19. Hold kneepot side cradle at maximum flexion
20. Press FLEX.
21. Lay unit flat.
22. Reassemble the cradle.
23. Press Start/Stop.
24. The machine will run through a complete cycle. Note: if the screen displays "Binding" this indicates
excessive current draw by the motor, caused by excessive friction in the drive chain or a problem with the
motor. Resolve the problem and repeat the calibration procedure.
25. When the screen displays “CAL COMPLETE” turn power off.
26. Remove the calibration jumper.
27. Reassemble unit.
11.2 Calibration Diagram (480/480E)
fig 2
11.3 Calibration (480E PRO)
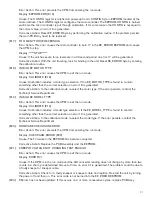
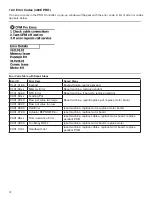
If the motor, Potentiometer, Lead Screw or the Base Unit Actuator PCB have been replaced, the device will need
to be recalibrated.
Minimum and Maximum thigh extension limits, as well as 0° and 90° settings, will also need to be calibrated.
Screen prompts in the PRO Controller will lead you through the process.
To Calibrate:
Once the device has been turned on, go to the Setting Mode in the PRO Controller and enter the following
special key sequence using the soft keys and the select button (soft key 4, right directional key, soft key 4, right
directional key, select). (Fig.BELOW). Two new blank tabs will appear. To calibrate, go to the leftmost new tab,
and select the button marked 'calibrate', and follow the on-screen prompts.
Summary of Contents for 480
Page 1: ...480 480E 480E PRO CPM Service and Technical Manual 2011 QAL Medical 05070812 3 Rev C 08 11...
Page 2: ......
Page 25: ...25 14 Assembly Drawings 14 1 Main Assembly...
Page 26: ...26 14 2 Thigh Assembly...
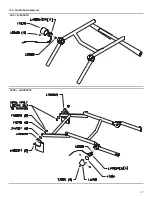
Page 27: ...27 14 3 Cradle Sub Assembly 480 L480SA011 480E L480SA022...
Page 28: ...28 14 4 Foot Cradle Assembly...
Page 29: ...29 14 5 Ballscrew Assembly...
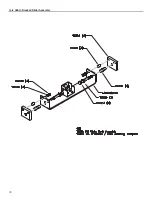
Page 30: ...30 14 6 480 U Bracket Slider Assembly...
Page 31: ...31 14 7 480E 480E PRO U Bracket Slider Assembly...
Page 32: ...32 14 8 480E or 480E PRO Motor Assembly Faulhaber...
Page 33: ...33 14 9 480E PRO ONLY Motor Assembly Maxon...
Page 34: ...34 14 10 Motion Controller Assembly 480 480E...
Page 36: ...36 14 12 480 Wiring Diagram...
Page 37: ...37 14 13 480E Wiring Diagram...
Page 39: ...39 14 15 480 480E Electrical Schematic...
Page 40: ...40...
Page 41: ...41...


