


24
PI-MAX
®
3 System Manual
Version 1.A
In the case of cameras equipped with F-mount, do not mount the camera in the
nose-up
operation where the lens mount would be required to hold the camera’s weight. The
F-mount is not designed to sustain the weight of the camera in this orientation and the
camera could pull free.
You must provide additional support for the camera.
Should the camera be mounted in the nose-up position beneath a table, take care to
protect the mounting components from lateral stresses, such as might occur should
someone accidentally bump the camera with a knee while working at the table. One
solution to this problem would be to install a barrier between the camera and operator to
prevent any accidental contact.
There are no special constraints on nose-down operation. Again, however, good operating
practice might make it advisable to take steps to prevent accidental contact from unduly
stressing the mounting components. Be sure liquid connections do not leak in this orientation.
Always begin with the lens stopped all the way down (largest f/ stop number) to
minimize the risk of overloading the intensifier.
Spectroscopy Applications
The PI-MAX3
detector must be properly mounted to the spectrograph to achieve the
highest resolution. In the correct orientation, the text on the back of the detector should
be right side up. Take care not to block the ventilation openings. Refer to Appendix G for
spectrograph adapter mounting instructions.
Software Installation
Notes:
1.
Install the GigE Adapter card BEFORE installing the WinView/32 or WinSpec/32
application software.
2.
Leave the interface cable disconnected from the camera until you have installed
WinView/32 or WinSpec/32 (Ver. 2.5.25 or higher).
The following installation is performed via the WinView/32 or WinSpec/32 software
installation CD.
1.
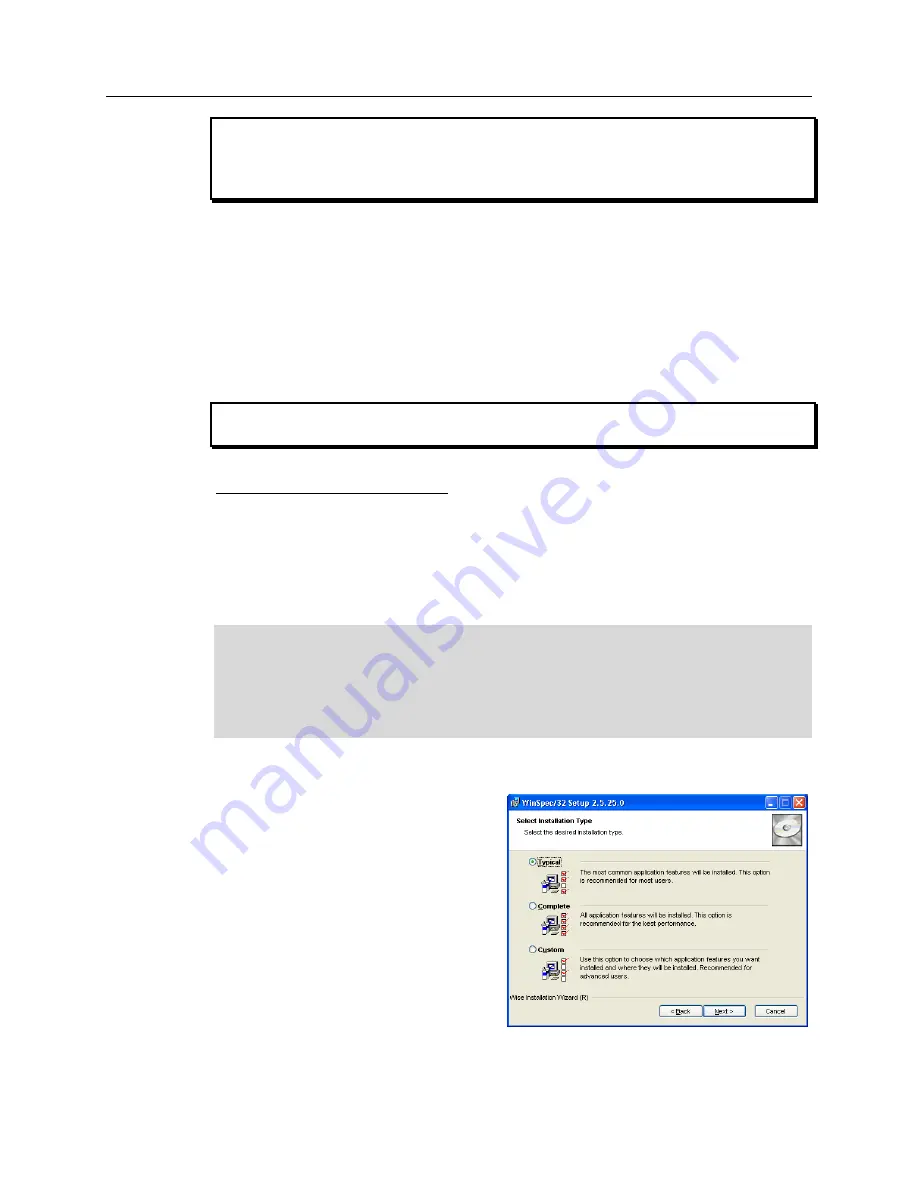
On the
Select Installation Type
dialog box (see Figure 4), click on
Typical
radio button to install the
required drivers and the most
commonly installed program files.
Select the
Custom
radio button if you
would like to choose among the
available program files or do not want
to install the drivers.
Complete
installs all of the application features.
2.
Make sure the camera is connected to
the host computer and that the camera
power supply is turned on.
Figure 4. WinView Installation:
Select Components dialog box
WARNING
WARNING
Summary of Contents for PI-MAX 3 System
Page 1: ...4411 0129 Version 1 A September 8 2010 4411 0069 ...
Page 32: ...32 PI MAX 3 System Manual Version 1 A This page intentionally left blank ...
Page 52: ...52 PI MAX 3 System Manual Version 1 A Figure 20 Safe Mode and Fast Mode Operation ...
Page 72: ...72 PI MAX 3 System Manual Version 1 A This page intentionally left blank ...
Page 90: ...90 PI MAX 3 System Manual Version 1 A This page intentionally left blank ...
Page 100: ...100 PI MAX 3 System Manual Version 1 A This page intentionally left blank ...
Page 110: ...110 PI MAX 3 System Manual Version 1 A Figure 68 Outline Drawing PI MAX3 with F mount Adapter ...
Page 114: ...114 PI MAX 3 System Manual Version 1 A This page intentionally left blank ...
Page 120: ...120 PI MAX 3 System Manual Version 1 A This page intentionally left blank ...
Page 140: ...140 PI MAX 3 System Manual Version 1 A This page intentionally left blank ...