4.27
ELECTRONIC FUEL INJECTION
4
9924125 - 2013
RANGER
RZR / RZR S / RZR 4 Service Manual
© Copyright 2012 Polaris Sales Inc.
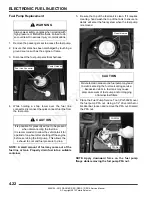
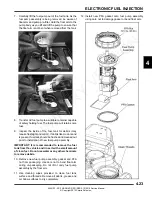
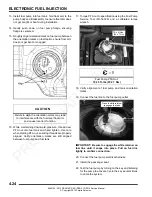
Fuel Tank Removal (RZR 4)
IMPORTANT: Syphon as much fuel from the tank as
possible before attempting to remove it from the
vehicle.
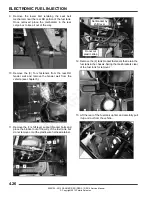
1.
Remove the rear passenger seats along with the rear
service panel.
2.
Remove the driver’s seat and disconnect the negative
battery cable from the battery.
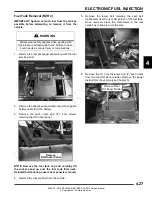
3.
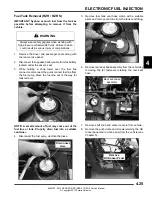
Remove the push rivets and T27 Torx screws
retaining the RH rocker panel.
NOTE: Remove the fuel tank cap and carefully lift
the rocker panel up over the fuel tank filler neck.
Reinstall fuel tank cap once rocker panel is removed.
4.
Remove the rocker panel from the vehicle.
5.
Remove the lower bolt retaining the seat belt
mechanism near the rear RH portion of the fuel tank.
Once removed, place the mechanism in the rear
cargo box to keep it out of the way.
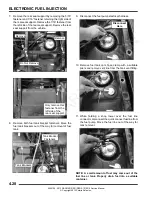
6.
Remove the (3) Torx fasteners and (2) push rivets
from the rear RH panel divider. Remove the panel
divider from the vehicle (see Chapter 5).
WARNING
Always wear safety goggles when working with
high pressure or flammable fluids. Failure to do so
could result in serious injury or complications.
Remove
RH Rocker Panel
Remove Rear
RH Panel Divider
PRELIMINARY
VERSION
Summary of Contents for 2013 RANGER RZR
Page 417: ...2013 RANGER RZR 800...
Page 418: ...2013 RANGER RZR 800...
Page 419: ...2013 RANGER RZR 800 EPS...
Page 420: ...2013 RANGER RZR 800 EPS...
Page 421: ...2013 RANGER RZR S 800...
Page 422: ...2013 RANGER RZR S 800...
Page 423: ...2013 RANGER RZR S 800 INT L...
Page 424: ...2013 RANGER RZR S 800 INT L...
Page 425: ...2013 RANGER RZR 4 800...
Page 426: ...2013 RANGER RZR 4 800...
Page 427: ...2013 RANGER RZR 4 800 EPS...
Page 428: ...2013 RANGER RZR 4 800 EPS...

