


Flex-View Event Presentation Switching Solution
User Manual
8 U3 Event Controller
www.pixelhue.com
127
After a layer is added successfully, the layer button in the
LAYER
area turns
yellow. The first available input source is automatically added to the layer.
2.
Go to
Programming
>
Layer
on the primary screen, and then go to the
secondary screen to configure the added layer.
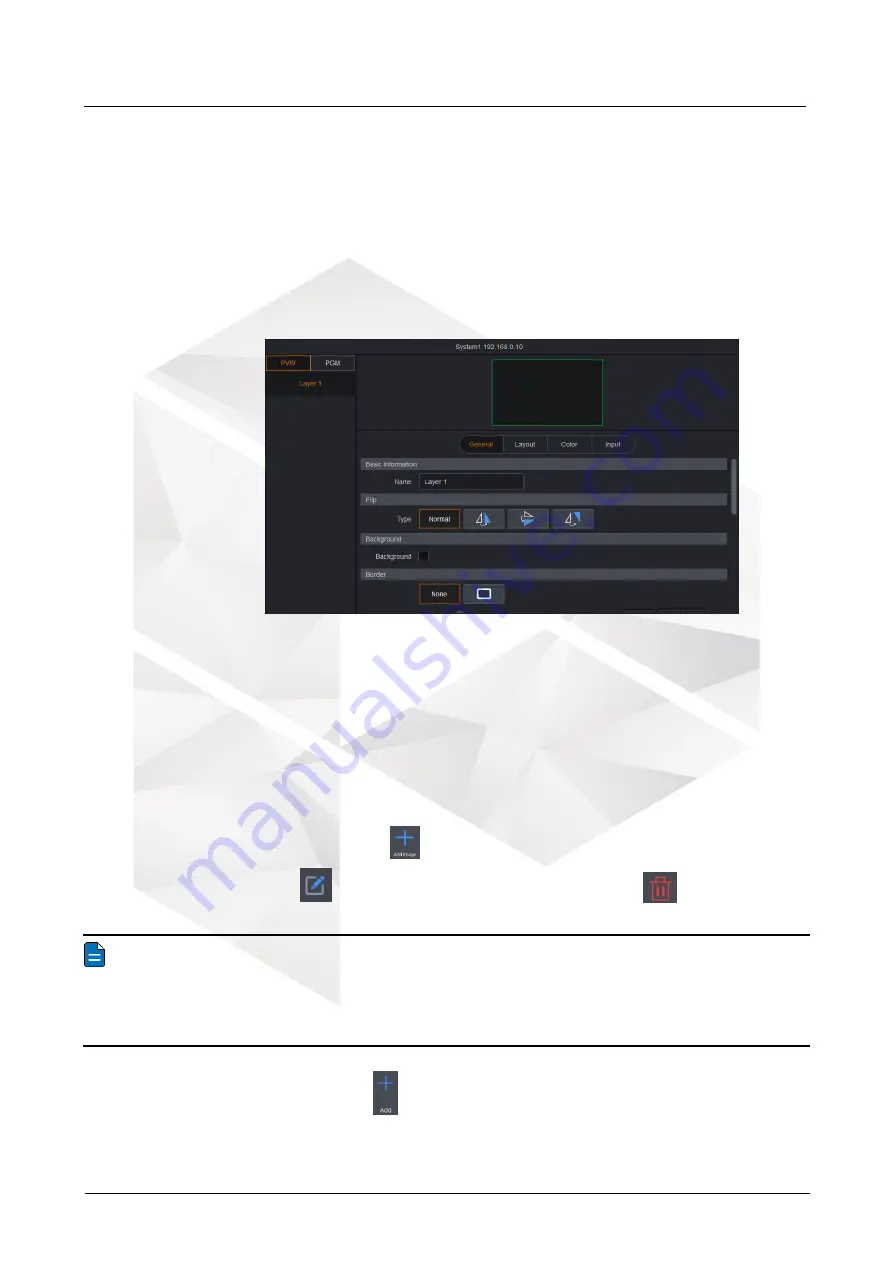
3.
Select a layer on the left, and make necessary configuration for the layer
name, flipping, background, border, mask, layout, color and input source
settings.
After you have changed the layer name successfully, the OLED label above
the button displays the new layer name. The layer button turns green when
the layer is selected and being edited.
Editing layers
After you have added the desired layers successfully, you can adjust the layer
priority by pressing the
TOP
and
BOTTOM
buttons, delete the selected layer or
all layers by pressing the
CLEAR
and
CLEAR ALL
buttons, set the layer capacity
by pressing the first blank button in the
LAYER EDIT
area and make the layer fill
the output areas it crosses by pressing the second blank button. For details
about those blank buttons, please refer to
8.6.5.2 How to add BKG or LOGO images?
1.
Go to
Programming
>
Gallery
on the primary screen. Tap
BKG
or
LOGO
on the
top, and then tap
to add a desired image.
2.
Tap
to change the BKG or LOGO name, and tap
to delete the
selected BKG or LOGO image.
Note
The BKG or LOGO image cannot be deleted when it is being used by the screen. If you
insist to delete it, go to
Programming
>
Layer
on the primary screen to remove it from
the target screen first, and then delete it as described in the above step.
3.
(Optional) You can also go to
Programming
>
Layer
and tap
Gallery
on the
right side. Tap
to add a desired BKG or LOGO image.


