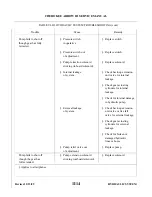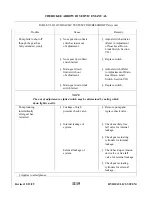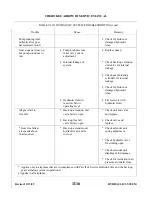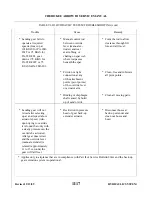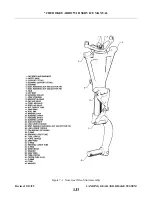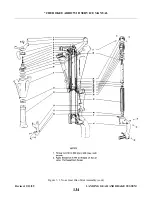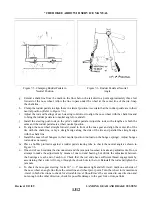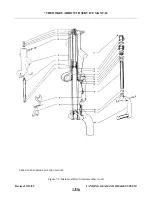
g. Lubricate the inner wall of the cylinder (23) with hydraulic fluid. Carefully insert the piston tube
assembly into the bottom of the cylinder, allowing the orifice tube to guide itself into the fork tube,
until the snap ring (38) can be installed in the annular slot at the bottom of the cylinder. Install wiper
strip (36), slide washer (37) into position and secure assembly with snap ring (38).
inch pounds.
i.
Ascertain that bushings are installed in the upper and lower torque links (24 and 26) and then install
both links. The torque link bolt assemblies should be lubricated and installed with the flat of the bolt
head hex adjacent to the milled stop on the wide end of the link. Tighten the bolts only tight enough to
allow no side play in the link, yet be free enough to rotate.
j.
l.
Install the shimmy dampener and safety.
m. Lubricate the gear assembly. (Refer to Lubrication Chart, Section II.)
n. Compress and extend the strut several times to ascertain that the strut will operate freely. Weight of the
gear wheel and fork should allow the strut to extend.
o. Service the oleo strut with fluid and air. (Refer to Oleo Struts, Section II.)
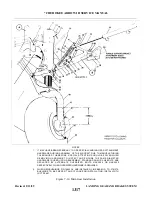
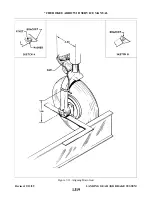
p. (Check nose gear for alignment (refer to paragraph 7-13) and gear operation.
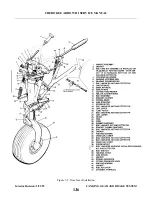
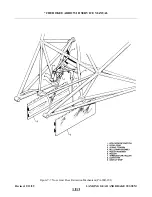
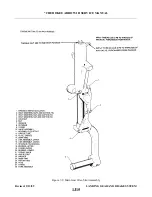
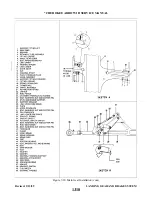
7-9. REMOVAL OF NOSE LANDING GEAR. (Refer to Figure 7-2.)
a.
Remove the engine cowling (refer to paragraph 8-14).
b. Place the airplane on jacks. (Refer to Jacking, Section II.)
c.
d. Retract nose gear slightly to remove the gear from its downlocked position.
e.
To remove the upper and lower drag links (32 and 35), the following procedure may be used:
1. Disconnect the rod end (44) of the hydraulic cylinder (47) from the downlock fitting (43) by
removing nut and bolt that connects these two units.
2. Retract the gear and disconnect the gear downlock spring (42) from the upper drag link (35).
3. Remove the gear tension spring arm (40) from the right side of the oleo housing (39) and lower
drag link (32) by removing the cotter pin, nut and washer from the bolt (29) that connects the drag
link to the housing. Slide the arm and spacer washer from the bolt.
4. Remove the cotter pins, washers and nuts from the bolts that secure the upper drag link (35) to the
5. Slide the attachment bolts from the upper and lower drag links and remove the links.
f.
With the lower drag link (32) disconnected from the gear oleo housing (39), the housing may be
removed by removing cotter pins, nuts, washers, and bolts (7 and 33) at the attachment points on each
side of the housing at the engine mount.
g. The steering bellcrank (4) may be removed by removing the nut and bolt (3) at the steering rod, and
the bolt assembly (13) with bushing at the bellcrank pivot point. (Note hardware position for
reassembly.)
Revised: 2/13/89
1J5
* CHEROKEE ARROW III SERVICE MANUAL
LANDING GEAR AND BRAKE SYSTEM
Summary of Contents for ARROW III
Page 4: ...THIS PAGE INTENTIONALLY LEFT BLANK 1A4...
Page 12: ...THIS PAGE INTENTIONALLY LEFT BLANK 1A12...
Page 94: ...Figure 4 2 Wing Installation Revised 2 13 89 1D22 CHEROKEE ARROW III SERVICE MANUAL STRUCTURES...
Page 171: ...lH3 INTENTIONALLY LEFT BLANK...
Page 172: ...lH4 INTENTIONALLY LEFT BLANK...
Page 286: ...THIS PAGE INTENTIONALLY LEFT BLANK Revised 2 13 89 2A8...
Page 528: ...INTENTIONALLY LEFT BLANK 2K10 THRU 2L24 2K10...

