51
En
Advanced Operations
DVD
.
I
Video CD
.
I
CD
.
Setting the weekly timer
1.
When the setting screen appears in step 3
on the previous page, press
or
to
move
‰
(pointer) to the day of the week and
press
ENTER
.
÷
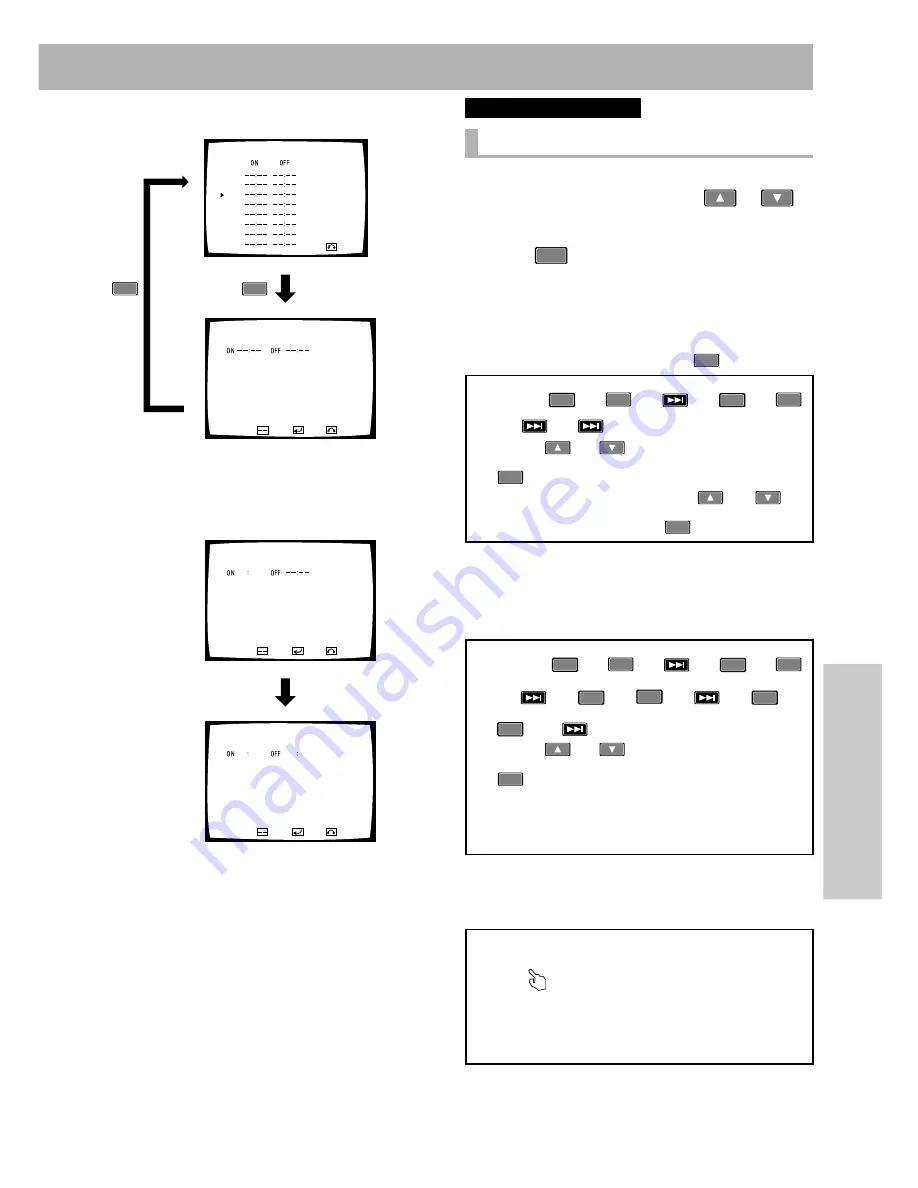
Power ON/OFF time setting display appears.
2.
Set the power ON/OFF time.
Example 1)
To turn power ON at 10:30 on Wednesday
÷
Move
‰
(pointer) to “WED” and press
ENTER
.
÷
If the power OFF time is not set, the timer simply turns power
ON.
Example 2) To turn power ON at 10:30 on Wednesday and
turn it off at 17:45
NOTE:
It is also possible to set only the power OFF time without set-
ting the power ON time. In this case, when power is turned
ON manually, it will be turned OFF at the set time.
A: Press
1
=
0
=
NEXT
=
3
=
0
=
NEXT
=
NEXT
.
B: Press
or
to select 10 and press
ENTER
the item to set the setting of the next
set of figures. Now Press
or
to
set it to 30 and press
ENTER
twice.
A: Press
1
=
0
=
NEXT
=
3
=
0
=
NEXT
=
1
=
7
=
NEXT
=
4
=
5
=
NEXT
.
B: Press
or
to select 10 and press
ENTER
item to set the setting of the next
set of figures. Set the subsequent sets
of figures to 30, 17 and 45 by repeating
the above.
÷
You can set the WEEKLY TIMER with the mouse as well
as with the remote control.
÷
Where
is displayed, clicking with the left mouse but-
ton lets you change selections or settings.
÷
Each time you click the left mouse button, the numerical
value is increased by one, Each time you click the right
button, the numerical value is decreased by one.
1
2
00–04–29
SAT
08:15.00 (1/3)
RETURN
MON
TUE
WED
THU
FRI
SAT
SUN
ALL
TIMER ON/OFF WED
1.TOP MENU
2.TITLE
3.BARCODE/COMMAND STACK
CLEAR
RETURN
ENTER
TIMER ON/OFF WED
1.TOP MENU
2.TITLE
3.BARCODE/COMMAND STACK
10 30
CLEAR
RETURN
ENTER
TIMER ON/OFF WED
1.TOP MENU
2.TITLE
3.BARCODE/COMMAND STACK
17 45
10 30
CLEAR
RETURN
ENTER
RETURN
ENTER
÷
Select ENTER on the screen to enter the setting and exit
the screen. Select RETURN to cancel the setting and return
to the previous screen.


