


Startup
110146_en_00
PHOENIX CONTACT
93 / 128
•
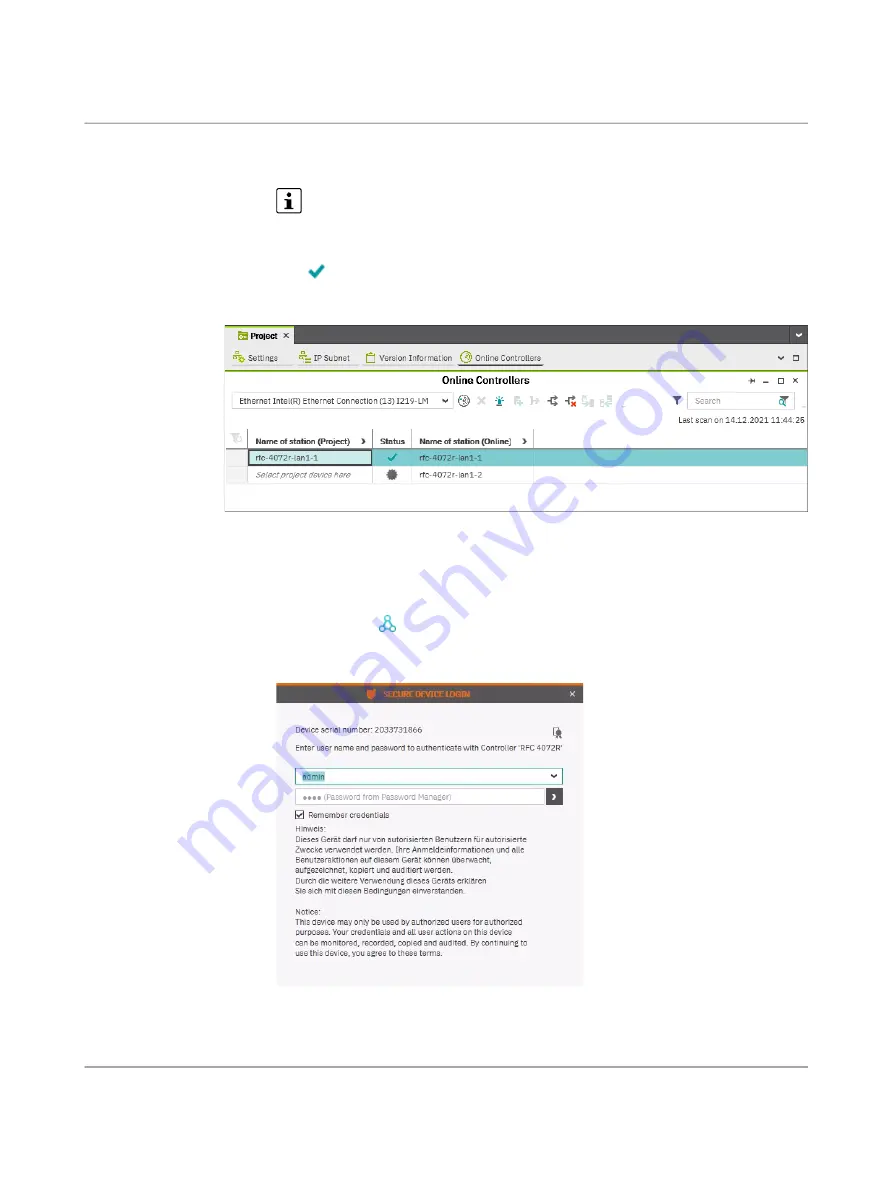
Select the desired device.
⇒
The configured controller has now been assigned to an online device.
If the IP address of an online device found in the network already matches the IP ad
-
dress of the configured controller, the online device is automatically assigned to the
configured controller. In this case, you do not need to select the desired device for the
assignment.
The
icon in the “Status” column indicates that assignment was successful.
Figure 7
-
10
Successful assignment of the configured controller to an online device
Once the configured controller has been assigned to an online device, you can connect
PLCnext Engineer to the controller:
•
Double-click on the controller node in the “PLANT” area.
⇒
The controller editor group opens.
•
Select the “Cockpit” editor.
•
Click on the
button to connect PLCnext Engineer to the controller.
⇒
The “SECURE DEVICE LOGIN” dialog opens.
Figure 7
-
11
“SECURE DEVICE LOGIN” dialog
•
Enter your user name and password.
In the delivery state, the following access data is preset with administrator rights: