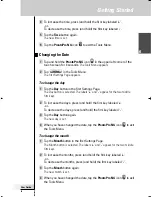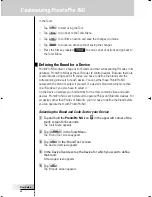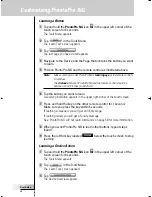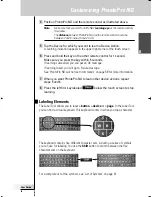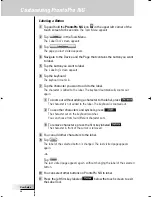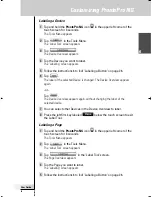
4 To increase the time, press (and hold) the firm key labeled ‘
+
’.
-or-
To decrease the time, press (and hold) the firm key labeled ‘
-
’.
5 Tap the
Time
button again.
The new time is set.
6 Tap the
ProntoPro NG
icon
to exit the Tools Menu.
Changing the Date
1 Tap and hold the
ProntoPro NG
icon
in the upper left corner of the
touch screen for 3 seconds.
The Tools Menu appears.
2 Tap
in the Tools Menu.
The first Settings Page appears.
To change the day
1 Tap the
Day
button in the first Settings Page.
The Day button is selected. The labels ‘
+
’ and ‘
-
’ appear for the two middle
firm keys.
2 To increase the days, press (and hold) the firm key labeled ‘
+
’.
-or-
To decrease the days, press (and hold) the firm key labeled ‘
-
’.
3 Tap the
Day
button again.
The new day is set.
4 When you have changed the date, tap the
ProntoPro NG
icon to
exit
the Tools Menu.
To change the month
1 Tap the
Month
button in the first Settings Page.
The Month button is selected. The labels ‘
+
’ and ‘
-
’ appear for the two middle
firm keys.
2 To increase the months, press (and hold) the firm key labeled ‘
+
’.
-or-
To decrease the months, press (and hold) the firm key labeled ‘
-
’.
3 Tap the
Month
button again.
The new month is set.
4 When you have changed the date, tap the
ProntoPro NG
icon to
exit
the Tools Menu.
User Guide
15
EN
Getting Started
ProntoProNG_0505_ML_1EN.qxd 14-06-2005 09:54 Pagina 15

