82
Operating Instructions
13 Configuring the network settings [Network]
2.
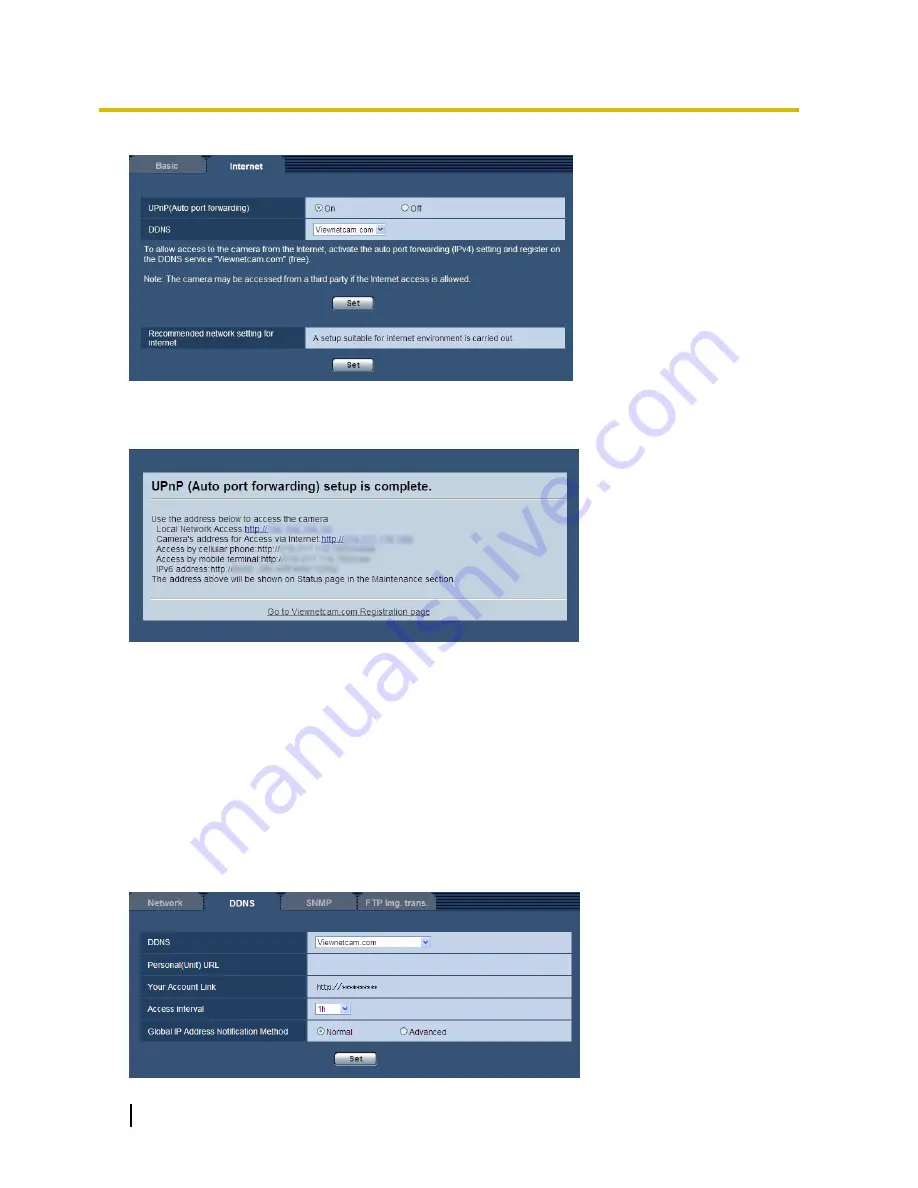
Select “On” for “UPnP (Auto port forwarding)”, and select “Viewnetcam.com” for “DDNS”, then click [Set].
3.
When “UPnP (Auto port forwarding) setup is complete.” is displayed, click “Go to Viewnetcam.com
Registration page”.
The registration window for “Viewnetcam.com” will be displayed in a newly opened window.
Refer to step 3
of “Configuring from the [DDNS] tab of the “Network” page” for the required settings.
Configuring from the [DDNS] tab of the “Network” page
Select “On” for “Auto port forwarding” of the UPnP function on the [Network] tab of the “Network” page, and then
complete the port forwarding settings for the router. (section 13) After this, register the information for the
“Viewnetcam.com” service in the following steps.
1.
Select [Viewnetcam.com] for [DDNS] and click the [Set] button.
A URL is displayed in [Your Account Link].
If a URL is not displayed in [Your Account Link], confirm the unit's network settings and Internet connection,
then click [Set] again.
2.
Click the URL displayed in [Your Account Link].


