56 - ENGLISH
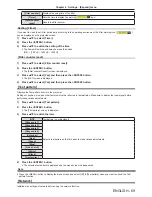
[Setting] menu
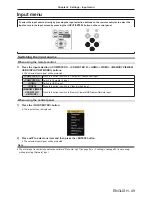
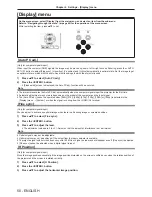
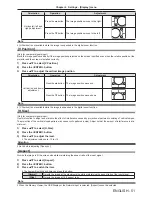
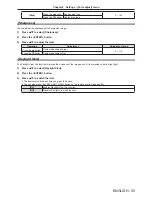
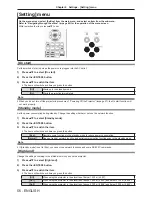
On the menu screen, select [Setting] from the main menu, and select an item from the sub-menu.
Refer to “Navigating through the menu” (
x
page 45) for the operation of the menu screen.
f
After selecting the item, press
as
to set.
MEMORY VIEWER/
USB DISPLAY
ASPECT
INFO
.
IMAGE
LAMP
DAYLIGHT
VIEW
COMPUTER 1 COMPUTER 2
VIDEO
ENTER
MENU
KEYSTONE
FREEZE AV MUTE P-TIMER
D
.
ZOOM VOLUME MUTE
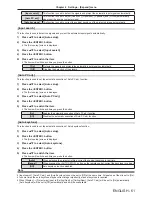
[On start]
Set the method of start up when the power cord plugged into the AC outlet.
1) Press
as
to select [On start].
2) Press the <ENTER> button.
3) Press
as
to switch the item.
f
The items will switch each time you press the button.
[Off]
Starts up in the standby mode.
[On]
Starts the projection immediately.
Note
f
When you do not turn off the projector in procedure of “Powering Off the Projector” (
x
page 37), the On start function will
not work properly.
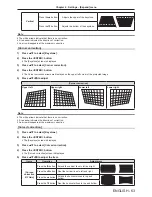
[Standby mode]
Set the power consumption during standby. Change the setting whether or not use the network function.
1) Press
as
to select [Standby mode].
2) Press the <ENTER> button.
3) Press
as
to switch the item.
f
The items will switch each time you press the button.
[Eco]
Restricts some functions in the standby mode to reduce power consumption.
[Normal]
Does not restrict network function and serial communication function even in the standby mode.
Note
f
If [Standby mode] is set to [Eco], you cannot use network functions and some RS-232C commands.
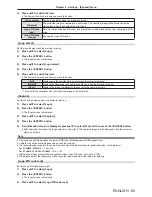
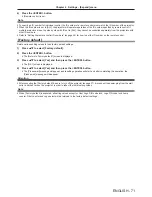
[High land]
Change the setting according to the altitude in which you use the projector.
1) Press
as
to select [High land].
2) Press the <ENTER> button.
3) Press
as
to switch the item.
f
The items will switch each time you press the button.
[Off]
When using the projector in the elevation of below 1 400 m (4 593').
[On 1]
When using the projector in the elevation of above 1 400 m (4 593') and below 2 700 m (8 858').
[On 2]
When using the projector in the elevation of above 2 700 m (8 858') and below 3 000 m (9 843').
Chapter 4 Settings - [Setting] menu

