52 - ENGLISH
[Project way]
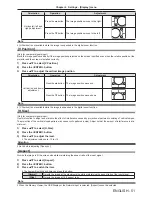
Set the projection method in accordance with the installation status of the projector.
Change the projection method if the screen display is upside down or inverted.
1) Press
as
to select [Project way].
2) Press the <ENTER> button.
3) Press
as
to switch the item.
f
The items will switch each time you press the button.
[Front]
When installing the projector on the desk, etc. in front of the screen.
[Rear]
When installing the projector on the desk, etc. behind the screen (with a translucent screen).
[Ceiling/Front]
When installing the projector in front of the screen by using the Ceiling Mount Bracket for
Projectors (optional).
[Ceiling/Rear]
When installing the projector behind the screen (with a translucent screen) by using the Ceiling
Mount Bracket for Projectors (optional).
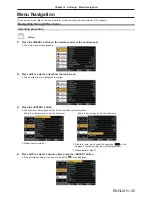
[Menu position]
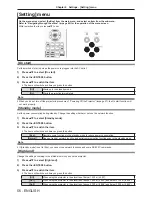
Set the position of the menu screen (OSD).
1) Press
as
to select [Menu position].
2) Press the <ENTER> button.
3) Press
as
to change the menu position.
f
The items will switch each time you press the button.
[Upper left] → [Upper right] → [Center] → [Lower left] →[Lower right] → [Upper left] →...
[Background display]
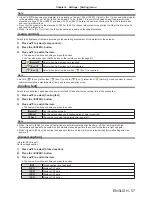
Select the background screen when no input signal is detected.
1) Press
as
to select [Background display].
2) Press the <ENTER> button.
3) Press
as
to switch the item.
f
The items will switch each time you press the button.
[Blue]
Displays the entire projection area in blue.
[Black]
Displays the entire projection area in black.
[System]
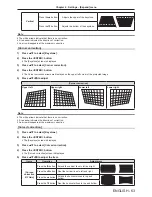
Set it to match the resolution of the computer input signals. Set the color system of Video/S-video signals.
1) Press
as
to select [System].
2) Press the <ENTER> button.
f
The [System] screen is displayed.
3) Press
as
to select the desired system.
f
The items will switch each time you press the button.
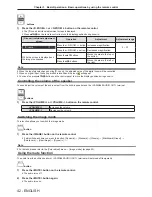
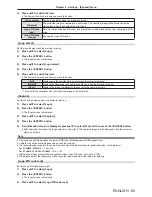
Input source
Mode
Description
for RGB signal
[1024 x 768, 60Hz], etc
Displays the name of the correspond signal.
[Auto]
When there is no input signal compatible with the signal from a connected
computer on the projector, the Auto PC adj. function works and [Auto]
is displayed on the system. If images are not being correctly projected,
manually adjust the settings to suit your computer.
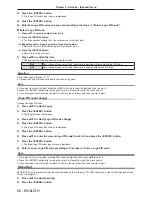
for Video/S-video
signal
[Auto]
The projector automatically selects the color system of the input signal.
Sets [PAL-M] manually.
[PAL] / [SECAM] /
[NTSC] / [NTSC443] /
[PAL-M] / [PAL-N] /
[PAL60]
Sets the color system manually when the image is not displayed correctly
in [Auto].
4) Press the <ENTER> button.
Chapter 4 Settings - [Display] menu

