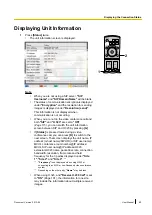
"Default Gateway"
: Enter the IP address of the
default gateway.
Note
•
"IP Address"
,
"Subnet mask"
, and
"Default Gateway"
can be entered only if
"IP Address"
is set to
"Manual"
.
•
If the value for
"IP Address"
,
"Subnet
mask"
, or
"Default Gateway"
contains 1 or
2 digits numbers, enter these numbers as
they are. Do not enter like [.001].
Example: The IP address is [192.168.0.1].
–
Correct entry: [192.168.0.1]
–
Wrong entry: [192.168.000.001]
"DNS Server"
: Use
[
][
]
to select whether the
IP address information for the DNS servers
(
"Primary DNS Server"
,
"Secondary DNS
Server"
) will be obtained automatically from a
DHCP server or will be set manually.
–
"Auto"
(default): Obtain the IP address
information automatically.
–
"Manual"
: Set the IP address information
manually.
Note
•
To select
"Auto"
,
"IP Address"
must be
set to
"Auto"
.
•
The DNS server setting is necessary to use
the following features.
–
Call by specifying the host name
–
Setting the SIP server or gatekeeper
address by host name
–
Checking for software updates
–
Downloading the latest version over the
network
"Primary DNS Server"
: Enter the IP address of the
primary DNS server.
"Secondary DNS Server"
: Enter the IP address of
the secondary DNS server.
Note
•
"Primary DNS Server"
and
"Secondary
DNS Server"
can be entered only if
"DNS
Server"
is set to
"Manual"
.
•
If the value for
"Primary DNS Server"
or
"Secondary DNS Server"
contains 1 or 2
digits numbers, enter these numbers as
they are. Do not enter like [.001].
Example: The IP address is [192.168.0.1].
–
Correct entry: [192.168.0.1]
–
Wrong entry: [192.168.000.001]
5.
Press
[G]
.
•
A dialogue box to confirm the saving of settings
is displayed.
6.
Use
[
][
]
to select
"Yes"
and press
[Enter]
.
•
The system settings screen is displayed.
7.
Press
[Home]
.
•
The Home screen is displayed.
Making Connection Settings
Note
•
You can use the administrator menu to hide the
connection settings screen (Page 123).
1.
Press
[Menu]
.
•
The Menu screen is displayed.
2.
Use
[
][
]
to select
"Settings"
and press
[Enter]
.
•
The system settings screen is displayed.
3.
Use
[
][
]
to select
"Call set up"
and press
[Enter]
.
•
The connection settings screen is displayed.
4.
Use
[
][
]
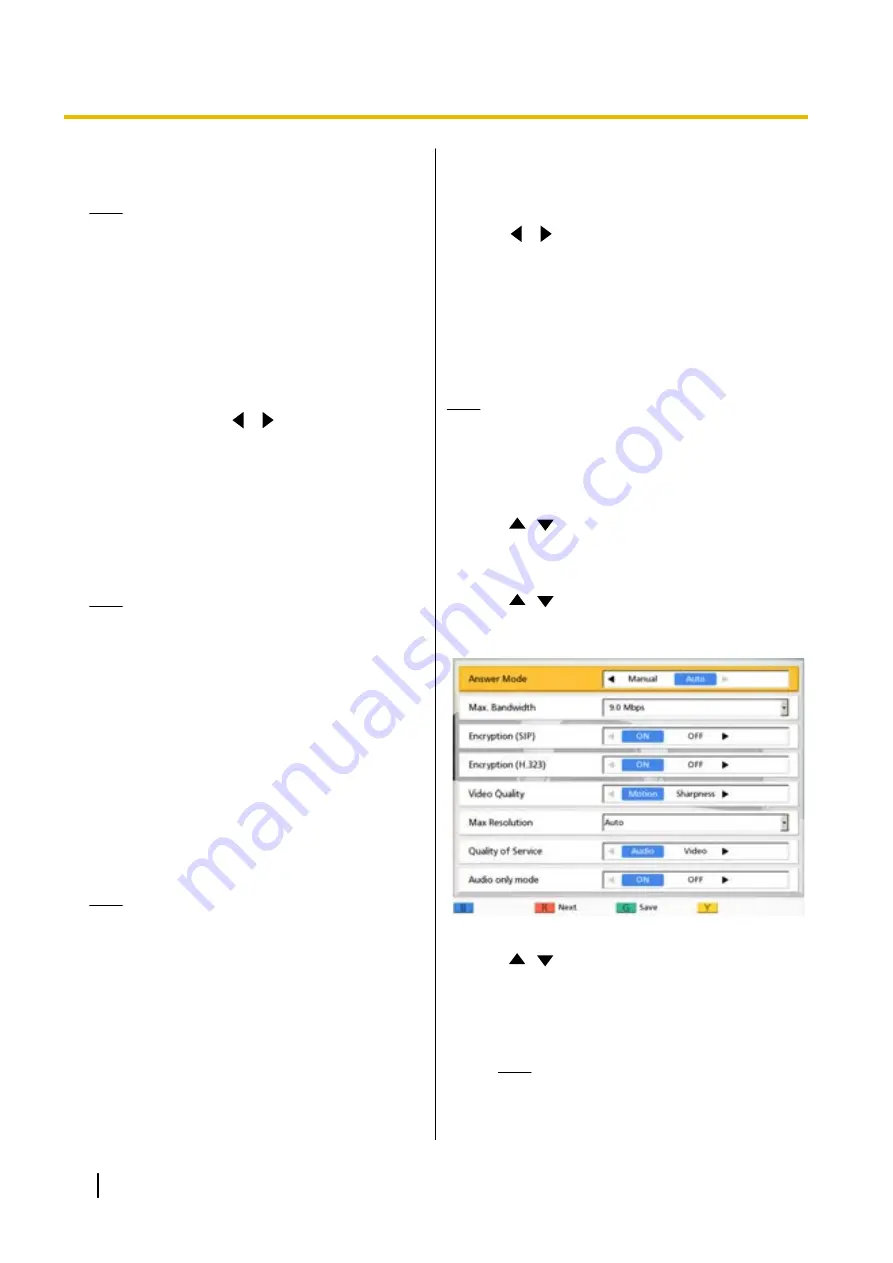
to select the following items for input:
•
The following items are displayed over 3 pages.
To view all the items, press
[R]
to move to the
next page, and press
[B]
to move to the
previous page.
Note
•
You must save the settings separately
for each screen on which you changed
the settings.
98
User Manual
Document Version 2013-09
Contacts and Settings


