3. Printer
34
3.4 Printing a received e-mail
attachment automatically (LAN
connection only)
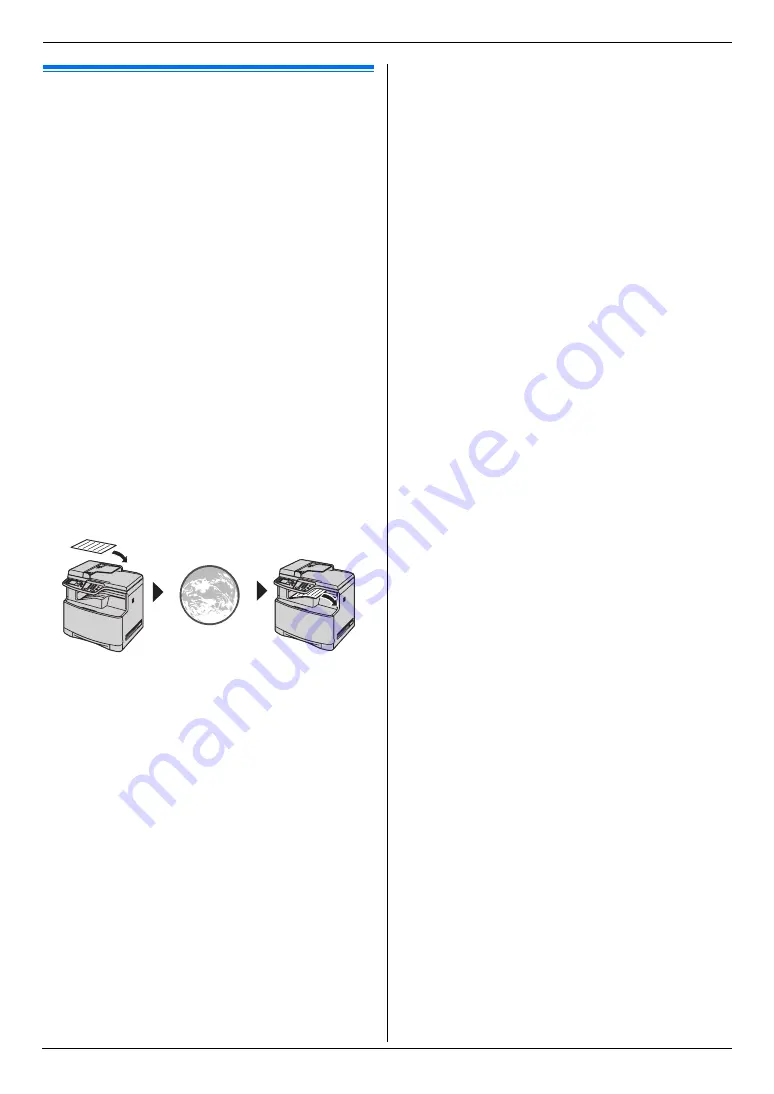
If you configure the POP server settings beforehand, the
unit will automatically print files attached to an e-mail
that are sent from a compatible unit via the Internet
(scan to e-mail print)
. This is useful if you want to print
only attached files, without checking your e-mails.
Important:
L
The unit does not print e-mail messages.
L
The unit will only print attached files sent from a
compatible unit, which can send e-mails directly
(without using a computer).
L
The attachment file formats that can be printed
are as follows:
–
TIFF
–
JPEG
–
PDF (files scanned from the unit, files
scanned from the computer using Quick
Image Navigator/Multi-Function Viewer, or
received fax documents saved as an e-mail
attachment)
L
Received e-mails and the attached files will be
deleted automatically after printing.
A
Send from a compatible multi-function unit (example:
“4.1.5 Scan to e-mail server (LAN connection only)”,
page 36)
B
E-mail is sent via the Internet (e-mail server)
C
Receiving unit prints attached files
1
Start Multi-Function Station.
2
[
Utilities
]
i
[
Configuration Web Page
]
i
[
Network Configuration
]
3
Type
“root”
as the user name, then enter the
password (feature #155 on page 60).
i
[
OK
]
4
Click the
[
Scan to E-Mail Print
]
tab.
5
Set each item.
To activate this feature:
Select
[
Enabled
]
next to
[
Scan to E-Mail Print
]
.
i
[
Submit
]
To set the e-mail server information:
1.
Click
[
Edit
]
next to
[
E-Mail Server
]
.
2.
Enter the e-mail server and POP server
information.
i
[
Submit
]
6
Close the web browser.
Note:
L
Printing will not stop even if you press
{
Stop
}
.
L
This feature can be programmed only through the
web browser interface (page 59).
L
To view the recent scan to e-mail print information,
click
[
List
]
next to
[
E-Mail Print Log
]
L
If the attached file is too large or is in an unsupported
format, it will not be printed properly.
L
You can change the e-mail checking interval (page
77) or header print setting (page 77).
L
Consult your service provider or network
administrator for details.
A
B
C
Summary of Contents for DP-MC210
Page 127: ...127 Notes ...
Page 128: ...PNQX1419ZA CM0808DY0 CD ...


