Page 196
Advanced HotSync® Operations
Note:
If you plan to connect to your company’s dial-in server
(network modem) instead of connecting to a computer
modem, see “HotSync operations via a network” later in
this chapter.
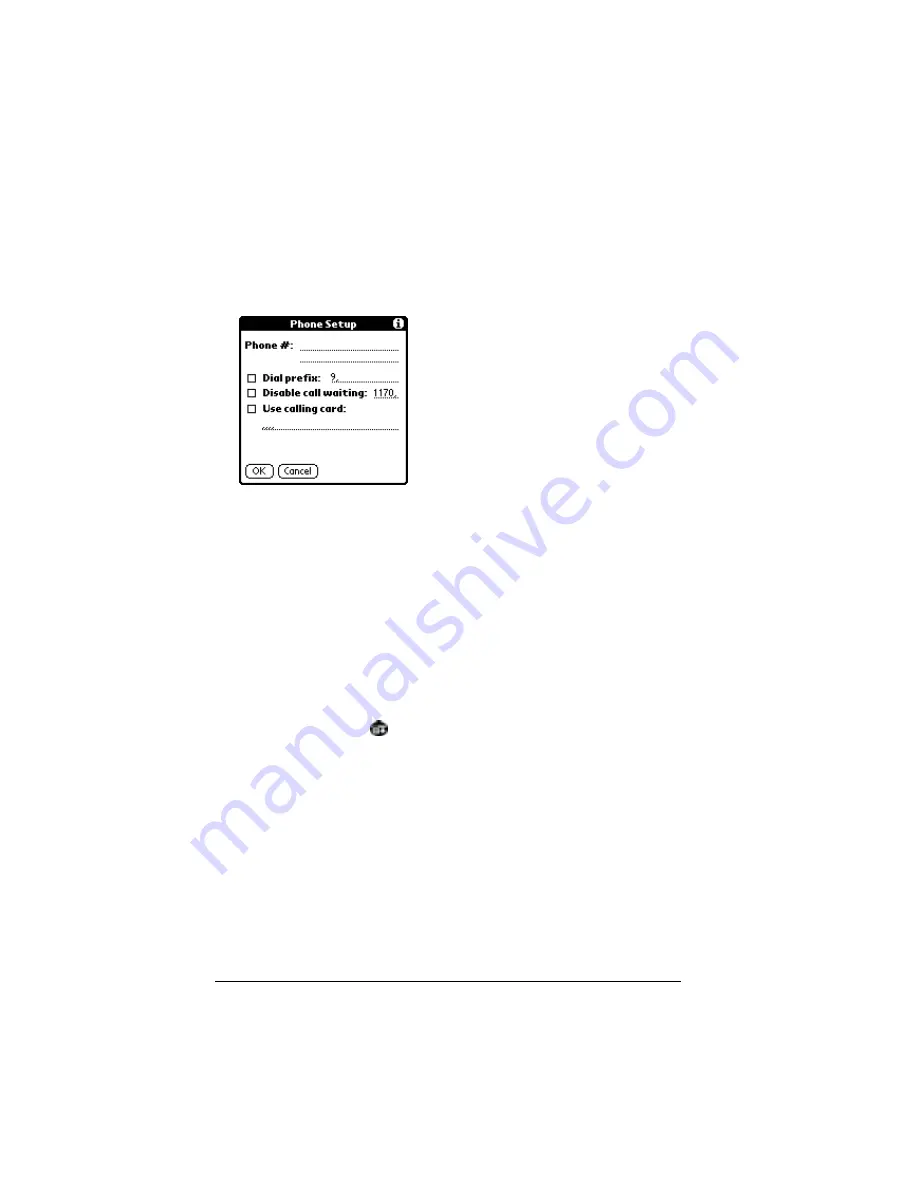
4. Enter the telephone number to access the modem connected to
your computer.
5. If needed, enter a dial prefix (such as “9”) to access an outside line,
and then tap the Dial Prefix check box.
Tip:
You can enter a comma in the field to introduce a “pause”
in the dialing sequence.
6. If the phone line you’re using for the organizer has Call Waiting,
select the Disable call waiting check box to avoid an interruption
during the modem HotSync operation.
7. If you want to use a calling card to place the call, select the check
box and enter the calling card number.
8. Tap OK.
9. Tap the Menu icon
.
10. Tap Options, and then tap Modem Setup.
11. Enter the settings. See “Modem preferences” in Chapter 8 for more
information.
Selecting the conduits for a modem HotSync operation
The Conduit Setup dialog box on your organizer enables you to define
which files and/or applications synchronize during a modem
HotSync operation. You can use these settings to minimize the time
required to synchronize data with a modem.
Summary of Contents for VII
Page 10: ...Page 2 About This Book ...
Page 52: ...Page 44 Entering Data in Your Palm VII Organizer ...
Page 64: ...Page 56 Managing Your Applications ...
Page 128: ...Page 120 Using Your Basic Applications ...
Page 170: ...Page 162 Query Applications and the iMessenger Application ...
Page 246: ...Page 238 Maintaining Your Organizer ...
Page 270: ...Page 262 Creating a Custom Expense Report ...
Page 288: ...Page 280 ...
Page 302: ...Page 294 Index ...


