- 87 -
5. Scan
1
Press the
(SCAN) button on the operator panel.
2
Set a document in the ADF or on the document glass.
3
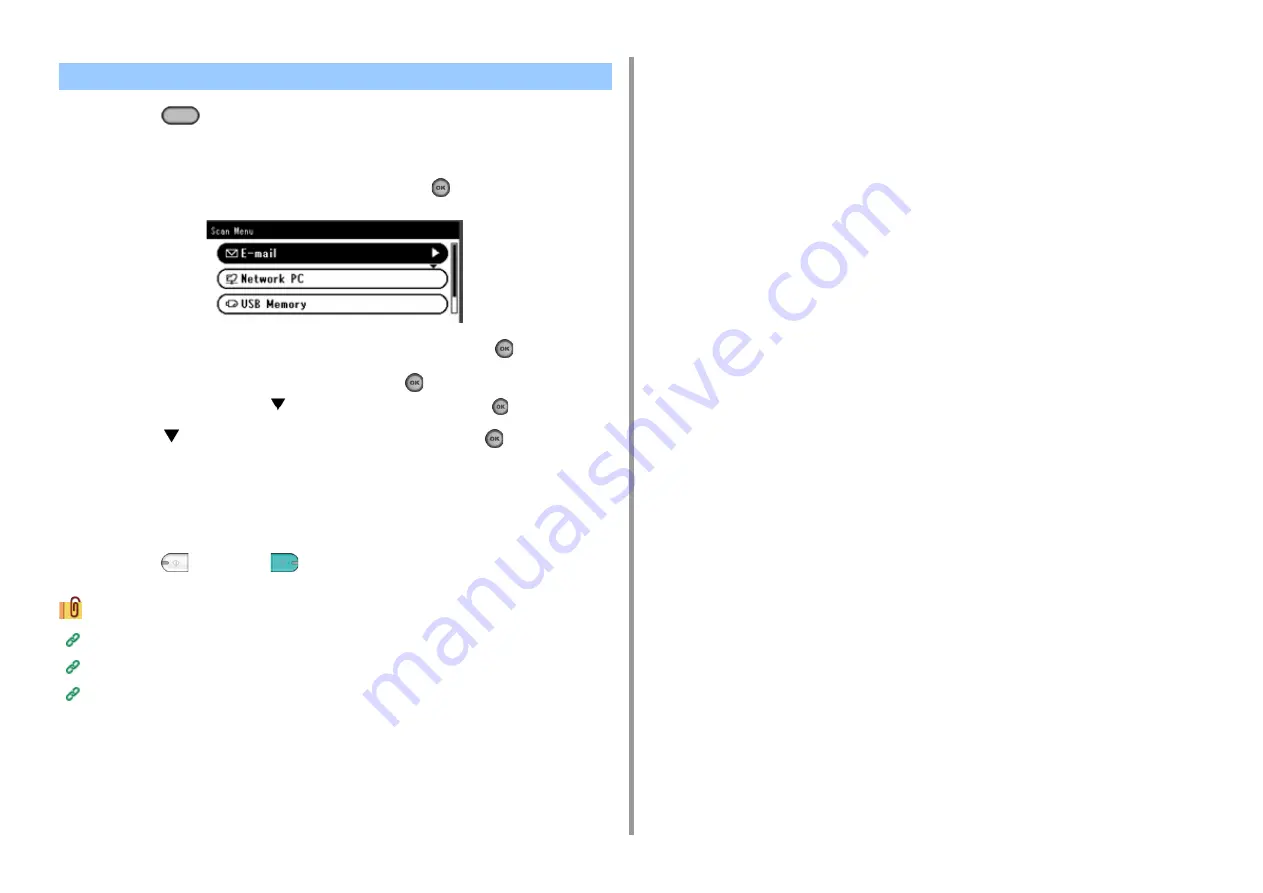
Check that [E-mail] is selected, and then press the
(OK) button.
4
Check that [Add Destination] is selected, and then press the
(OK) button.
5
Check that [To] is selected, and then press the
(OK) button.
To select [Cc] or [Bcc], press
several times, and then press the
(OK) button.
6
Press the
button to select [Manual Input] and press the
(OK) button.
7
Enter an e-mail address.
You can enter up to 80 characters.
8
Set scan settings if necessary.
9
Press the
(MONO) or
(COLOR) button.
Specifying a Destination from Address Book or Group List (Advanced Manual)
Specifying a Destination Using One-touch Button (Advanced Manual)
Specifying a Destination Searching LDAP Server (Advanced Manual)
Entering E-mail Address to Send E-mail
Summary of Contents for ES5463 MFP
Page 1: ...MC563 ES5463 MFP User s Manual...
Page 11: ...11 1 Before starting ENVIRONMENTAL INFORMATION...
Page 16: ...16 2 Setting Up Side view when the additional tray unit is installed...
Page 21: ...21 2 Setting Up 13 Hold the handle B to close the scanner unit...
Page 81: ...4 Copy Copying Cancelling Copying Specifying the Number of Copies...
Page 107: ...7 Fax Basic Operations of Fax Functions Setting for Receptions...
Page 198: ...46590302EE Rev3...


