1 TROUBLESHOOTING FOR THE HARDWARE
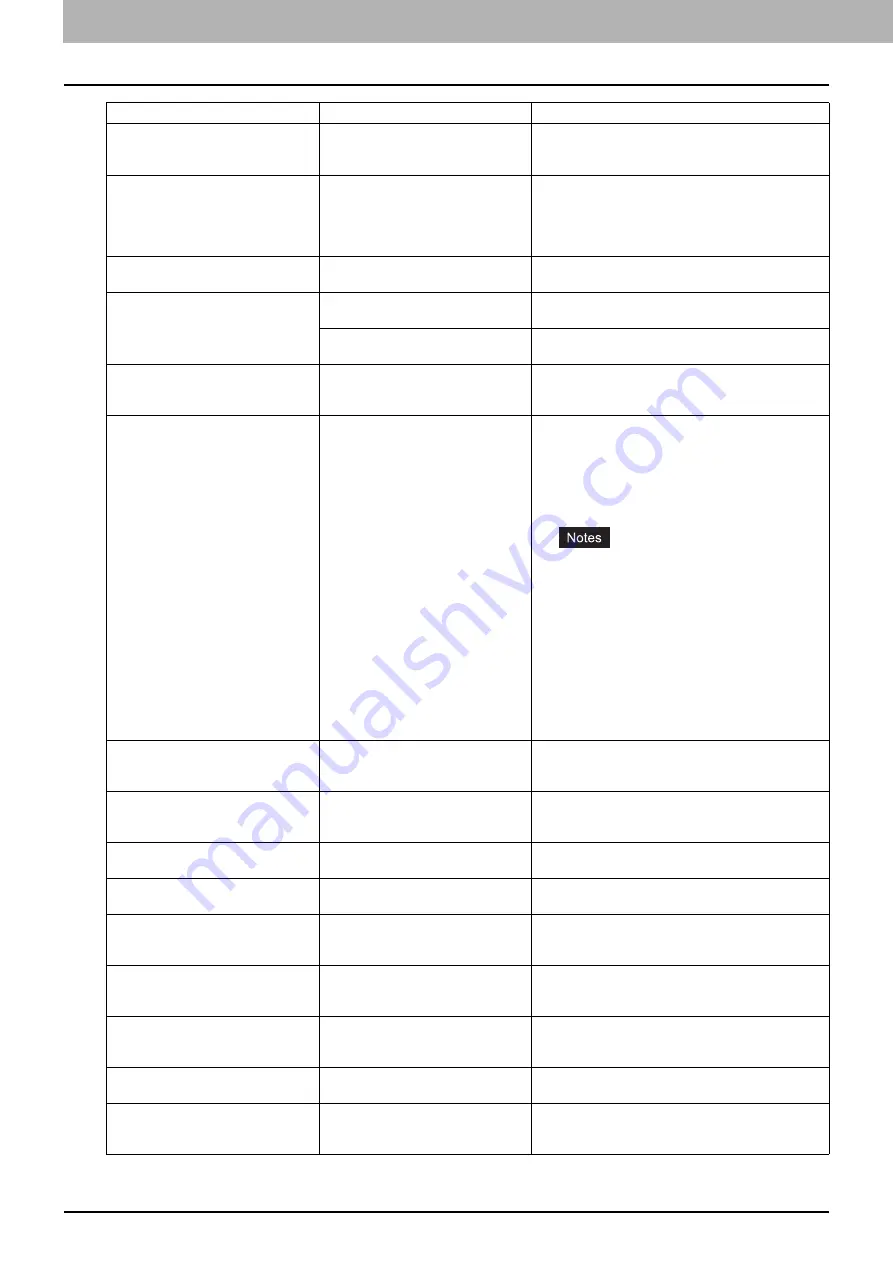
12 Messages Displayed on the Touch Panel
ERASING DATA
The Data Overwrite Enabler (optional)
is clearing the data.
This message is displayed if the Data Overwrite
Enabler (optional) is installed. You can operate the
equipment while the message is displayed.
Check paper size setting on control
panel for Bypass. Check the direction
or size of the paper.
A paper jam has occurred because of
a mismatch between the paper size
placed in the bypass tray and the size
registered for the bypass tray in the
equipment.
Register the paper size correctly. Just releasing the
paper jam does not prevent another one.
P.38 “Clearing paper jams caused by a wrong
Misfeed in bypass.
The paper placed on the bypass tray
jammed.
Remove the jammed paper and set the paper again.
Check the direction or size of the
paper on the bypass tray and press
START
The direction or the size of the paper
placed on the bypass tray is incorrect.
Check the direction and the size of the paper and then
replace it on the bypass tray.
The side guides of the bypass tray do
not fit the paper length.
Align the side guides of the bypass tray to the paper
length.
Reboot the machine
An error has occurred in the
equipment which has stopped normal
operation.
Rebooting the equipment may correct the error. To
reboot the equipment, turn the main power switch off
and then on.
Toner near Empty (***)
Toner is running out. “***” indicates
the color.
(The colors are shown in
abbreviations when two or more
toners are running out: Y: yellow, M:
magenta, C: cyan, and K: black)
Some toner is still left in the toner cartridge while this
message is displayed. You do not have to replace the
toner cartridge yet.
Check the color of the toner on the touch panel and
prepare the toner cartridge.
(About another 1000 copies can be made after this
message appears.)
Replace the toner cartridge after the toner has
completely run out. [Install new *** toner
cartridge] is displayed at that time.
If you want to replace the toner cartridge
though some toner is still left, follow the
procedure below:
P.51 “Replacing a “Near Empty” toner
Black and white print is available while the
other colors has run out. Neither color nor
black and white print can be done when the
black toner has run out.
Confirm waste toner box is attached
and close waste toner box cover.
The waste toner box is not securely
attached or the waste toner box cover
is open.
Confirm the waste toner box is securely mounted and
close the waste toner box cover.
P.54 “Replacing the Waste Toner Box”
Dispose of used toner
The waste toner box is full.
Replace the waste toner box following the guidance
displayed on the touch panel.
P.54 “Replacing the Waste Toner Box”
Please Empty Hole Punch Waste
The Hole Punch Unit dust bin is full.
Remove the paper punchings.
P.65 “Cleaning the Hole Punch Dust Bin”
This original is copy protected
An attempt is made to copy a
prohibited original.
This original cannot be copied.
DEPARTMENT Quota exceeded.
Contact the Administrator.
The copying, printing or scanning
quota to the department has reached
“0”.
For details of setting the quota, ask your administrator.
Open the front cover, and clean the
slit glass and main charger
The slit glass and the main charger
need cleaning.
Clean the slit glass and the main charger.
P.62 “Cleaning the slit glass”
P.64 “Cleaning the main chargers”
Not enough Work Space to store
originals
Will you print out stored originals?
The internal memory available ran out
during scanning.
To print out the data for the originals stored (scanned)
until the message appeared, press [YES] on the touch
panel. To delete the stored data, press [NO].
USER Quota exceeded.
Contact the Administrator.
The copying, printing or scanning
quota to the user has reached “0”.
For details of setting the quota, ask your administrator.
USER and DEPARTMENT Quota
exceeded.
Contact the Administrator.
The copying, printing or scanning
quota to the user and department has
reached “0”.
For details of setting the quota, ask your administrator.
Message
Problem Description
Corrective Action
Summary of Contents for CX4545 MFP
Page 4: ......
Page 8: ...6 CONTENTS...
Page 68: ......
Page 72: ......


