131
4
6
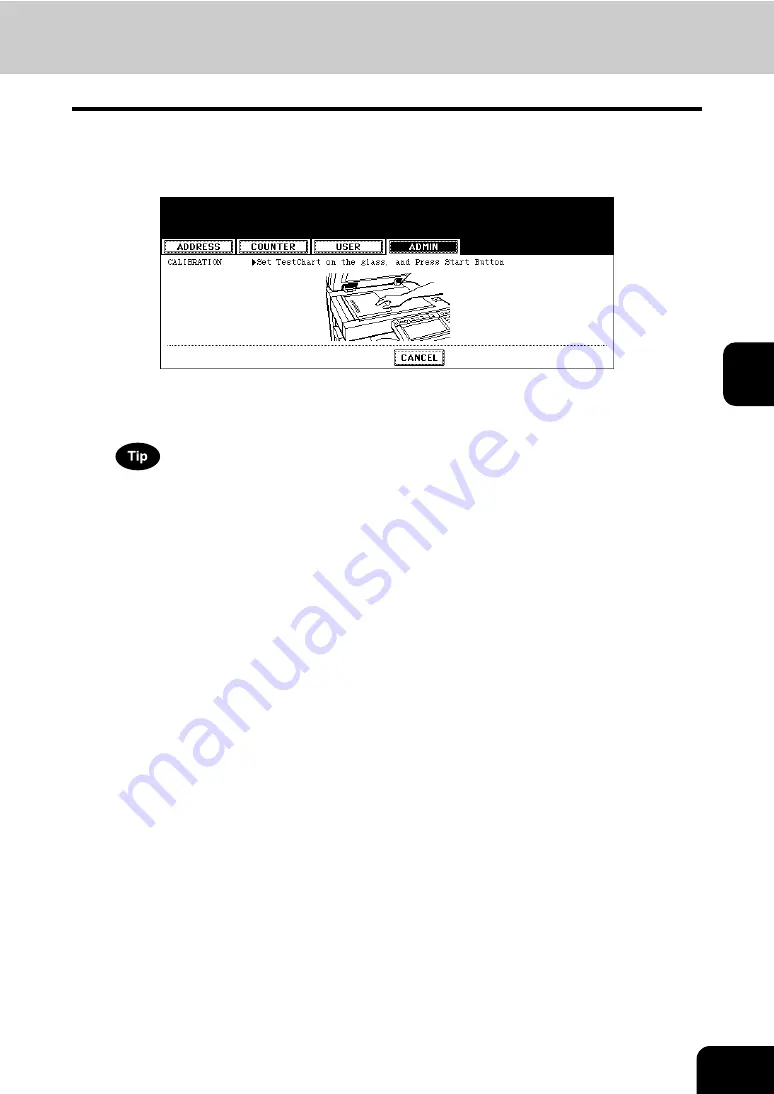
Place the printed chart face down on the glass with its bottom toward
you and its top left aligned against the original scale on the left side,
in order that the black line be placed at the left side.
7
Press the [START] button.
• When the calibration setting is completed, the GENERAL menu will be displayed.
If the chart is not properly placed, the message “Set chart correctly” is displayed on the touch panel. In this case,
go back to step 6 and place the chart again.
Summary of Contents for CX 1145 MFP
Page 1: ...User Functions Guide CX1145 MFP 59315801 Rev 1 0...
Page 23: ...21 1 8 New Group is created and appears on the touch panel...
Page 99: ...97 3 10Press the ENTER button The default settings for each mode are changed as you specified...
Page 110: ...3 108 3 SETTING ITEMS USER...
Page 179: ...177 4 4 Press the ENTER button Returns you to the FAX menu...
Page 212: ...4 210 4 SETTING ITEMS ADMIN...
Page 237: ...235 5 PS3 Font List An output example of the PS3 Font List...
Page 238: ...236 5 APPENDIX 1 LIST PRINT FORMAT Cont 5 PCL Font List An output example of the PCL Font List...


