198
1
Press
m2
on the mail composition
screen
The mail is saved as auto-send mail in the
Unsent
messages
folder of
Unsent messages
and
appears at the top of the screen.
Auto-send mail is sent automatically.
flashes while
auto-send mail is being sent and
disappears after
all the auto-send mails are sent.
・
When sending fails, the auto-send failure mail
remains in
Unsent messages
and
flashes.
When there are no failure mail by deleting,
canceling the auto-send setting or exchanging the
UIM,
disappears.
INFORMATION
●
Auto-send mail is not sent automatically while editing the
signature.
●
Once auto-send mail fails to be sent, it is not sent
automatically inside the service area next time. However,
when sending is failed due to outside the service area,
mail is resend up to twice.
1
Highlight the auto-send mail or failure mail
in the unsent mail list
z
p
z
Select
Yes
INFORMATION
●
The auto-send setting is also canceled if an auto-send
mail is selected in the unsent mail list.
●
If you highlight a failure mail in the unsent mail list, press
m
and select
Display
→
Display failed msg
, the cause
of the error is displayed. Pressing
o
cancels the auto-
send setting.
・
In case a message indicating that sending to the
broadcast addresses has failed appears as the cause of
the error, you can display the broadcast address by
pressing
o
. Pressing
o
cancels the auto-send setting.
●
The auto-send setting for auto-send mail/failure mail is
also canceled in the following cases:
・
When the mail is moved to the folder for the Message
i-
α
ppli
・
When exchanging the UIM
・
When
Host number
or
Host address
is changed in Host
Selection.
Menu 14 / Menu 15
Editing and sending unsent/sent i-mode Mail
Editing the unsent mail
1
a4
z
Select a folder
・
is indicated for SMS.
・
To edit and send the sent mail:
a5
z
Select a folder
2
Select a mail
・
To edit the sent mail again: Highlight a mail
z
p
3
Edit the mail
z
Press
p
INFORMATION
●
You can also edit mail by pressing
p
on the sent mail
view screen.
Composing mail quickly
Quick Mail
You can compose i-mode Mail and SMS easily to
the parties saved to the phonebook No. 0 to 99 in
the FOMA terminal phonebook.
・
The first mail address registered in the
phonebook entry is set as the address of i-mode
Mail and the first phone number as the address of
SMS.
Sending i-mode Mail to the party of
phonebook No. 23
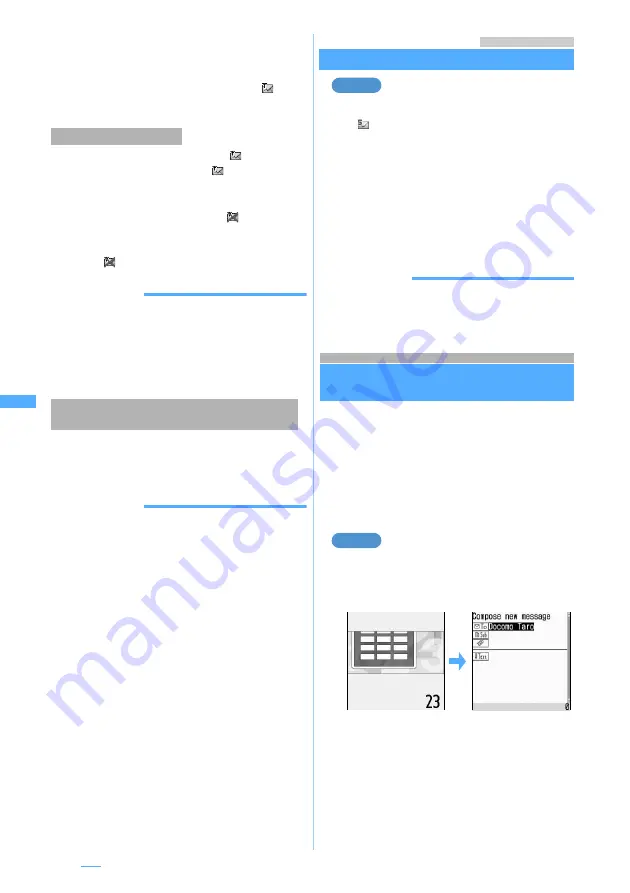
1
Enter the phonebook No. (
23
in this
case)
z
Press
a
・
Enter the phonebook No. without prefix 0.
・
Composing and sending i-mode Mail
☛
P189
■
Composing SMS: Enter the phonebook
No.
z
a
(for over a second)
・
Composing and sending SMS
☛
P224
Inside the service area
Canceling the auto-send setting for auto-send
mail/failure mail
Example
Example
Summary of Contents for FOMA D703i
Page 1: ......
Page 385: ...383 MEMO...
Page 386: ...384 MEMO...
Page 387: ...385 MEMO...
Page 388: ...386 MEMO...
Page 389: ...387 MEMO...
Page 390: ...388 MEMO...
Page 391: ...389 INDEX Quick Reference Manual INDEX 390 Quick Reference Manual 396...
Page 440: ...4 D703i_E_Kuten fm 4...


