To carry out the tilt calibration, go to “Main menu” and select “Buckets”. Create a new bucket or
choose an existing bucket to be calibrated from the list. Then select “Tilt calibration” from the
bucket settings menu.
Carry out the tilt bucket calibration as follows:
Note! Step 3 is performed only if there is a tilt rotator.
1. Switch the tilt bucket ON by pressing the “0.0” button. NOTE: After doing the calibration,
switch the tilt bucket OFF from this menu if the tilt function is not used.
2. Drive the machine to a flat surface and rotate the machine until the roll value is close to
zero (until the “Turn!” text changes to “OK!”).
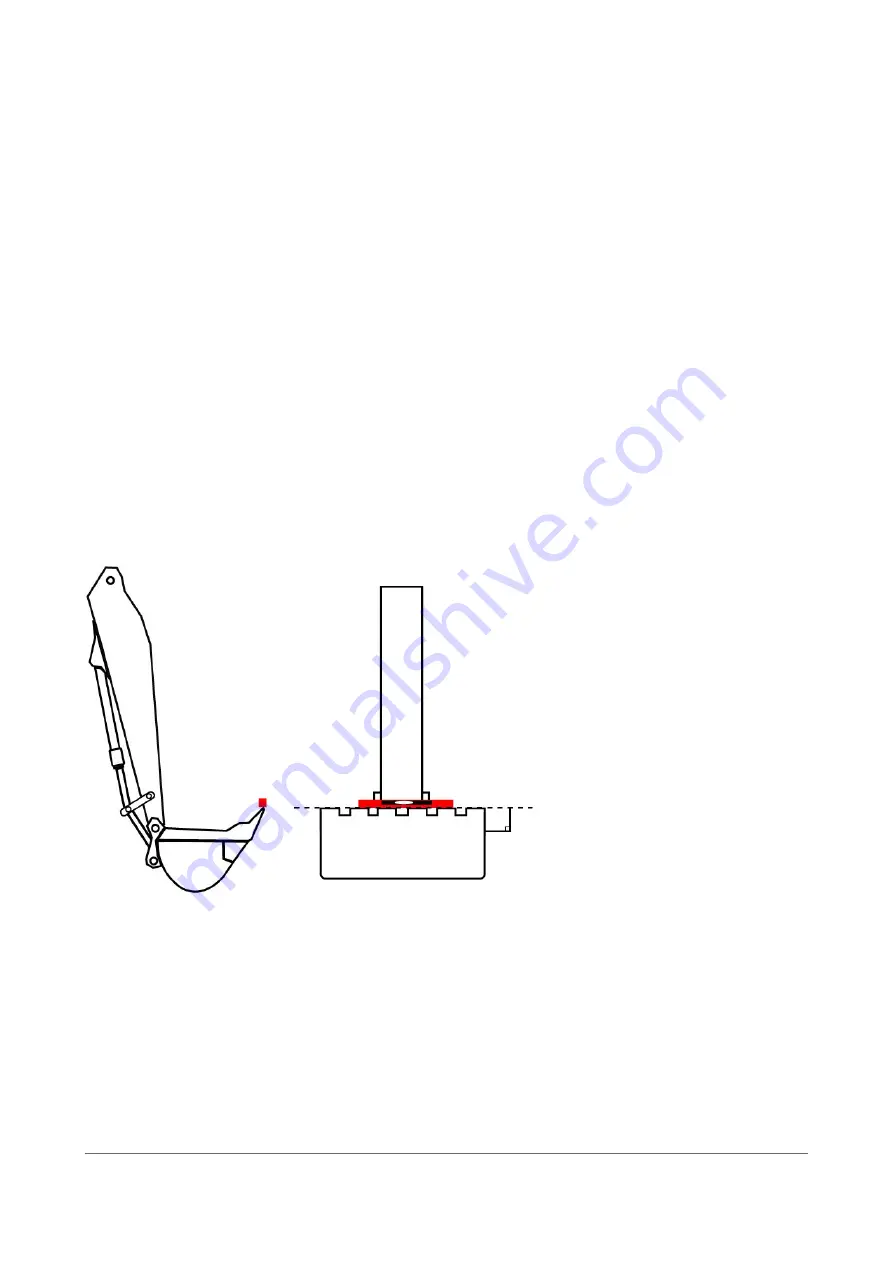
3. Straighten the tilt rotator. Do this by turning the bucket in and straightening the tilt rotator
with a spirit level (Figure 17).
4. Align the bucket blade to a horizontal level (Figure 18).
5. Perform the bucket calibration using a plumb line (see “5.2 Bucket calibration”).
6. Turn the bucket in, press “CALIB” and turn the bucket slowly forward. The bucket should
make a 180 degree turn (Figure 19). When this is done, press “CALIB” once more to accept
the calibration.
7. Turn the tilting axis to horizontal level and press “CALIB” (Figure 20). After this step, the tilt
calibration is complete. Press the “Bucket” button twice and save the settings if the tilt
calibration was successful. Finally test the accuracy as instructed in chapter 2.4.3.
Xsite EASY | User manual | Page 26 of 52
Figure 17. Tilt bucket calibration step 3


