42
Version 3.0
Operator’s Manual
Route
5. Choose either
Bearing, Distance
or
Lat/Lon
(Grid Point, or TD if
you are using other coordinate systems). Use the EDIT keypad to
type in the range and bearing from the previous waypoint (or
present position in the case of the first waypoint) or the coordi-
nates you want and their appropriate description.
6. When the information is correct, highlight the
Done
softkey and
press
ENT
.
7. You can then choose to enter another waypoint using the same
method, select
Escape
to go back one level and use another method
to enter waypoints, or select
Done
to go back to the main menu.
8. Don’t forget to press the
EDIT
key to end your editing.
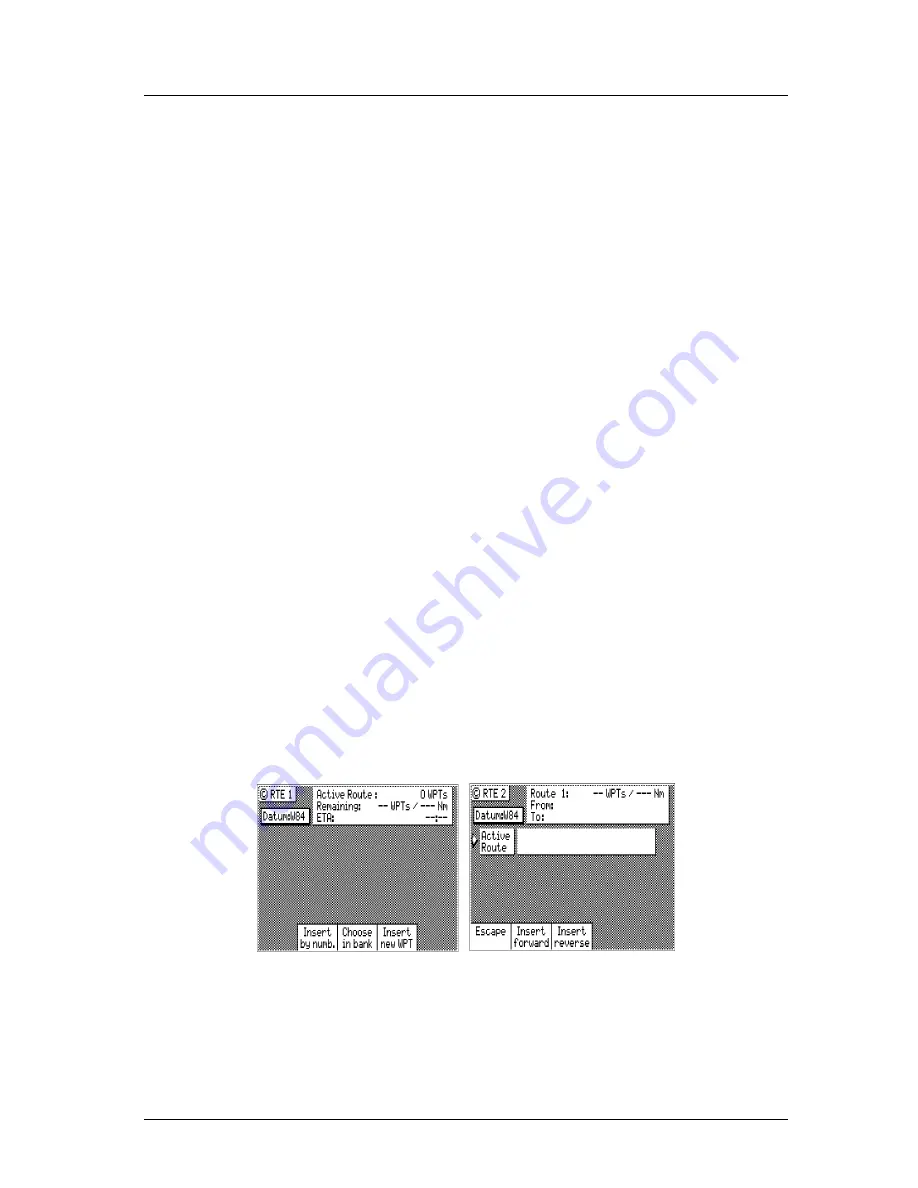
Insert Route
The following example assumes
RTE1
is empty. Follow the direc-
tions in the
Erasing an Existing Route
section to start with an empty
route if you have waypoints in the
RTE1
screen.
To perform this function, you must also have defined a route in the
RTE2
screen. The
RTE2
description follows later in the
Route
sec-
tion.
1. Select the
RTE
key until the
RTE1
screen is displayed.
2. Press the
EDIT
key to enter the edit mode.
3. Highlight
Insert
softkey from the display and press
ENT
. Skip to
the next step if RTE1 is empty.
4. Highlight
Insert Route
softkey from the display and press
ENT
.
5. Use the cursor key to scroll through the available defined routes,
which are created in the
RTE 2
screen, in numerical order.
6. When you have found the route you want, highlight the
Insert
Summary of Contents for MX500
Page 1: ...oOperator s Installation Manual MX500 Navigation System ...
Page 14: ...Version 3 0 ix Table of Contents Operator s Manual ...
Page 165: ...Version 3 0 151 Configuration Operator s Manual ...
Page 167: ...Version 3 0 153 Datum List Operator s Manual ...
Page 195: ...List of Components Installation Manual Version 3 0 181 APPENDIX F INSTALLATION SECTION ...
Page 196: ...Installation Manual List of Components 182 Version 3 0 SECTION 1 LIST OF COMPONENTS ...
Page 219: ...Installation Notes Version 3 0 205 Installation Manual SECTION 5 INSTALLATION NOTES ...
Page 282: ......
Page 283: ......


