ProSafe Wireless-N VPN Firewall SRXN3205 Reference Manual
Wireless Configuration
4-7
v1.0, July 2008
8.
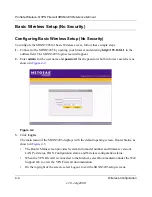
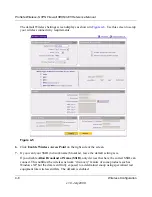
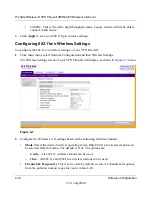
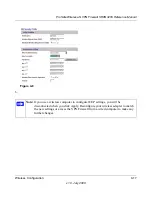
Type your network name in the
Name (SSID)
field on the upper left side of the screen.
9.
From the
Region
pull-down menu, select the region where the SRXN3205 will be used (the
default Region is North America).
10.
Select your wireless
Mode
setting from the pulldown menu or accept the default (11ng)
setting.
The selection are 802.11[a only, b only, g only, g and b, 11ng, or 11a].
(When you change the Mode setting and Click
Apply
, the SRXN3205 will reboot to accept the
change. This is a bug??)
11.
Leave the other settings in the upper left portion of the screen at the defaults.
12.
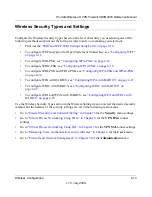
Leave
None
selected as the Wireless Security Type for the basic wireless test.
13.
Click
Apply
at the bottom of the Wireless Settings screen.
If the settings were accepted, a message appears in the center of the screen,
Operation
succeeded.
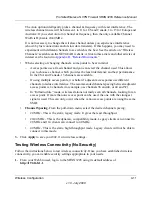
Testing Basic Wireless Access (No Security)
1.
Prepare a PC as the wireless PC Client with a wireless Ethernet adapter installed.
If this PC is already part of your network, record its TCP/IP configuration settings for use
later.
2.
Configure the Client PC to obtain its IP
and
DNS addresses automatically using the internal
DHCP server (DHCP is the default firewall setting).
3.
Using this Client PC, try to access a file or a printer on the LAN connected to the SRXN3205.
If you have not set up the basic wireless settings mentioned earlier to SRXN3205 with the
Host PC, this test will not give satisfactory results. Go to the
“Configuring Basic Wireless
Setup (No Security)”
and set up the SRXN3205 for basic wireless access with no security.
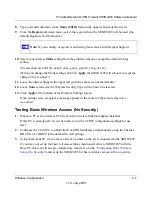
Note:
If your country or region is not listed, please check with Netgear Support.

