


Upgrading Your Server 9-41
12.
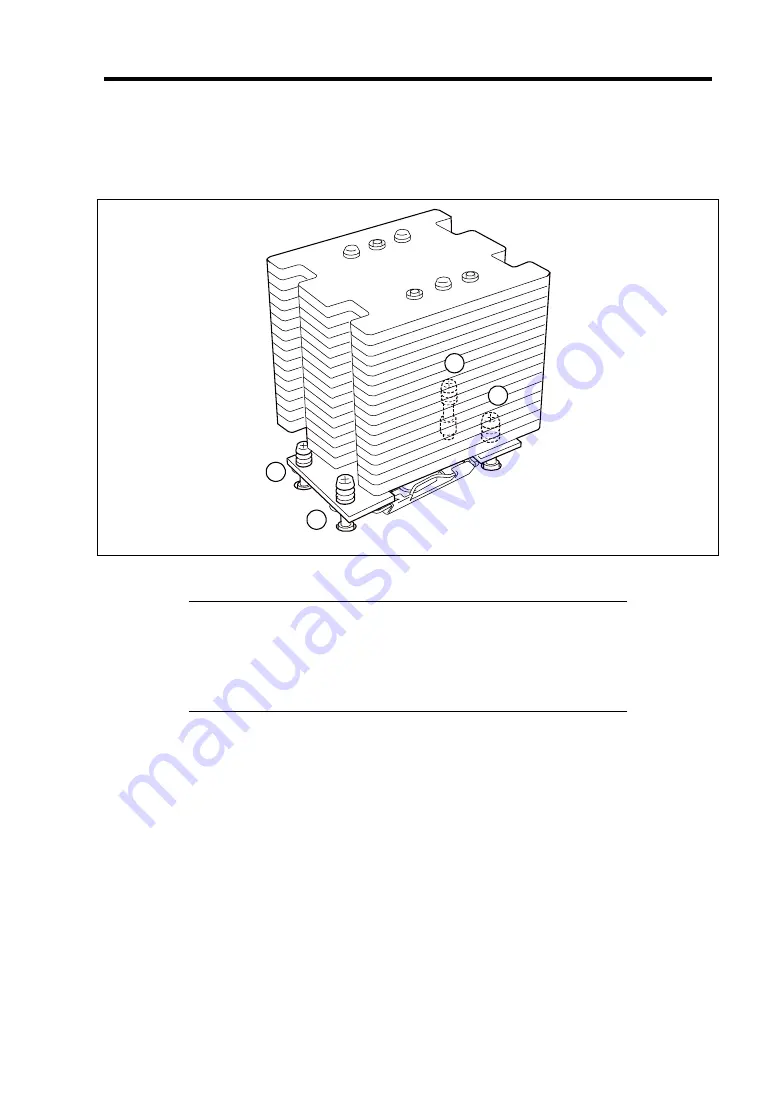
Fix the heat sink with four screws.
Temporarily secure the four screws in the order as shown in the figure below. Then, secure
them tightly.
1
2
3
4
13.
Make sure that the heat sink is level with the mother board.
NOTES:
If the heat sink is not level, remove it, and then install it again. If the
CPU is not positioned correctly, it causes the heat sink not to be
level.
Do not move the secured heat sink.
14.
Install the duct cover, and secure it with a setscrew.
15.
Install the left side cover.
16.
Set [Reset Configuration Data] on the Advanced menu to "Yes".
This setting is required to change the hardware configuration data. See Chapter 4 for
details.
17.
If the CPUs are additionally installed to configure a multi-processor system, provide the
following settings on Windows.
Select [Device Manager] - [Computer] and check the driver. If the driver is "ACPI single
processor PC", change it to "ACPI multi-processor PC". Restart the server according to
the on-screen message, and update the system. See Chapter 5 for details.
Summary of Contents for N8100-1422F
Page 16: ...x This page is intentionally left blank...
Page 161: ...Configuring Your Server 4 93 3 Setting menu for VD 0 is displayed...
Page 238: ...7 12 Maintenance This page is intentionally left blank...
Page 356: ...C 2 IRQ This page is intentionally left blank...
Page 410: ...F 2 Using a Client Computer Which Has a CD Drive This page is intentionally left blank...
Page 414: ...G 4 Product Configuration Record Table This page is intentionally left blank...


