28
option to reduce the size of the images saved out, in these boxes are the
current width and height, if new figures are added into these boxes then the
images will be first reduced before saved out into an AVI files. The ‘Keep
Aspect Ration’ checkbox if checked will keep the images from appearing
stretched, by altering the width or height accordingly.
4.
If the range was not set before clicking the ‘Save As’ button the range can be
altered here if need be.
5.
If the chosen resolution is not a codec compatible one, ticking the checkbox
will place a black edge around the bottom and right side of the image
increasing width and height to make the resolution compatible, without stretch
or enlarging the image.
6.
There is the option to enter a text comment associated with the recording.
7.
When the required settings are set, click the ‘Ok’ button.
8.
Another window will appear asking for a filename and a location.
9.
Then another window will appear asking if the AVI is to be compressed, if so
select on in the drop down list and click ‘Ok’.
10.
Now the AVI will be saved out, and the progress will be indicated in the
progress bar.
If at anytime the save needs to be stop, clicking the ‘Cancel’ button will stop the
saving out.
To save out two camera’s images:
1.
Select the required range as with the single camera, but take note that the
range will be applied to both cameras’ images.
2.
Then click the ‘Save As’ button.
3.
Select the ‘Save 2 Files Joined Together’ bullet; the re-size option will now be
shaded out.
4.
Make sure the range is correct and click the ‘Ok’ button.
5.
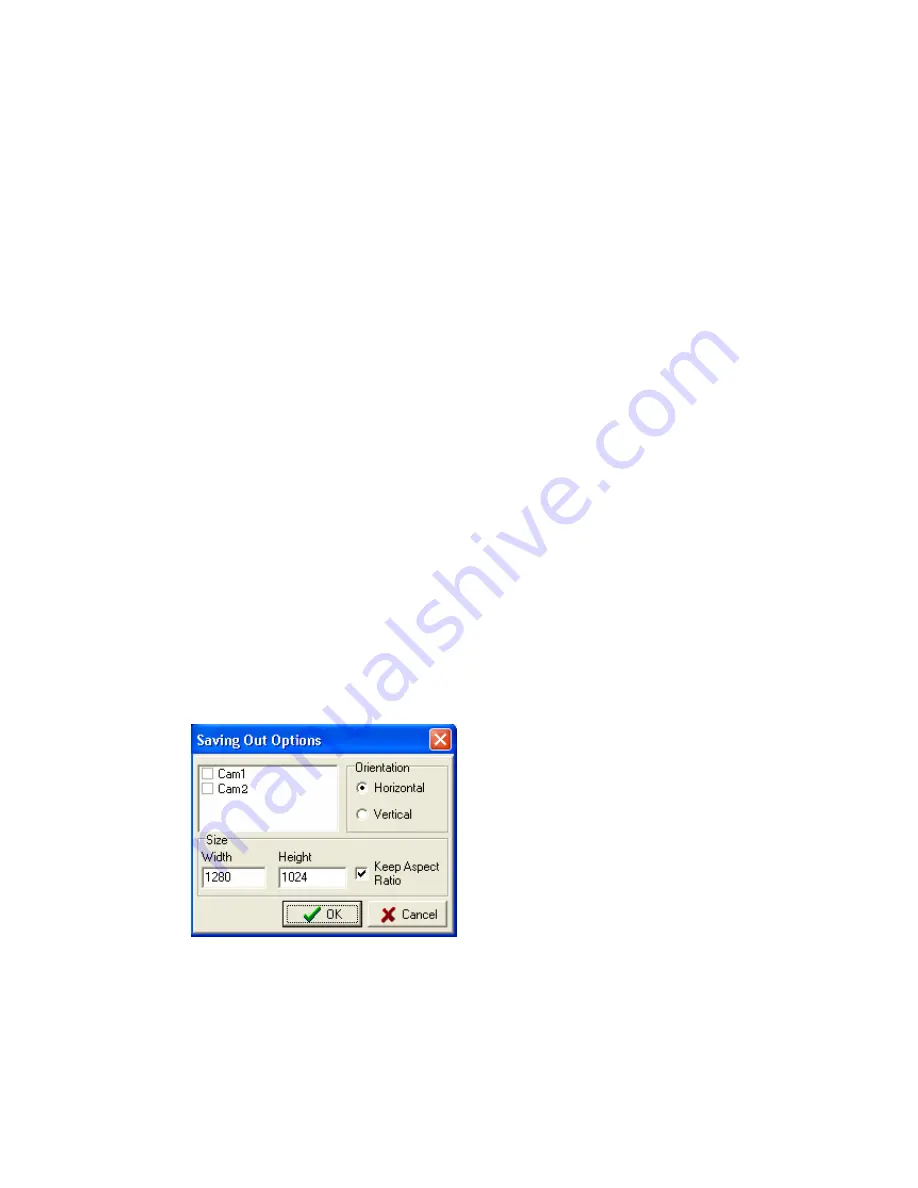
Then the window will change to:
6.
If there are more than 2 cameras in the PC, they will also be displayed in this
list box. But only 2 can be ticked.
7.
Select whether the images are to be placed side-by-side (Horizontal) or on top
of one another (Vertical).
8.
Then if the images need to be reduced select the required measurement as with
the Single camera saves out.


