54
MultiModemISDN User Guide
MT128ISA/PCI
Windows 2000 and the CAPI Interface
Before using the standard CAPI interface with Windows 2000, you must install a CAPI
application such as RVS-COM. See Appendix C of this manual for RVS-COM installation
instructions.
Next, you’ll need to install the modems you plan to use with your CAPI interface.
1. To add a modem, select Start>Settings>Control Panel>Phone and Modem Options.
Select the Modems tab. Next select Add. Choose Don’t detect my modem. I will select it
from a list. Click Next.
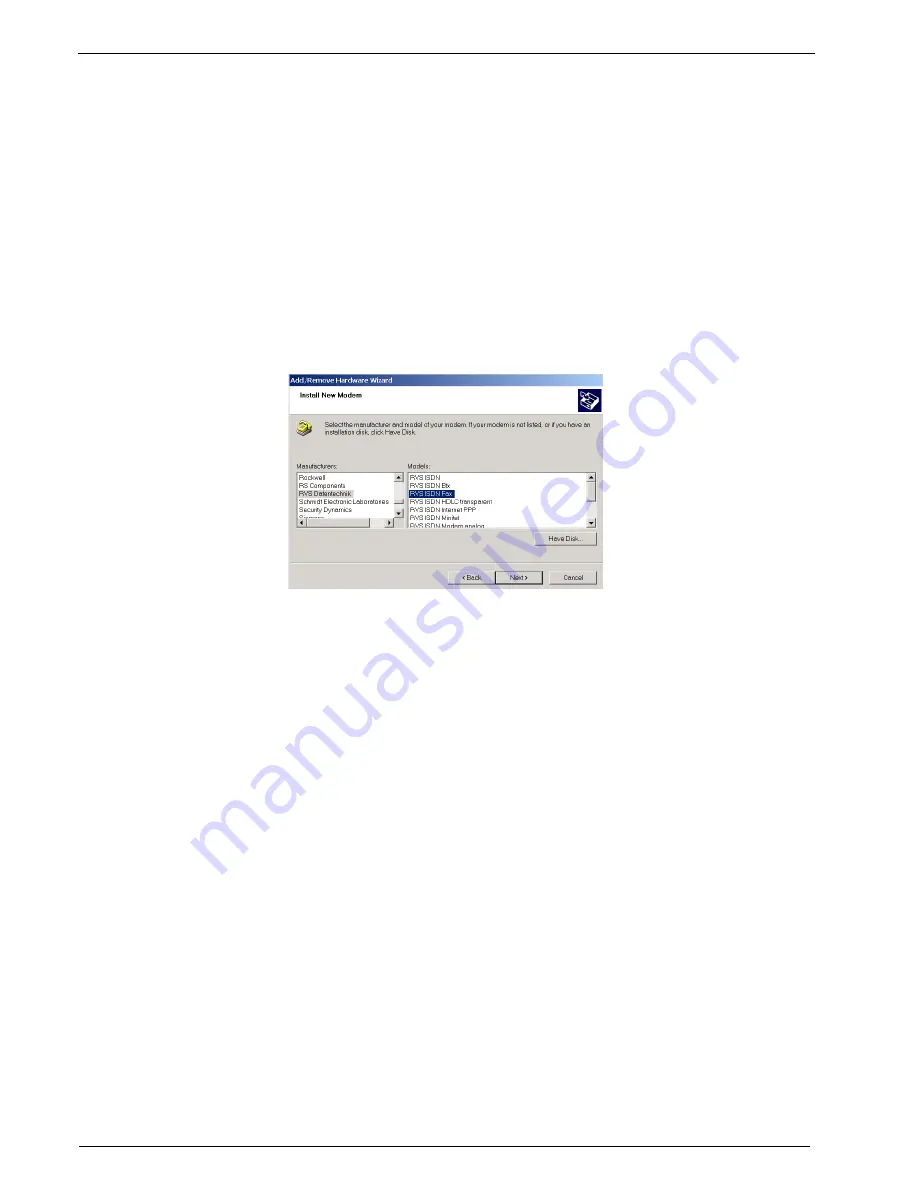
2. In the Manufacturer column, select RVS Datentechnik. In the right hand column, select
the RVS modem you’d like to use for your ISDN application as shown in figure 2-47.
Figure 2-47. Selecting a CAPI Device
3. Select an available ISDN COM port and press Next.
If a Digital Signature Not Found screen appears, select Yes to continue, then Finish. You
will be returned to the Phone and Modem Options Modem tab.
If you need to add a second CAPI compliant device to set up a multilinking, click the Add
button and repeat the process to add the second device.
Once your RVS-COM (CAPI) devices have been added, you are ready to set up a Dial-Up
Connection for your CAPI application.
Windows 2000 Single Channel Access (CAPI)
If RVS-COM Comm Center does not appear on the Windows 2000 task bar, launch the
program using Start>Programs>RVS COM Lite.
1. Create the Dial-Up profile for this connection by clicking Start>Settings>Network and
Dial-Up Connections>Make New Connection.
2. Click Next to select your network connection type.
3. Continue through the Dial-Up Connection screens as outlined in the NDISWAN Single
Channel Access section of the Windows 2000 section of this manual. When presented
with the Choose Modems screen (figure 2-47), select the RVS-ISDN modem (or the
CAPI modem appropriate for your ISDN CAPI compliant application). Click OK.
Summary of Contents for MultiModem ISDN MT128ISA-UV
Page 1: ...Models MT128ISA UV MT128PCI SD MT128PCI SV User Guide...
Page 5: ...Chapter 1 Introduction and Description...
Page 10: ...Chapter 2 Installation...
Page 59: ...Chapter 3 AT Commands...
Page 62: ...Chapter 4 Troubleshooting...
Page 70: ...Chapter 5 Warranty Service and Technical Support...
Page 74: ...Appendices...


