47
Chapter 2 - Installation
MT128ISA/PCI
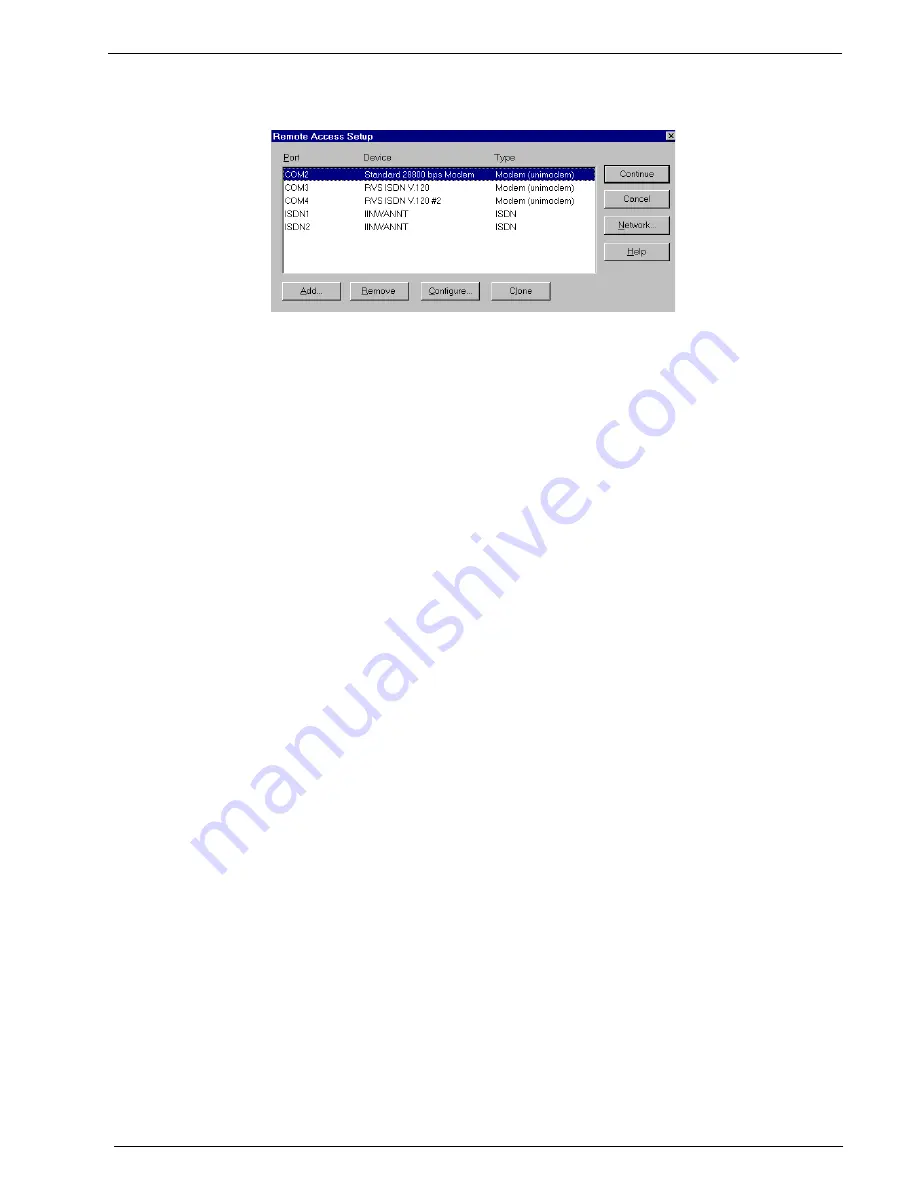
6. The Remote Access Setup Screen displays (figure 2-36).
Figure 2-36. Selecting the CAPI (RVS-COM) device in RAS
7. Add the RVS-COM device to Remote Access Services by clicking Add. From the device
list, highlight the desired modem and click OK.
8. With the newly added device highlighted, click Configure. You will be presented with the
Configure COM Port Usage screen. Select an available ISDN COM port for this device
and select either Dial-Out only, Receive Calls Only or Dial-Out and Receive calls.
Click OK when complete.
If you will be setting up 128K MLP access, you may click Add on the Remote Access Setup
screen and add the second RVS-ISDN device. When the second device has been added,
highlight this new device and click Configure to define the COM port usage for this channel.
After adding the devices to RAS for this connection, click Continue. Restart the computer as
prompted.
Note: If you add a modem at a later date, it must be added to Windows NT RAS before it can
be used.
To add the modem to RAS:
1. From your NT desktop, right click on Network Properties and select Properties.
2. Click the Services tab.
3. When the RAS Services screen appears, select Add.
4. Select the modem you’d like to use with your application. Next, press Continue.
5. Associate the modem to a unique COM port and save the connection.
When the Network Properties screen closes you will be prompted to restart the computer.
Windows NT Single Channel Access (CAPI)
The RVS-COM installation makes several RVS-COM (CAPI compliant) modems available.
Once they are added as modems and set up under RAS, you are ready to set up your Dial-
Up connection.
1. Set up the Dial-Up Networking connection by selecting Programs>Accessories>Dial-Up
Networking.
2. Click New. Provide a descriptive name for this connection and enter the phone number
for your remote server or ISP.
Summary of Contents for MultiModem ISDN MT128ISA-UV
Page 1: ...Models MT128ISA UV MT128PCI SD MT128PCI SV User Guide...
Page 5: ...Chapter 1 Introduction and Description...
Page 10: ...Chapter 2 Installation...
Page 59: ...Chapter 3 AT Commands...
Page 62: ...Chapter 4 Troubleshooting...
Page 70: ...Chapter 5 Warranty Service and Technical Support...
Page 74: ...Appendices...


