26
27
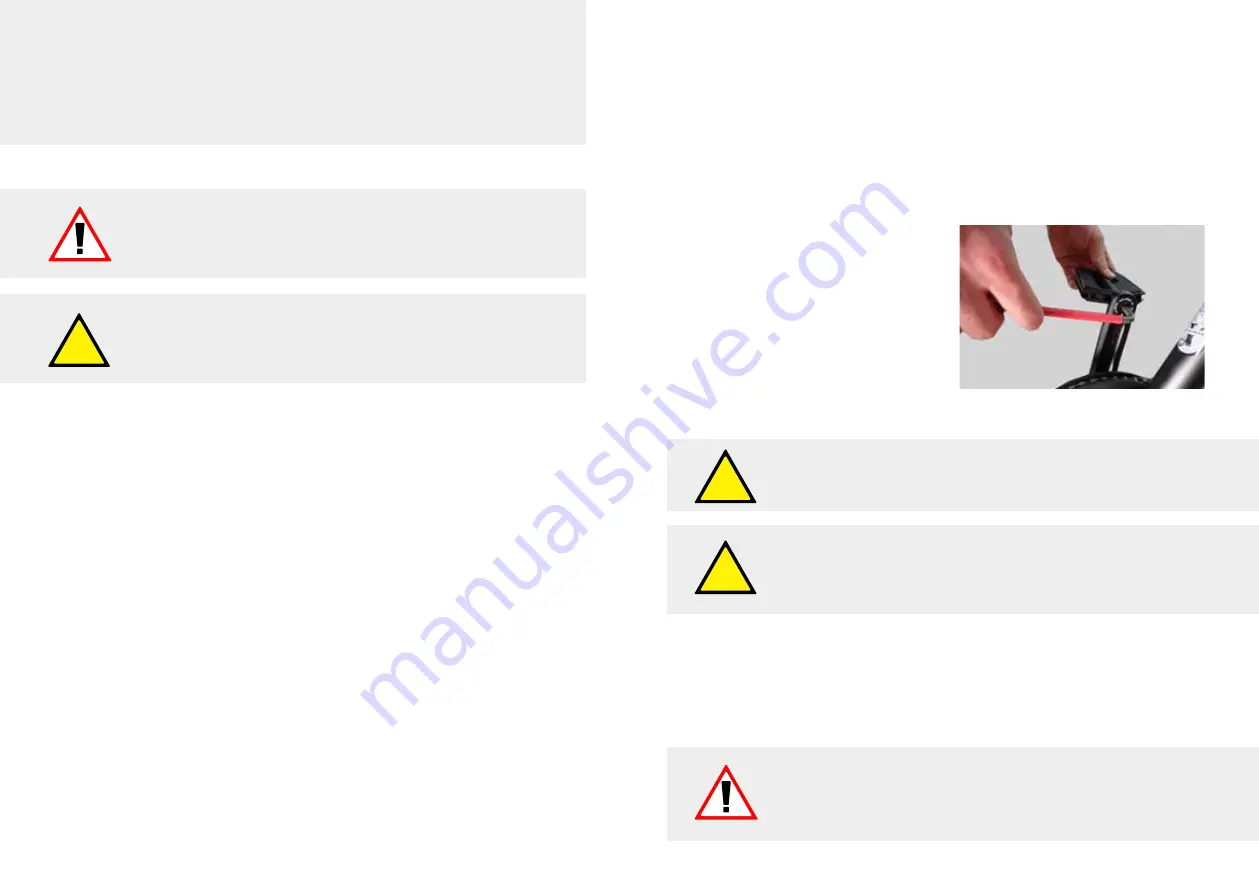
On the axles of the pedals there is a small marking for the side assignment. „R“
stands for right, „L“ for left. Note that the left pedal has a left-hand thread and
must be screwed counterclockwise into the crank.
Grease the pedal thread with commercially available assembly grease and screw
it into the corresponding crank arm by hand. Make absolutely sure that you do
Mounting the pedals
Check the tightness of the pedals after 100km of driving.
Make absolutely sure that you do not tilt the pedal when screwing
it in. A pedal that is screwed in at an angle can cause massive
damage to the thread.
not tilt the pedal when screwing it
in. A pedal that is screwed in at an
angle can cause massive damage to
the thread. Then tighten the pedals
with a 15 mm open-end wrench if the
pedal has external hex nuts, or with
a 6 mm Allen wrench if your pedal
has an internal hex bolt. The corre-
sponding torques can also be found
listed in the „Recommended screw
torques“ section.
Mount the included bell at the desired position on the handlebar. Mount the bell
so that you can reach it very quickly with your thumb without having to take your
hand off the handle.
Mounting the bell
Before you take your e-muli for the first ride after the assem-
bly has been completed, be sure to read the chapter „Before
the first ride“ carefully and implement all instructions contai-
ned therein.
Pull the muli out of the box extremely carefully to prevent
scratches from occurring.
Check the bolts and nuts on the steering linkage before
each ride. Loosening these connections while driving can
lead to serious falls and life-threatening injuries.
Assembly instruction
Summary of Contents for Muskel
Page 1: ...1 User Manual EN muli muskel ...
Page 2: ...2 3 muli muskel User Manual Nr BA LR MU 01 22 ...
Page 6: ...10 11 Safety Instructions ...
Page 12: ...22 23 Before Use ...
Page 25: ...48 49 Components ...
Page 52: ...102 103 Maintenance ...
Page 59: ...116 ...


