Chapter 1
Getting Started
Optional setup tasks 12
For more information on power options, see
Changing how the power button functions
on
page 50.
Optional setup tasks
This section provides information about some other tasks you may want to perform when
you’re getting started with your CL910.
Create a recovery image
Once you have set up your CL910 including installing your applications, create a system
image on an external USB drive. This is a safety measure in the event that your system stops
working.
A system image is an exact copy of a drive and includes Windows® 7, your system settings,
programs, and files. For more information, see
Creating a system image
on page 52.
Insert the pen battery
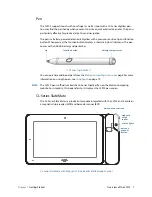
The pen is included with your CL910 and comes in a separate package along with an AAAA
battery and pen tether.
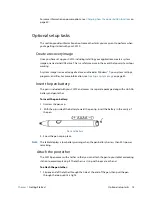
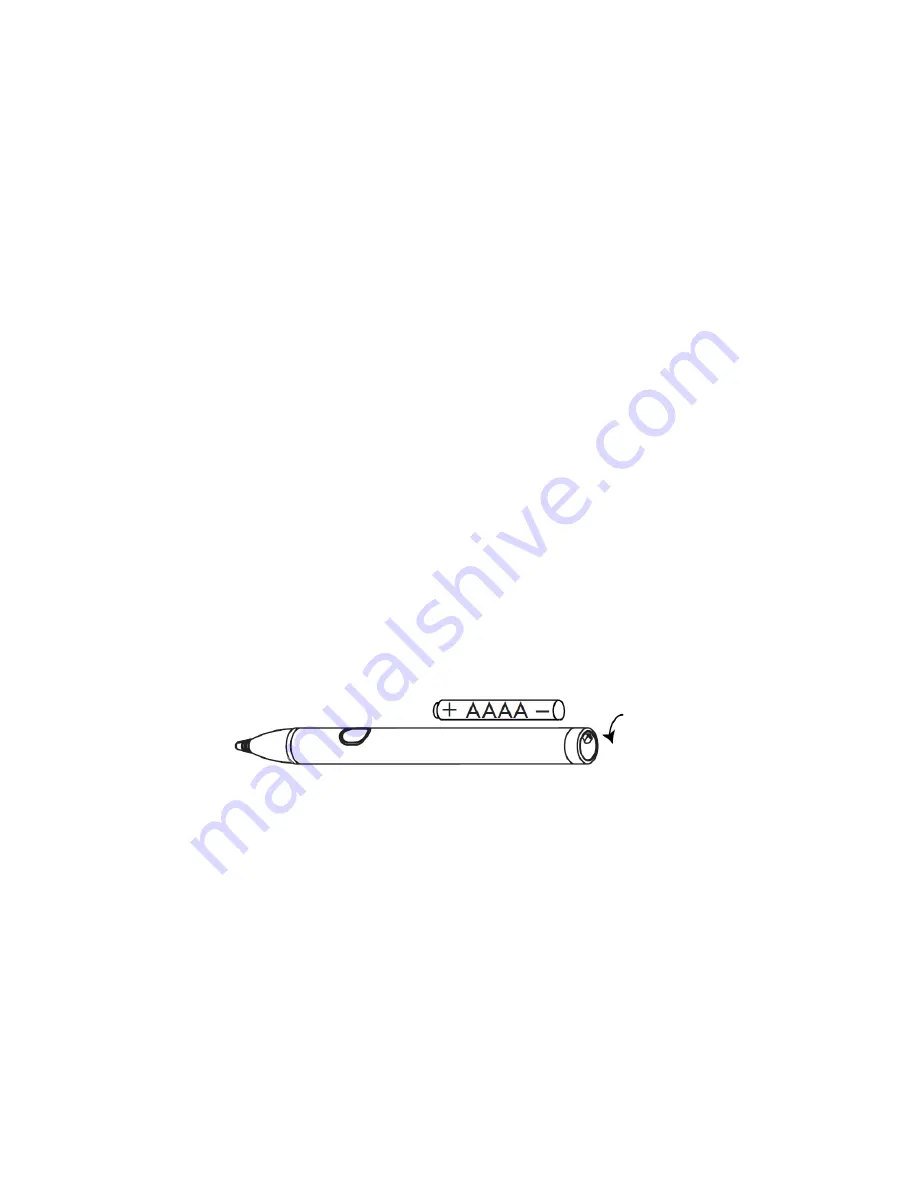
To insert the pen battery:
1. Unscrew the pen cap.
2. With the plus side of the battery toward the pen tip, insert the battery in the cavity of
the pen.
Pen and battery
3. Screw the pen cap in place.
N
OTE
:
The tablet displays a low-battery warning when the pen battery has less than 20% power
remaining.
Attach the pen tether
The CL910 pen comes with a tether so that you can attach the pen to your tablet or docking
station to avoid misplacing it. The tether is a string with loops at each end.
To attach the pen tether:
1. Slip one end of the tether through the hole at the end of the pen, then pull the pen
through the loop until it is tight.


