Gpredict User Manual
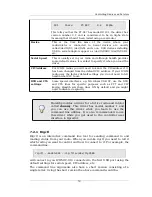
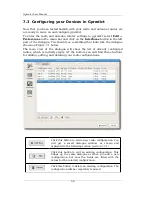
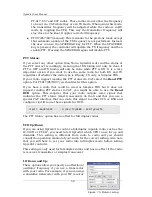
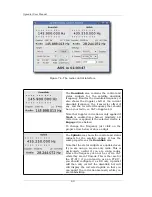
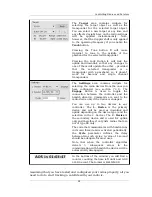
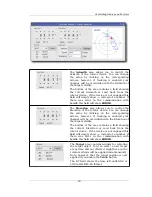
The
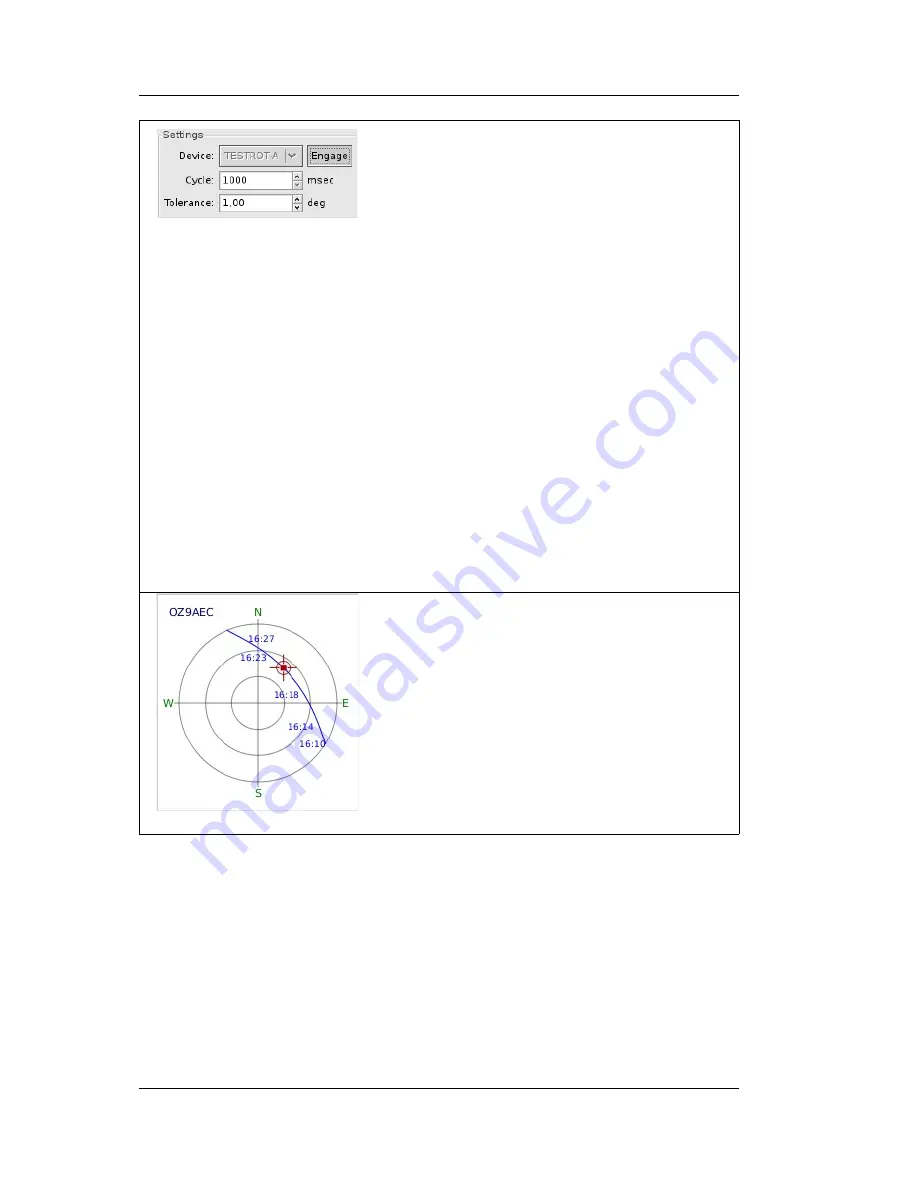
Settings
area allows you to select one of
your rotator devices that you have configured
(see section 7.3.2).
The Engage button is used to toggle the
connection between the controller and the
hamlib driver. Commands are sent to the rotator
device only if the device is engaged.
The code that communicates with hamlib runs
in its own thread and is activated periodically.
the
Cycle
parameter defines the delay between
two such cycles. A value between 2-5 seconds
should be adequate for most uses.
The
Tolerance
parameter can be used to
specify the difference between set and get
positions that you can tolerate. When the
difference between the set and get values
exceeds this parameter a command is sent to
the rotator. The value of this parameter should
be set according to your hardware
characteristics, i.e. no need to set the tolerance
to 0.1° if your rotator precision is ±1° and your
antenna beam width is 25°.
Note that when the controller algorithm
detects 5 subsequent errors in the
communication with hamlib the device will be
automatically disengaged.
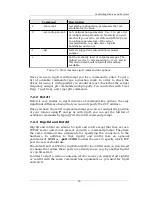
The
Polar Plot
area on the right side of the
window is provided to guide you while you are
tracking a satellite. It shows the next pass of the
currently selected target satellite.
The small rectangle represents the currently
selected target satellite if it is within range. The
circle around the rectangle represents the
current position of the controller while the cross
represents the current position of the rotator
device (if engaged).
If the rectangle, the circle, and the cross are all
aligned you are successfully tracking the target
satellite :-)
When you open the rotator control window tracking will be disabled and
the rotator device disengaged. Select the appropriate device and engage.
You can now control the rotator manually using the Azimuth and Elevation
control widgets. You should be able to see the red circle and the cross
move around the polar plot according to your settings and the current
position of the rotator.
When you want to start tracking a target satellite you simply enable the
Track
button.
Note that when tracking is enabled any manual position changes will be
overridden by the position of the currently selected target. Note, however,
that active tracking will be carried out only if the target satellite is within
64

