Controlling Radios and Rotators
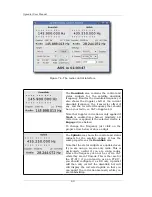
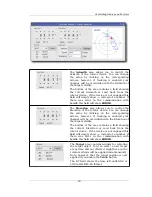
The
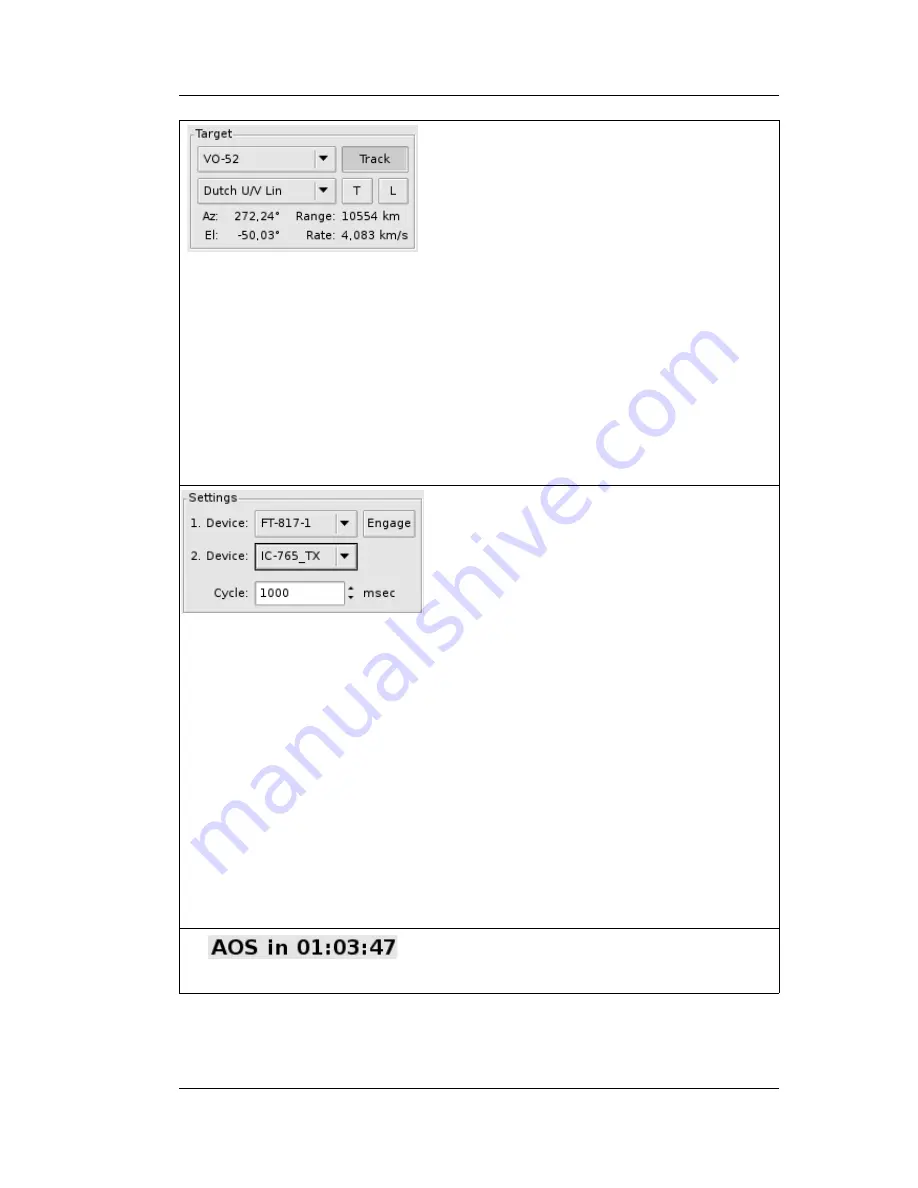
Target
area contains widgets for
selecting the target object as well as the
transponder for the selected target object.
You can select a new target at any time and
any effects it might have on the radio settings
will be applied instantaneously. Note,
however, that the Doppler shift is only applied
to the operating frequency if you enable the
Track
button.
Pressing the Tune button
T
will cause
Gpredict to tune to the middle of the
passband for the selected transponder.
Pressing the Lock Button
L
will lock the
uplink and downlink so that any changes to
one of them will update the other – provided
that the selected transponder is a
transponder with a passband, i.e. it doesn't
work for beacons and single channel
transponders.
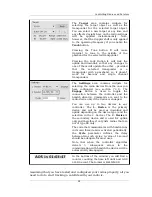
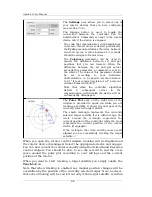
The
Settings
area contains widgets for
selecting the radio devices from the ones you
have configured (see section 7.3.1). The
Engage
button is used to toggle the
connection between the controller and the
hamlib driver(s). Commands are sent to the
radio device only if the device is engaged.
You can use up to two devices in any
controller. The
1. Device
is the primary
device and will be used as downlink and
uplink depending on the device type (and the
selection in the 2. Device). The
2. Device
is
the secondary device and is used for uplink
only and therefore it only lists radios that are
not of type RX only.
The code that communicates with hamlib runs
in its own thread and is activated periodically.
the
Cycle
parameter defines the delay
between two such cycles. A value of 1 second
should be adequate for most uses.
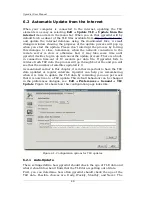
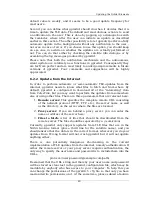
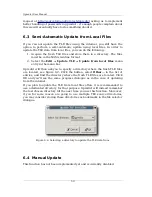
Note that when the controller algorithm
detects 5 subsequent errors in the
communication with hamlib the device will be
automatically disengaged.
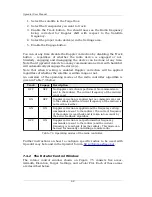
In the bottom of the window you will find a
counter counting the time left until next AOS
or LOS event. The format is HH:MM:SS.
Assuming that you have tested and configured your radios properly, all you
need to do to start tracking a satellite with your radio is:
61

