Gpredict User Manual
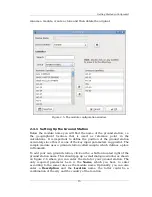
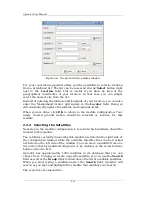
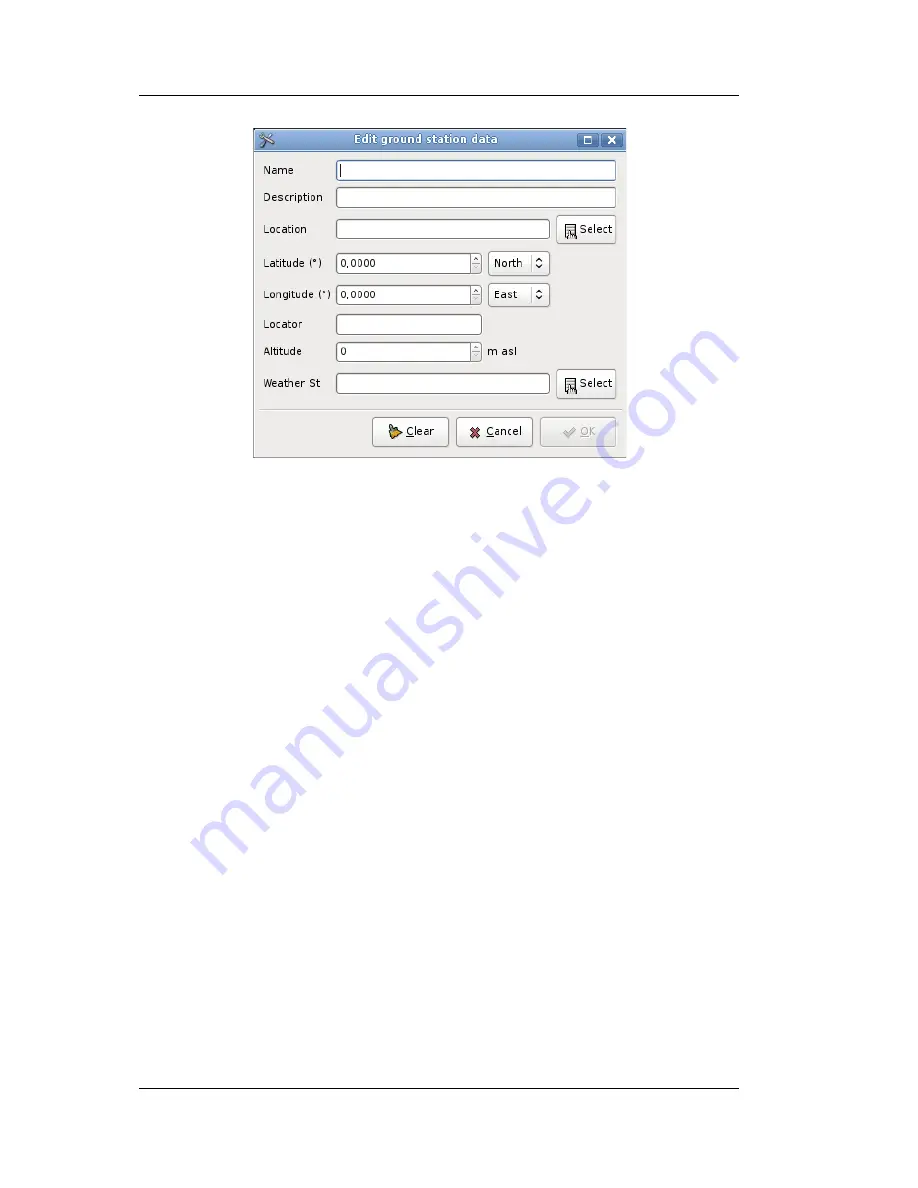
For your convenience gpredict offers you the possibility to select a location
from a predefined list. The list can be accessed via the
Select
button right
next to the
Location
field. This is useful if you have no idea of the
geographical coordinates of your location. In that case you can simply
select the nearest city from the list.
Instead of entering the latitude and longitude of your location, you can also
enter the Maidenhead locator grid square in the
Locator
field. Doing so
will automatically update the latitude and longitude fields.
When you are done, click
OK
to return to the module configuration. Your
newly created ground station should be selected as location for this
module.
2.3.2 Selecting the Satellites
Next step in the module configuration is to select which satellites should be
tracked in this module.
The satellites currently tracked by this module are listed in the right side of
the configuration window while the available satellites that can be tracked
are listed on the left side of the window. You can move a satellite from one
list to the other by double-clicking on it or by clicking on the arrow buttons
between the two lists.
Gpredict has approximately 1200 satellites in its database that you can
choose from. To help you locate a specific satellite, you can use the
Search
field as well as the
Group
filter located above the list of available satellites.
When you start typing a satellite name I the
Search
field, Gpredict will
search as you type and highlight the satellite that matches your search.
The search is case insensitive.
16
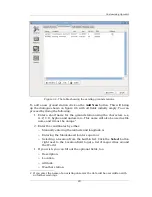
Figure 2.6: The ground station editor window


