


System Configuration
3-14
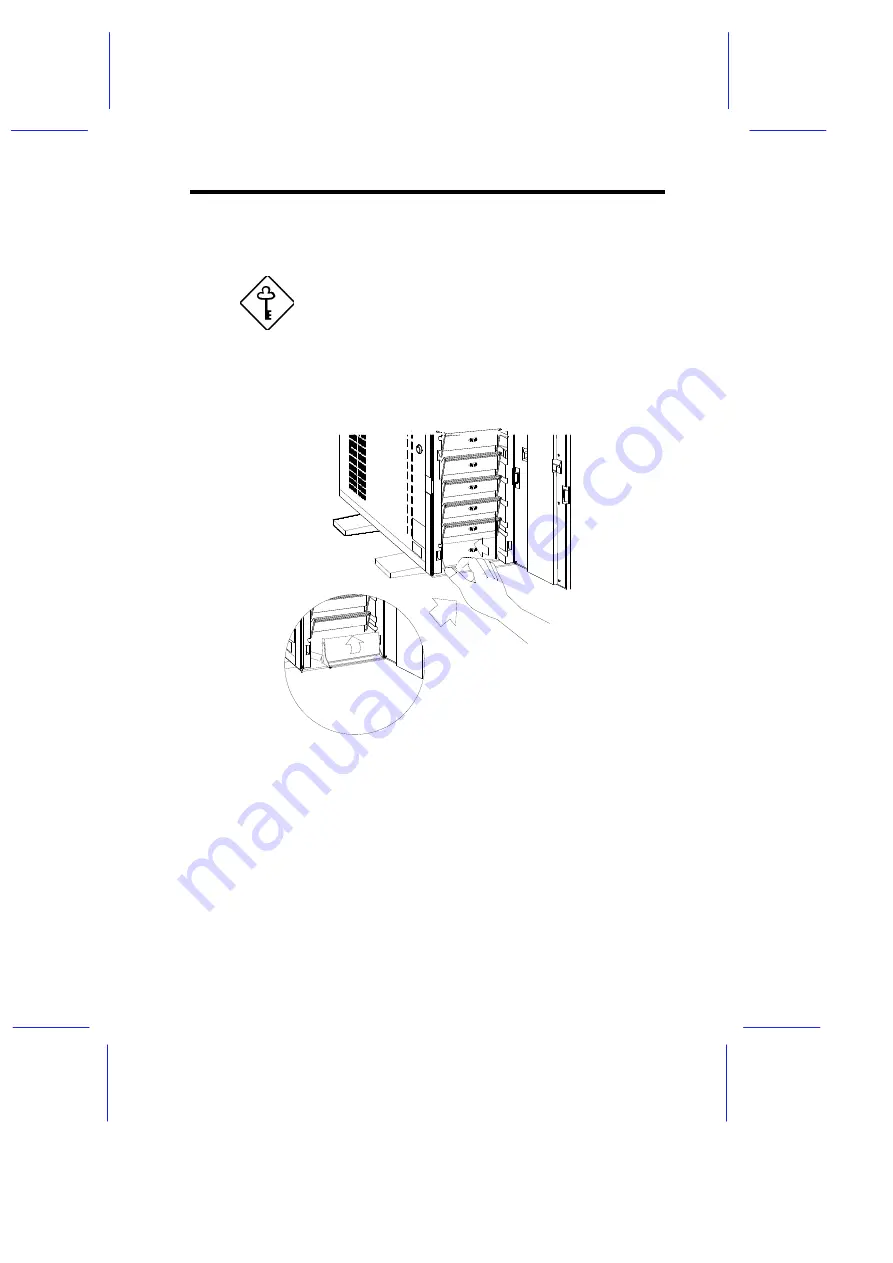
7.
Insert the tray into the drive bay then push up the drive tray
handle into place.
Make sure to push the drive tray handle back
after inserting the tray into the bay.
Otherwise, the tray does not fit in completely.
8.
Push back the drive into the bay until it fits completely into the
backplane board slot.
Figure 3-15
Installing a Hot-swap Drive Tray
Summary of Contents for Apricot FT2200
Page 1: ...FT2200 NATIONAL ACCREDITATION OFCERTIFICATION BODIES System Guide...
Page 2: ...FT2200 System Guide...
Page 19: ...xviii...
Page 34: ...Setting Up the System 2 7 2 2 2 Mouse Figure 2 5 Connecting a Mouse...
Page 35: ...2 8 System Guide 2 2 3 VGA Monitor Figure 2 6 Connecting a VGA Monitor...
Page 37: ...2 10 System Guide 2 2 5 Power Cables Figure 2 8 Power Cables...
Page 79: ......
Page 80: ......
Page 124: ...apricot System Guide FT2200...


