8-2 Peer-to-Peer Printing Program (Windows)
8-9
Usi
n
g
the Ut
il
it
y
S
o
ft
ware
Cha
p
te
r 8
3.
Click the
Printers
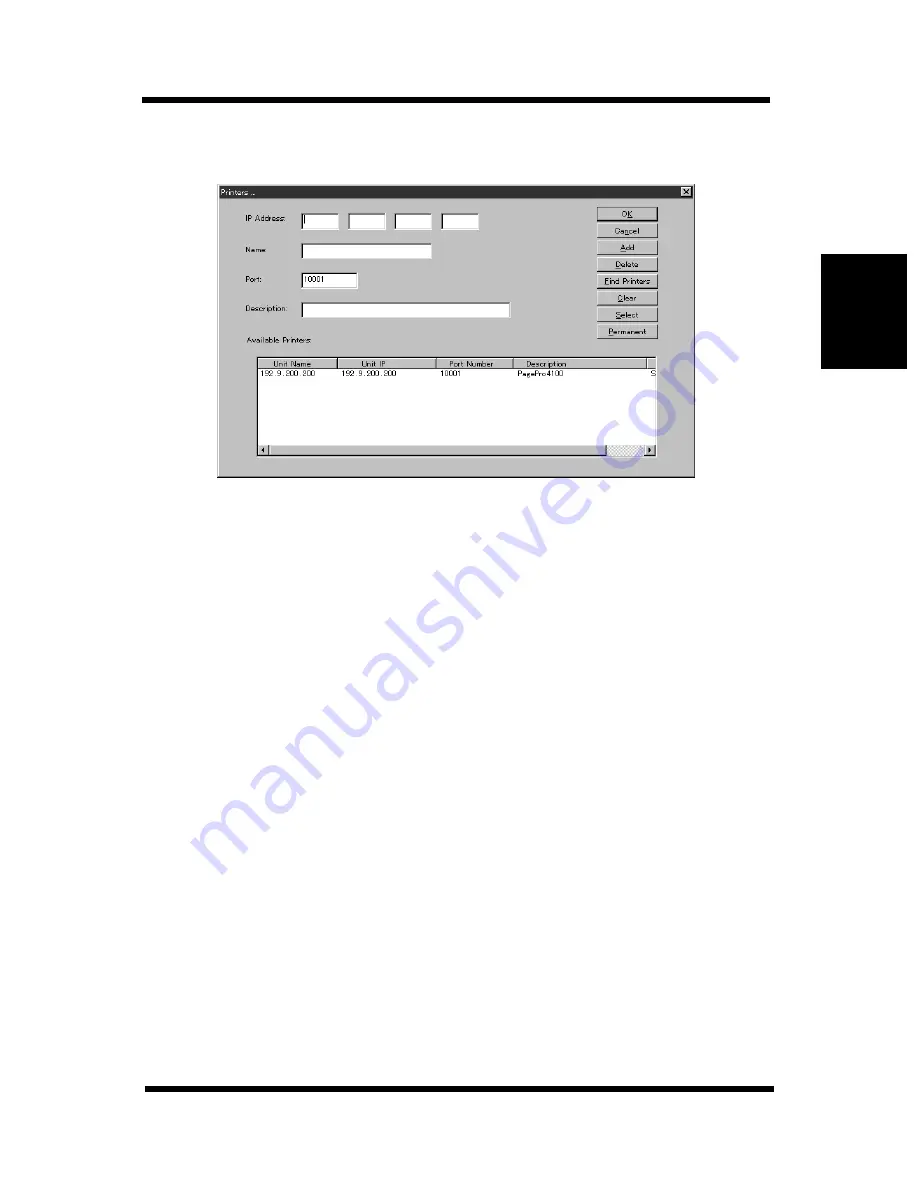
button to display the dialog box shown below.
4.
Input the required information for the printer you want to add into
the fields provided.
•
IP Address
Input the IP address of the printer you want to add.
•
Name
Input the name you want to assign to the printer. Use an easily
understandable name.
•
Port
Input the printer port number. The default port number is 10001.
•
Descriptions
Input a description of the printer.
5.
After making all the settings, click
Add
to close the dialog box.
6.
After you are finished adding printers, click
OK
.
Printers you add using IP Peer-to-Peer printing are added to the
PORT
list of the printer properties dialog box and can be selected for printing.
Summary of Contents for PagePro 4100E
Page 18: ...Chapter 1 Getting Ready Getting Ready Chapter 1 ...
Page 19: ...Getting Ready Chapter 1 ...
Page 25: ...MEMO Getting Ready Chapter 1 ...
Page 26: ...Chapter 2 Installing the Network Card Installing the Network Card Chapter 2 ...
Page 27: ...Installing the Network Card Chapter 2 ...
Page 31: ...MEMO Installing the Network Card Chapter 2 ...
Page 32: ...Chapter 3 Windows Configuration Windows Configuration Chapter 3 ...
Page 33: ...Windows Configuration Chapter 3 ...
Page 46: ...Chapter 4 NetWare Configuration NetWare Configuration Chapter 4 ...
Page 47: ...NetWare Configuration Chapter 4 ...
Page 69: ...MEMO NetWare Configuration Chapter 4 ...
Page 70: ...Chapter 5 Macintosh Configuration Macintosh Configuration Chapter 5 ...
Page 71: ...Macintosh Configuration Chapter 5 ...
Page 74: ...Chapter 6 UNIX Configuration UNIX Configuration Chapter 6 ...
Page 75: ...UNIX Configuration Chapter 6 ...
Page 101: ...MEMO UNIX Configuration Chapter 6 ...
Page 102: ...Chapter 7 Setting Up IP Parameters Setting Up IP Parameters Chapter 7 ...
Page 103: ...Setting Up IP Parameters Chapter 7 ...
Page 113: ...MEMO Setting Up IP Parameters Chapter 7 ...
Page 114: ...Chapter 8 Using the Utility Software Using the Utility Software Chapter 8 ...
Page 115: ...Using the Utility Software Chapter 8 ...
Page 144: ...Chapter 9 Using a Web Browser to Make Settings Using a Web Browser to Make Settings Chapter 9 ...
Page 145: ...Using a Web Browser to Make Settings Chapter 9 ...
Page 172: ...Chapter 10 Using Telnet to Make Settings Using Telnet to Make Settings Chapter 10 ...
Page 173: ...Using Telnet to Make Settings Chapter 10 ...
Page 179: ...MEMO Using Telnet to Make Settings Chapter 10 ...
Page 180: ...Chapter 11 Troubleshooting Troubleshooting Chapter 11 ...
Page 181: ...Troubleshooting Chapter 11 ...
Page 188: ...Chapter 12 Jumper Switch Settings Jumper Switch Settings Chapter 12 ...
Page 189: ...Jumper Switch Settings Chapter 12 ...
Page 193: ...MEMO Jumper Switch Settings Chapter 12 ...
Page 194: ...Chapter 13 Specifications Specifications Chapter 13 ...
Page 195: ...Specifications Chapter 13 ...
Page 197: ...MEMO Specifications Chapter 13 ...
Page 199: ...Installing and Setting Up Network Protocol Windows Appendix A ...
Page 206: ...Appendix Index B Index Appendix B ...
Page 207: ...Index Appendix B ...
Page 213: ...MEMO ...


