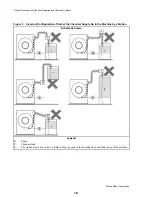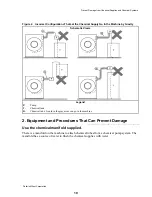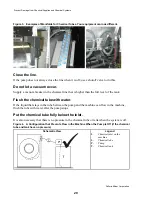
MSIN0203AE/9439AV (1 of 4)
È
HANDLING AND SETTING PROCEDURES
FOR OPEN POCKET HYDRO-CUSHION
®
MACHINES
Ê
Handling Precautions
1. Remove the protective coverings (leaving the machine on ship-
ping skids) and examine carefully for possible shipping
damage. If the machine is damaged, notify the transporta-
tion company immediately.
NOTE: Once the machine is given to the carrier for delivery, it
is solely the responsibility of the carrier to ensure that no
damage occurs during transit. In addition to readily apparent
damage, carriers are liable for concealed damage. Do not
hesitate to file a claim with the carrier if the machine is
damaged in any way during shipment. Milnor
®
will be glad
to assist you in filing your claim, but is not responsible for any
shipping damage to the machine once it has been delivered to
the carrier in good condition.
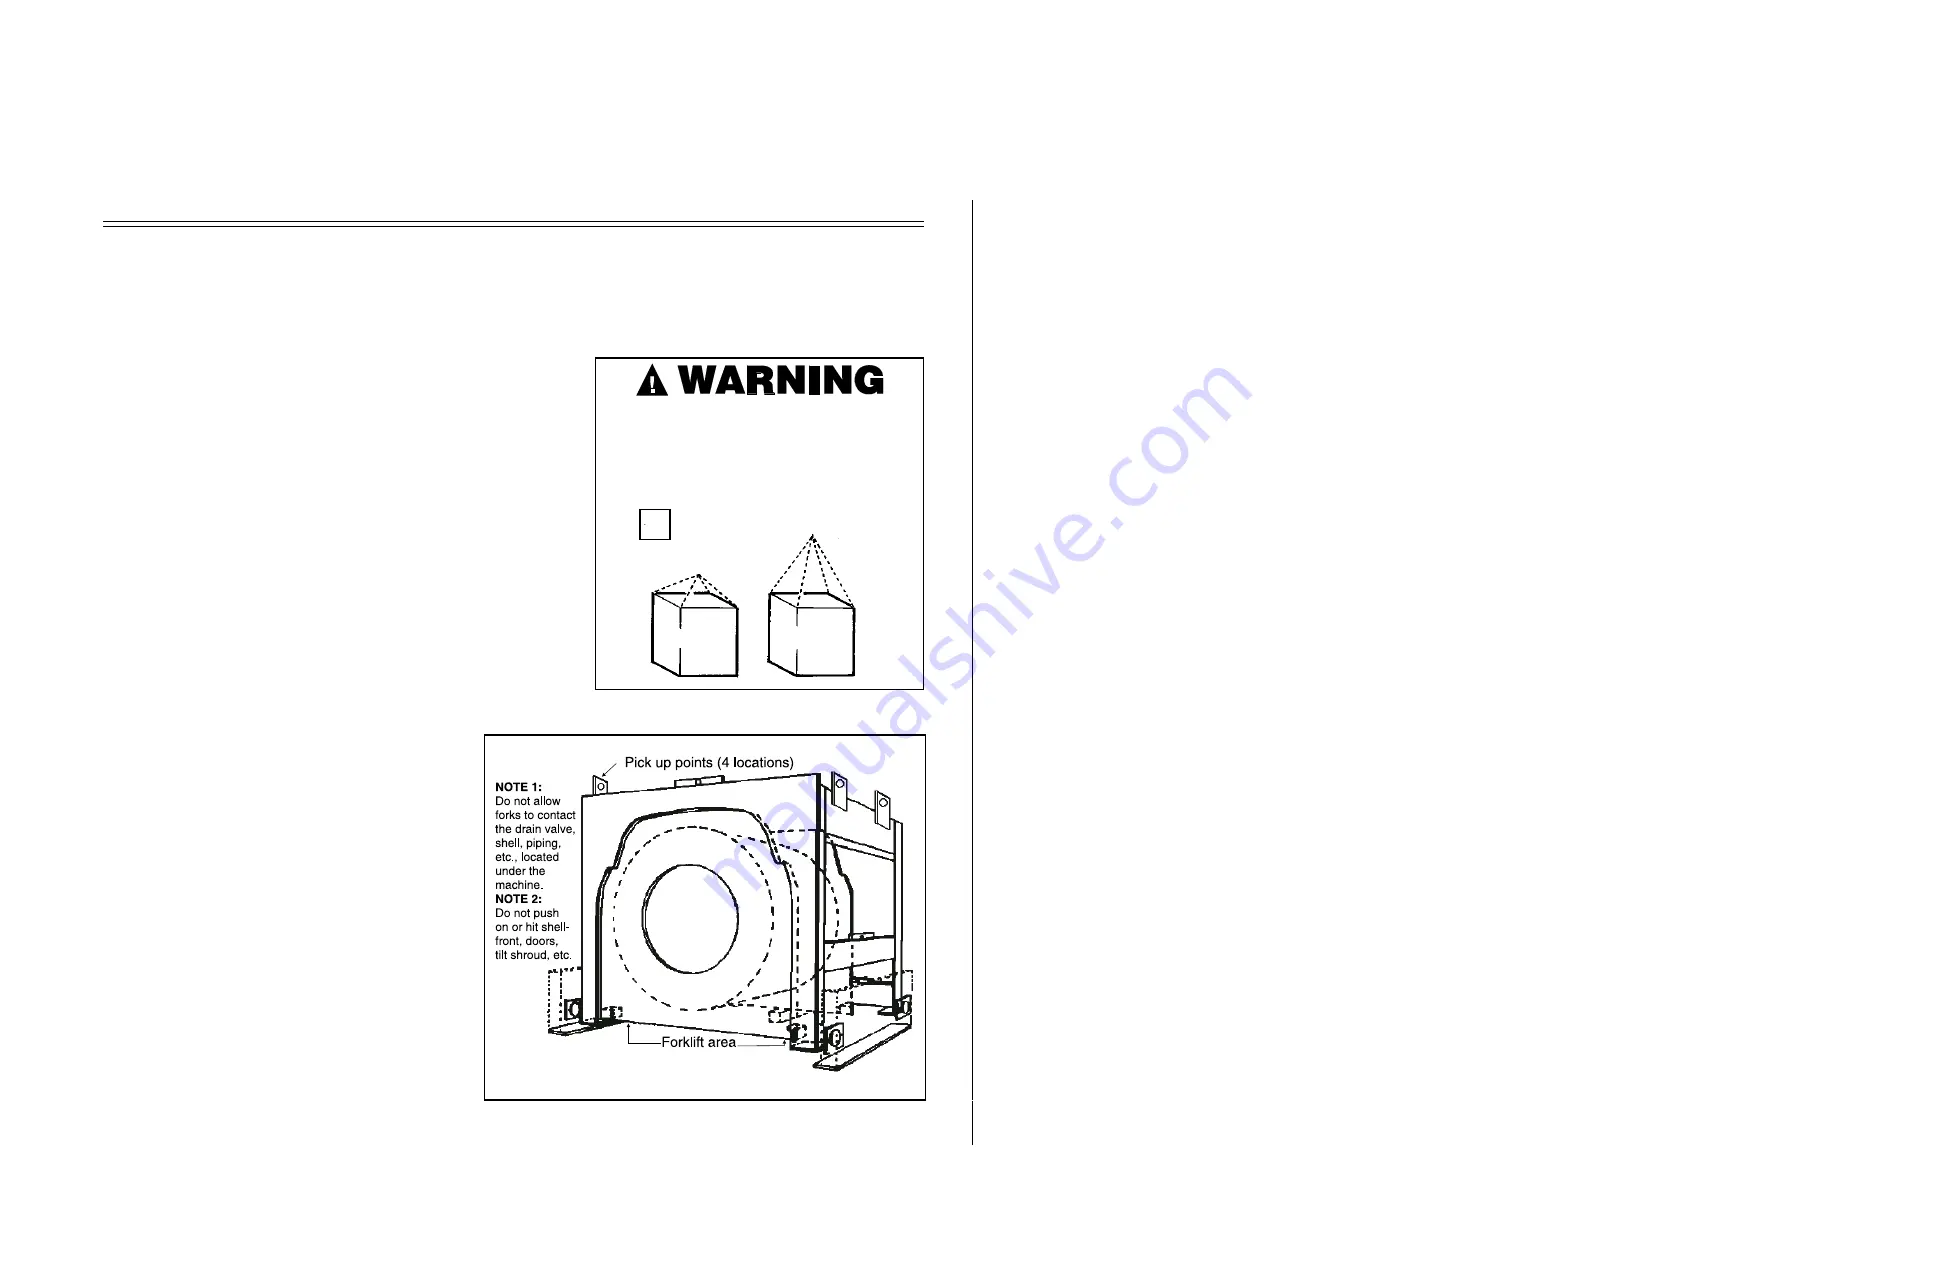
2. When lifting a machine by crane, always connect to the four
lifting rings provided.
3. Use skids for fork lifting. If possible, leave the
machine on shipping skids until it is about to
be placed in its final position. Once the skids
are removed, take care in placing forks under
the machine. Do not allow the forks to come
in contact with valves, piping, motors, etc.,
located under the machine.
4. Never push, pull or exert pressure on any com-
ponents which protrude from the machine
frame, such as the shell front, door, supply in-
jector, electric boxes, controls, belt guards,
inlet piping, etc.
5. Be sure shell door is secured so that it cannot
swing open during installation.
6. The hold down bolts, brackets and spacers
(marked with red) which hold the shell rigid in
the frame must be removed prior to operation.
However, they should should not be loosened
until the machine is ready to be grouted. On tilting machines, the hold down bolts or clamps that hold the
tilt wheels securely in their cradles must not be removed or loosened until after the machine is grouted.
Also, remove the tie wrap that secures the vibration safety switch. Remove these items just prior to opera-
tion.
Ê
Site Requirements
Ë
Space Requirements
1. All openings and corridors through which equipment must pass during installation must be large enough to ac-
comodate the width and the height of the machine (as shown on the dimensional drawings). It is occasional-
ly possible to reduce the overall dimensions by removing piping or other special modifications. Consult
Milnor
®
for additional information.
2. Sufficient clearance must be provided for normal operation and maintenance procedures.
Ë
Operational Requirements
1. Allow sufficient ventilation for the heat and vapors of normal operation to dissipate.
2. Provide easy access to controls. Operators must be able to view all status lights and reach all controls as-
sociated with the machine (e.g., electrical power connections, water and steam shut-offs).
Ë
Foundation Requirements
—The floor and/or all other support components must have sufficient strength
(and rigidity with due consideration for the natural or resonant frequency thereof) to withstand the fully loaded
weight of the machine, including the wet goods and any repeated sinusoidal (rotating) forces generated during its
operation. Determining the suitability of floors, foundations, and other supporting structures normally requires
analysis by a qualified structural engineer.
Ë
Drain Requirements
—An open trench must be provided in the floor for draining. Its size (as a minimum)
and location (centered under the drain valve) should be as shown on the dimensional drawing and with a minimum
slope of 1/8" per foot to sewer. Even where one trench serves several machines the cross section area of the trench
shown on the dimensional drawing is normally acceptable since draining is intermittant and the portion of the trench
located under each machine is sufficient to contain most, if not all, of the outfall from one machine. Refer to local
codes for sanitary requirements such as traps, etc.
Rigger is liable for
damages both directly
and indirectly caused
by rigging.
4 point pick-up
wrong
right
Î
FIGURE 1
(MSIN0203AE)
Î
Lifting Instructions
Î
FIGURE 2
(MSIN0203AE)
Î
Pickup and Forklift Area
23
Summary of Contents for 42044SR2
Page 2: ......
Page 4: ......
Page 8: ......
Page 9: ...Installation 1 5 ...
Page 37: ...Î FIGURE 8 MSIN0301AE Î Vibration Switch Î FIGURE 9 MSIN0301AE Î 60 Staph Guard 33 ...
Page 51: ...586DA4 BUecU CicdU CSXU QdYS B5EC5 D1 9 CD1 1D9 1 4 5B1D9 C9 1 15 1F _V 47 ...
Page 53: ...Dimensional Drawings 2 49 ...
Page 54: ......
Page 55: ...51 ...
Page 56: ...52 ...
Page 57: ...53 ...
Page 58: ...54 ...
Page 59: ...55 ...
Page 60: ...56 ...
Page 61: ...57 ...
Page 62: ...58 ...
Page 63: ...59 ...
Page 64: ......
Page 65: ...61 ...
Page 66: ...62 ...
Page 67: ...63 ...
Page 68: ...64 ...


