Page 14
Accumass BW500
PL-565
Inst
allat
ion
Optional Plug-ins
SmartLinx
®
Module
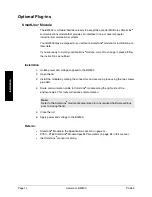
The BW500 is software/hardware ready to accept the optional Milltronics SmartLinx
®
communications module that provides an interface to one of several popular
industrial communications systems.
Your BW500 may be shipped to you without a SmartLinx
®
module, for installation at a
later date.
If you are ready to install your SmartLinx
®
module, or want to change it, please follow
the instructions as outlined.
Installation
1.
Isolate power and voltages applied to the BW500
2.
Open the lid
3.
Install the module by mating the connectors and secure in place using the two screws
provided.
4.
Route communication cable to SmartLinx
®
module along the right side of the
enclosure wall. This route will reduce communication.
Note:
Refer to the SmartLinx
®
module documentation for any required hardware settings
prior to closing the lid.
5.
Close the lid
6.
Apply power and voltage to the BW500.
Refer to:
•
SmartLinx
®
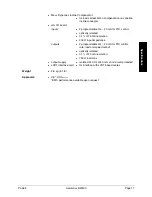
Module in the Specifications section on page 14,
•
P750 – P769 SmartLinx
®
Module Specific Parameters on page 84 in this manual,
•
the SmartLinx
®
manual for wiring.
Summary of Contents for ACCUMASS BW500
Page 1: ...ACCUMASS BW500 Instruction Manual PL 565 January 2001 CCUMASS BW500 33455650 Rev 1 2...
Page 6: ...Page 6 Accumass BW500 PL 565...
Page 12: ...Page 12 Accumass BW500 PL 565 Specifications...
Page 28: ...Page 28 Accumass BW500 PL 565 Installation...
Page 88: ...Page 88 Accumass BW500 PL 565 Parameters...
Page 94: ...Page 94 Accumass BW500 PL 565 Operation...
Page 106: ...Page 106 Accumass BW500 PL 565 PID Control...
Page 110: ...Page 110 Accumass BW500 PL 565 Batching...
Page 112: ...Page 112 Accumass BW500 PL 565 Certification...

