25
PN: 81127
Rev 4, 6/2017
3.1.3
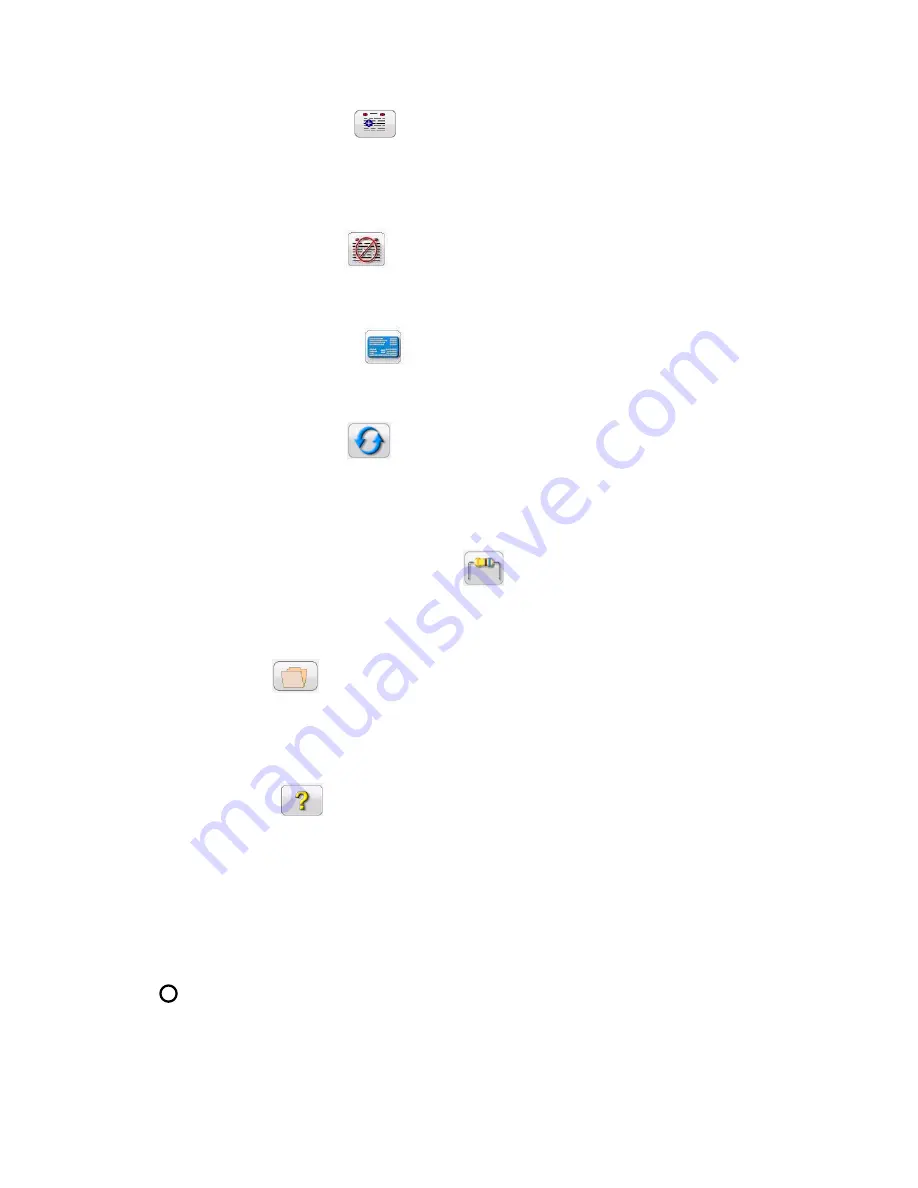
Add To Report Button
Press this button to either View Report or Add to the Report. It also allows the user to enter limits,
comments or deficiencies. Reports can be saved to the STVI internal memory and transferred to
PowerDB via a USB memory stick. Previous tests results ca
n be loaded and the ‘Retest’ option can be
used to repeat the test using the same parameters as the previous test.
3.1.4
Clear Results Button
Press or click on the Clear Results button to Clear Active (last test) or Clear All test results that have been
added to the report.
3.1.5
Nameplate Data Button
Press this button to go to the Nameplate Data entry screen. Here the user can input all the related data
associated with the device under test. This information will appear in the Test Result Header.
3.1.6
System Reset Button
The SPI unit is self protected against internal overcurrent in the amplifier, and thermal overloads. In the
event that the unit should alarm off due to one of these situations the system must be reset before testing
can continue. Press the System Reset button to reset the error sensing circuitry.
3.1.7
Insulation/Contact Resistance Button
Allows the user to enter insulation and contact resistance data for the device under test. This data is not
determined by the SPI test set.
3.1.8
File Folder
It provides the user the ability to save tests and test results, or open saved tests or test results (see
section 2.5). If using the PC version users will have the PowerDB file system to save test (job) files (see
PowerDB Help).
3.1.9
Help Button
Press this button to access the online manual or for help associated with the Configuration Screen.
3.1.10
Requested Current (A) Amplitude Button
Pressing or clicking this button will provide the user with the virtual numeric keypad (STVI), or use the
keyboard (PC version) to enter the desired test current.
3.1.11
11
Mode Button
Pressing or clicking on the Mode button will toggle between Continuous and Momentary Modes.


