


Rad-67
Chapter 4: Operation
www.masimo.com
55
Masimo
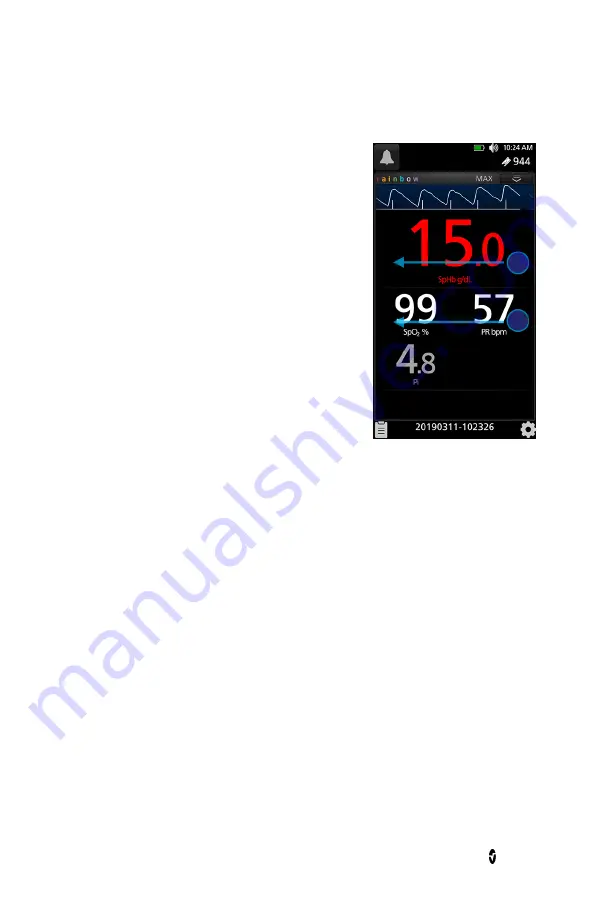
Capturing Screenshots
To take a screenshot, swipe across the Rad-67 screen
from right to left using 2 or more fingers
simultaneously.
A confirmation flash will appear on the entire
screen and a status message will be displayed
briefly at the top of the Rad-67 screen.
The status message indicates the filename of the
screenshot taken.
Patient ID, age and gender are not captured in the
screenshot feature and are displayed as asterisk
*****.
Downloading Screenshots
To download the screenshots:
1.
Remove any sensors connected to the patient to stop monitoring, and
acknowledge any alarms triggered on Rad-67.
2.
Connect the Rad-67 Data Transfer Download Cable to the Masimo Proprietary
port of Rad-67. See
Front, Top, and Bottom Views
on page 26.
Note:
Before connecting the USB drive in the next step, there must be a folder
titled “screen_shot” in the USB drive with a FAT or FAT32 system file to enable
the download of the screenshots.
3.
Plug the USB drive into the USB end of the cable, and the screenshots will
automatically download. A status message displays briefly at the top of the Rad-
67 screen to indicate the start of the download.
4.
A confirmation status message displays briefly at the top of the Rad-67 screen
when the file transfer is complete.
5.
Unplug the USB drive from the cable and the Data Transfer Download Cable from
the Rad-67.
To import the screenshots from the USB drive onto a computer, plug the USB drive into the
computers USB port, then open the folder titled “screen_shot” (from the USB drive) on the
computer to access the .png files.


