24
Logging Points in Continuous Mode
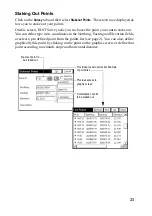
On the
Surv
tab, select the
Auto by Inter-
vals
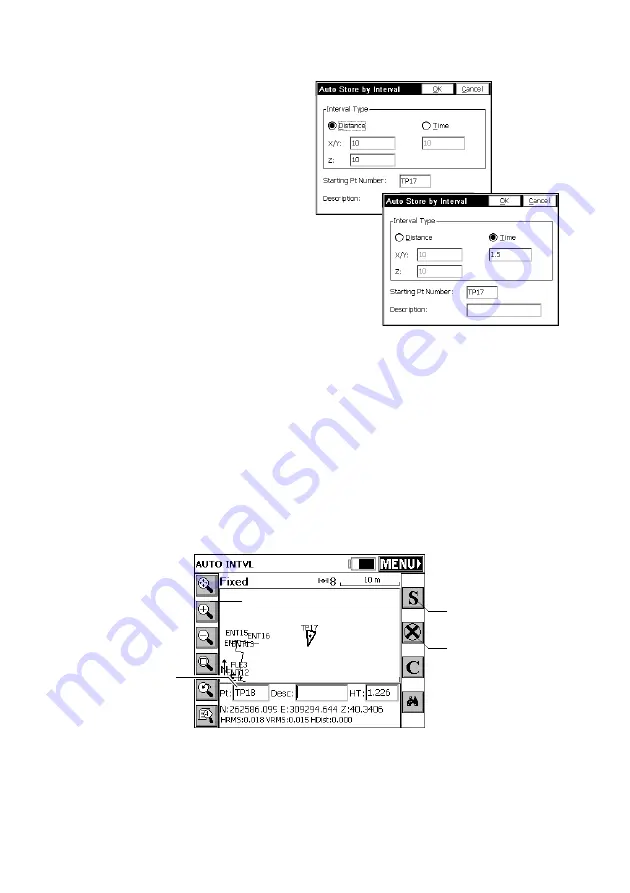
function. Two different modes
are possible: Time or Distance (see
figure opposite).
If you choose
Distance
, enter the hori-
zontal and vertical increment value
respectively in the
X/Y
and
Z
fields,
according to the chosen unit, in the
Value
field. If you choose
Time
, enter
the increment value, in seconds.
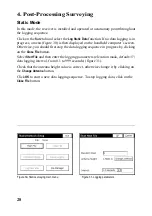
Enter a point Id. for the start point in
the
Starting Pt Number
field. This field
will increment after each point log-
ging. You do not need to define a
name finishing with a figure. FAST
Survey will place one anyway when incrementing this field.
Press
OK
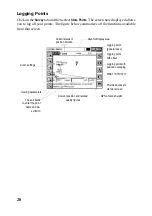
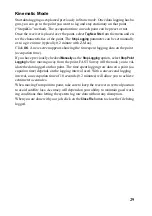
to switch to the graphic screen (see figure below) and to start logging the
first point.
The
S
button lets you instantly log the position of a point. The
X
button allows you
to pause data logging in continuous mode. If data logging in continuous mode is
paused, you can still continue to log points in manual mode using the
S
button. Click
the
X
button again (changed into a right arrow during pause) to resume data logging
in continuous mode. If you come back to the main menu by clicking on
MENU
, then
data logging in continuous mode is automatically stopped.
Used to pause/re-
sume data logging
Point Id.
incremented
automatically
Used to log a point’s
position manually
Summary of Contents for FAST Survey
Page 1: ...FAST Survey Getting Started Guide www thalesnavigation com THALES NAVIGATION...
Page 4: ...ii...
Page 35: ......

