9
7. Click on the
GPS
tab.
8. On the
GPS
tab, choose the coordinate system to be used in the job as well as
the geoid model. Note that the coordinate system and the geoid model may have
been uploaded earlier to the handheld computer using one of the GNSS Studio
tools (see
GNSS Studio Office Software User Manual
for more information). A
large number of coordinate systems are stored in FAST Survey. To select one of
them, click on the
Edit Projection List
button and then
Add Predefined
.
9. After selecting all the desired parameters, click
OK
(located on top of the
screen).
Connection to the Receiver
In this step, FAST Survey will try to connect to the receiver using the communica-
tion parameters last used. If no receiver is connected to the field terminal or if you
are using bad communication settings, FAST Survey will return the following mes-
sage:
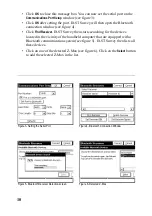
In this case, you will have to check that you are using the right port to communicate
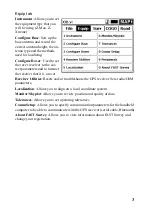
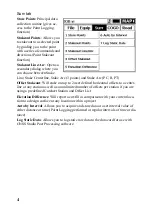
with the Z-Max receiver. You will do this by clicking on the
Equip
tab and then se-
lecting the
Comm Setup
function (see figure 4 on next page).
1. If you are using a serial data cable, select the port on the handheld computer that
is connected to the Z-Max receiver.
2. If you are using a Bluetooth device, we recommended that you first search for
all Bluetooth devices. This will significantly speed up the procedure.
• Turn on your Z-Max receivers.
• Click on
Set Port to Bluetooth
so that FAST Survey can automatically detect
the communication port assigned to the Bluetooth device. Once the port is
detected, a message is displayed giving you the identification of this port
(see below):
Summary of Contents for FAST Survey
Page 1: ...FAST Survey Getting Started Guide www thalesnavigation com THALES NAVIGATION...
Page 4: ...ii...
Page 35: ......


