


51
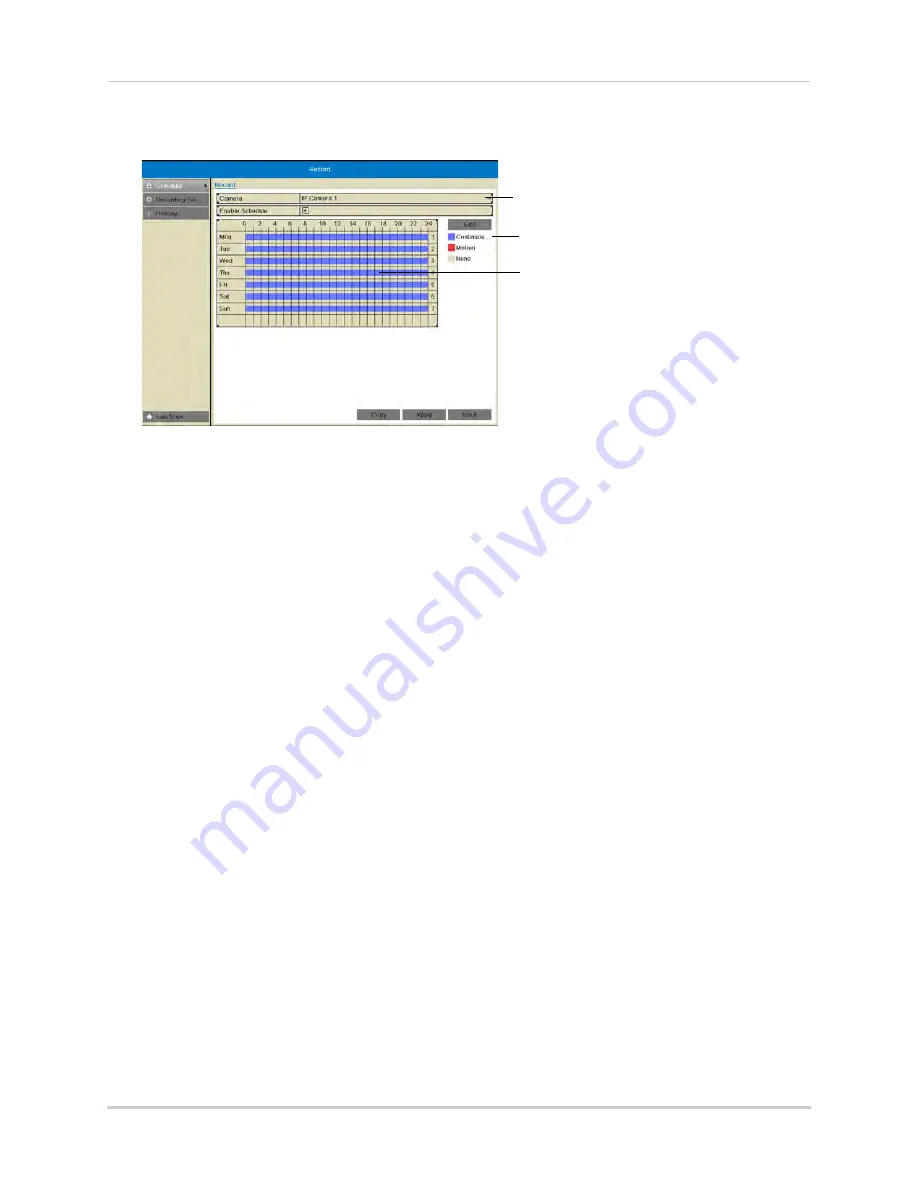
Record
7
Click and drag inside the schedule to apply the currently selected recording type.
Click to select a schedule type
Click and drag to add the recording
type to the schedule
Select camera
8
(Optional) To copy the schedule to other cameras, click
Copy
. Check cameras you would like
to copy the schedule to. Check/un-check
IP Camera
to copy the schedule to all cameras.
Click
OK
to copy the schedule.
9
Click
Apply
to save changes. Right-click repeatedly to return to live view.
Recording Setup
Use the Recording Setup to configure recording and streaming parameters for your
cameras such as the resolution, frame rate, network bandwidth, and event pre and
post-recording durations.
The Encoding Settings are set separately for Continuous and Event (motion) recording.
They may also be set for remote streaming to a computer or mobile device through the
Substream tab.
Configuring Recording Resolution, Frame Rate, and Image Quality
The resolution, frame rate, and image quality can be set separately for each camera, as
well as for continuous and motion recording.
To configure the recording resolution, frame rate, and image quality:
1
Right-click and then click
Menu
.
2
Enter the system user name (default:
admin
) and password (default:
000000
) and click
Yes
.
3
Click
Record>Recording Setup
.
4
Under
Camera
, select the camera you would like to configure.
5
Configure the following settings under
Mainstream (Continuous)
to set the parameters for
continuous recording:
• Under
Resolution
, select the recording resolution of the camera:
1280*720 (720P)
or
1920*1080 (1080P)
.
• Under
Video Quality
, select the video quality from
Lowest
to
Highest
.
Summary of Contents for LNR340
Page 17: ...xv Web Browser Remote Playback 174 Troubleshooting 176...
Page 18: ...xvi...


