5
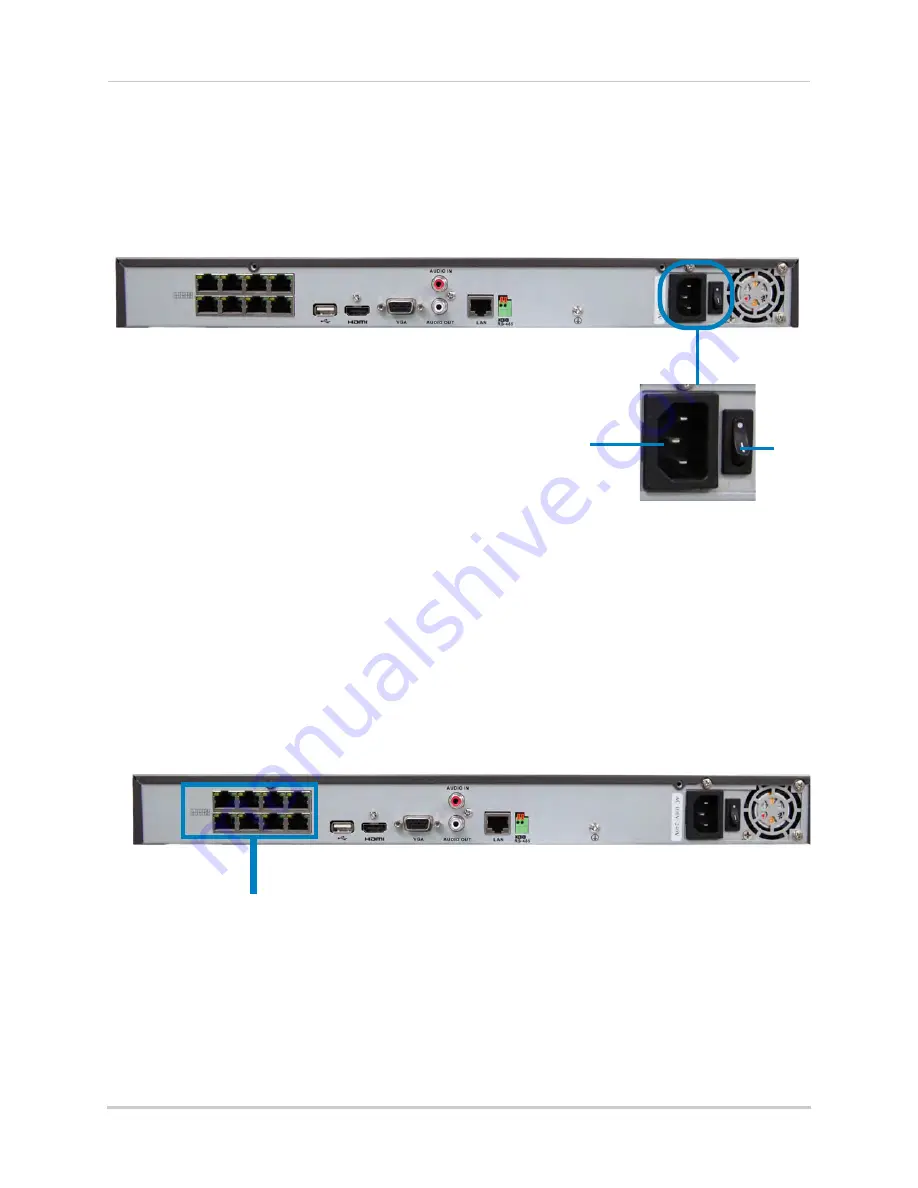
Step 4: Connect the Power Adapter and Power on the NVR
• Connect the included power cable to the
Power
port. Connect the end of the power cable to
a wall socket or a surge protector.
• Turn the power switch to
I
to turn on the NVR. At startup, the system performs a basic system
check and runs an initial loading sequence. After a few moments, the system loads a live
display view.
8-channel model shown
Power Port
ON
Step 5: Connect the IP Cameras
NOTE:
Only Lorex IP cameras are supported with the NVR.
Option 1: Direct Connection to NVR (Recommended)
The NVR features integrated Power over Ethernet (PoE) ports, which allow you to connect
cameras directly to the NVR.
Simply connect the IP cameras to the
PoE
ports on the rear panel of the NVR using Cat 5e
or higher Ethernet cable, and the cameras will appear on the NVR without any additional
configuration. The PoE ports will provide power to the cameras and facilitate the
transmission of video data to the NVR.
Connect IP Cameras directly to PoE ports
8-channel model shown
NOTE:
The cameras may take up to 1 minute to power on and show an image on the monitor
after being connected to the NVR.
Option 2: Connect Cameras to Local Network
Since 16-channel models have only 8 PoE ports, you must connect channels 9~16 to the
local network by connecting them to the same router as the NVR. For details, see
“Connecting Cameras over the Local Network” on page 9.
Summary of Contents for LNR340
Page 17: ...xv Web Browser Remote Playback 174 Troubleshooting 176...
Page 18: ...xvi...