54
User Manual
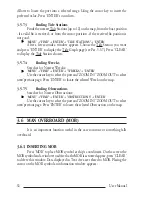
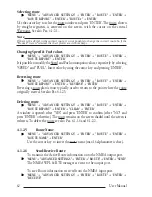
Fig. 4.1.1.1 - Waypoint placing
4.1.1.2
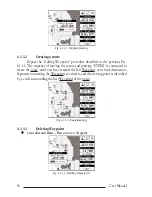
Creating a route
Repeat the "Adding Waypoint" procedure described in the previous Par.
4.1.1.1. The sequence of moving the cursor and pressing 'ENTER' is continued to
create the route, until you have reached the last Waypoint, your final destination.
Segments connecting the Waypoints are shown, and the starting point is identified
by a circle surrounding the first Waypoint of the route:
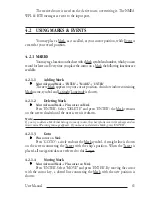
Fig. 4.1.1.2 - Route planning
4.1.1.3
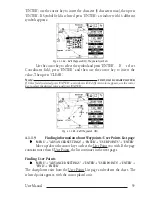
Deleting Waypoint
Select Advanced Mode + Place cursor on Waypoint
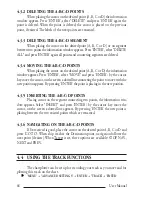
Fig. 4.1.1.3 - Deleting Waypoint (I)
Summary of Contents for Compact 7 Plus
Page 14: ...16 User Manual...
Page 19: ...21 User Manual Fig 2 5 1 GPS Connection on Port 3...
Page 50: ...52 User Manual...
Page 87: ...89 User Manual 6 For the Technician 6 1 DIMENSIONS Fig 6 1 EXCALIBUR models Dimensions...
Page 92: ...94 User Manual Fig 6 4a GPS Connection on Port 3 for chartplotter with external GPS receiver...
Page 98: ...100 User Manual...

