36
3.7 Saving Images and Generating a PDF Report of the Current Count
3.7.1 To save data and/or generate a report, insert a USB drive into the USB port on the left side of
the instrument.
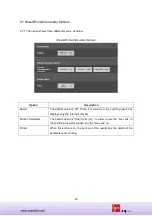
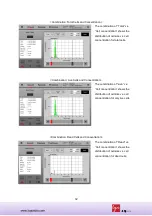
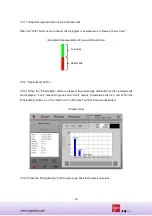
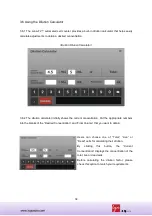
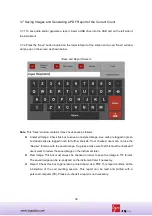
3.7.2 Press the “Save” button located on the lower left part of the screen and a new “Save” window
will pop up on the screen as shown below.
<Save and Report Screen>
Note
: This “Save” window contains three check boxes as follows:
Analyzed Image: Check this box to save an analyzed image. Live cells are tagged in green
and dead cells are tagged in red for further analysis. If not checked, users can not use the
“Review” function with the saved image. So, please make sure that this must be checked if
users want to review the saved image on the instrument later.
Raw Image: This box must always be checked in order to save the image in TIF format.
The saved image can be re-analyzed on the instrument later if necessary.
Report: Check this box to generate a printed report as a PDF. This report contains all the
information of the cell counting session. This report can be read and printed with a
personal computer (PC). Please un-check if a report is not necessary.


