20
2.4 Setting the Date and Time
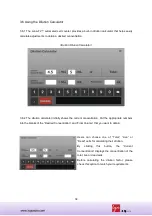
2.4.1 On the “Settings” screen, select the date and time buttons.
2.4.2 After selecting the field, erase the number using the “Backspace” button (
), set the date or
time using the number buttons, and press the “Apply” button (
) to save the changes. .
2.5 Save Options
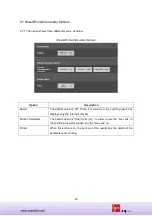
2.5.1 The “Save Options” screen will be seen as below, after selecting the “Save Options” button.
As a default, only the “Analyzed Image” button is activated (On), while the “Raw Image” and “Report”
button are inactivated (Off).
<Save Options>
2.5.2 In the “Default Image Save” menu, users can choose their options to save the raw image,
PDF report, or both. Each button can be switched on and off.
Saved Items
Description
Analyzed image
The image contains the counting results and the tagging of live and
dead cells.
Raw image
The image contains only the captured image for counting. In the
bright field cell counting mode, the bright field image will be


