


18
4
Press
and number buttons (0-9)
to enter correct date, then press
ENTER
to
confi rm the entry.
Started_SystemSetup_02_02
If you decide not to change the date, press
to return
to the upper-level options.
5
When completed, press
to return to the main
menu.
6
Press
or
SETUP
to completely exit the
Setup menu.
Note
• This DVD recorder allows users to enter date
up to 31/12/2099 (December 31, 2099 ). Date
beyond this day
CANNOT
be set.
• If you would like to change the date display
format (e.g. 2005/04/01 or 01/04/2005), please
make the adjustment through
Setup
System
Clock Format
.
Setting System Time
1
Press
SETUP
to display the Setup menu.
2
Press
to select ‘System’, then press
ENTER
.
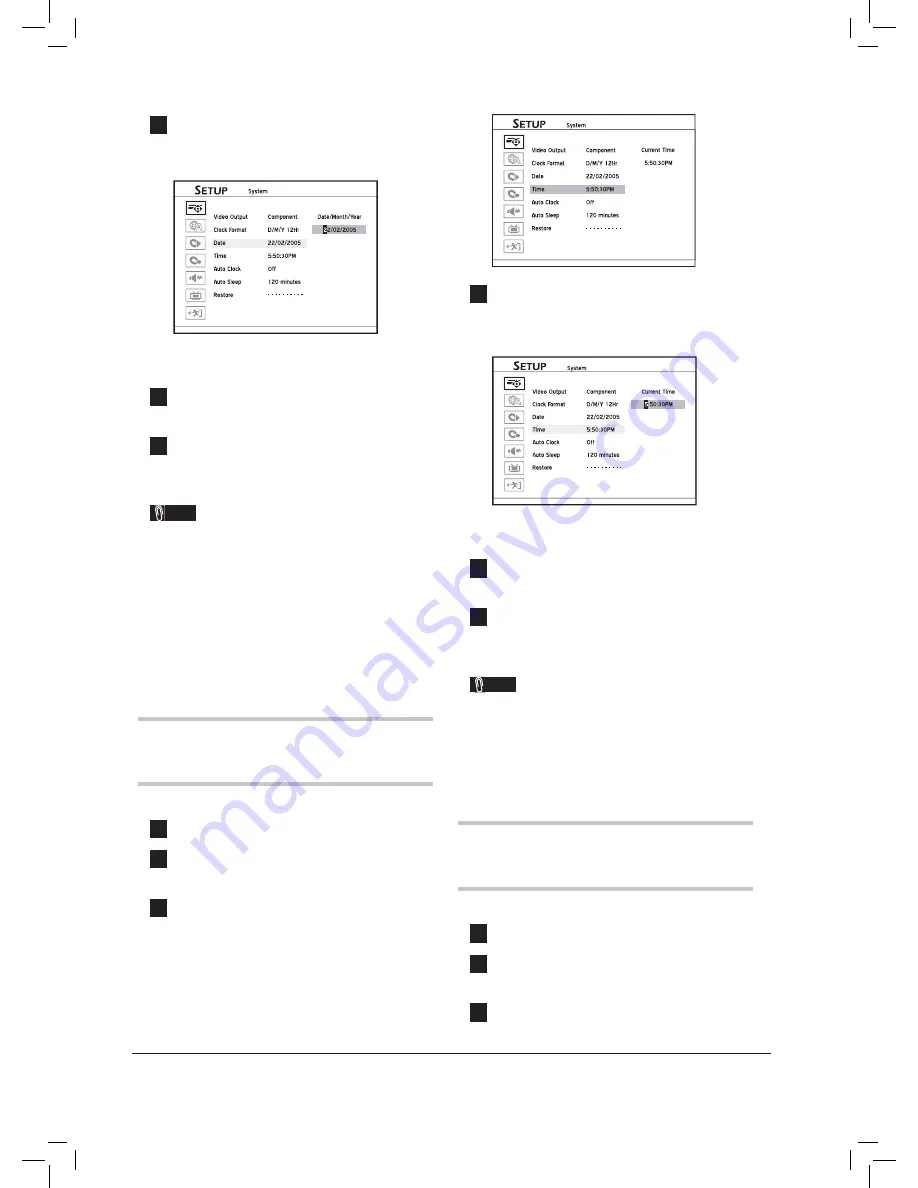
3
Press
to select ‘Time’, then press
ENTER
.
Started_SystemSetup_03_01
4
Press
and number buttons (0-9)
to enter correct time, then press
ENTER
to
confi rm the entry.
Started_SystemSetup_03_02
If you decide not to change the time, press
to return
to the upper-level options.
5
When completed, press
to return to the main
menu.
6
Press
or
SETUP
to completely exit the
Setup menu.
Note
• If you would like to change the time display
format (e.g. 19:00 or 07:00 P.M.), please make
the adjustment through
Setup
System
Clock
Format
.
Setting Auto Clock
1
Press
SETUP
to display the Setup menu.
2
Press
to select ‘System’, then press
ENTER
.
3
Press
to select ‘Auto Clock’, then press
ENTER
.


