


LINC-CUT
®
S 1020w-1530w
30
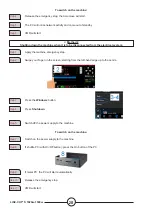
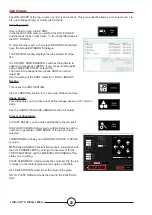
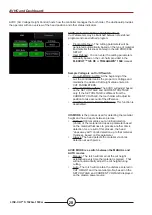
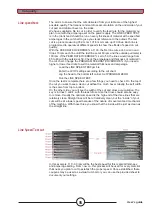
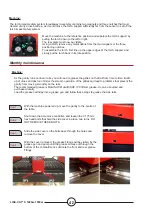
The table of options contains the controls of the options added on. These added On/Off control buttons are
only visible if they have been validated in the OPTIONS PANEL. Below are instructions for use of the optional
laser pointer. The pipe cutting option is not available with the
LINC-CUT
®
S 1020w-1530w
.
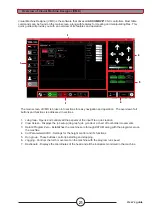
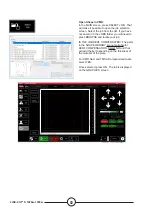
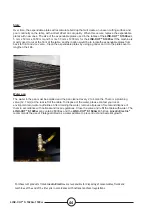
Laser Operation:
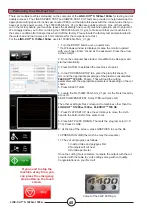
The Laser Plate Finder is designed to help an operator at the control console to locate the approximate middle
position of the torch body on the surface of the plate by projecting a red laser point on it. That can help locate
the PLATE ORIGIN position, align plates, and do a dry run with the laser indicating the approximate cutting
position of the piece.
For the proper working of this option, it is essential that the torch position is correctly adjusted and that
the plate thickness is defined before resetting the program, aligning the plate or executing a dry run of the
program with the laser activated.
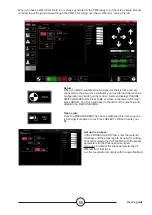
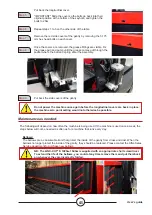
How the Laser Works:
The laser is positioned with a slight angle in relation to the torch, so that it passes directly under its median
line. With the torch correctly positioned on the machine and the plate thickness entered in the system, the Z
axis will adjust the position when it is activated, so that the projected point is on the plate surface under the
central line of the torch.
The laser can only be activated when the system is put into Dry Run mode, but it goes off automatically when
the system is set to Active Run and a part program is executed.
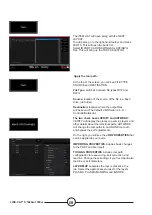
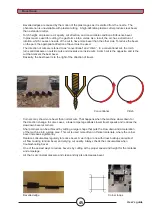
In the PROCESS SETUP tab, enter
the plate thickness and the appropriate
cutting intensity.
Switch to DRY RUN mode.
Activate the LASER. The button will be displayed in GREEN. The head will go down to the
right position and the laser will go on.
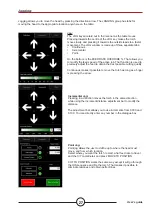
Move the head and use the indicator to define PLATE ORIGIN, set the plate alignment,
execute a job in dry run mode or see a point on the plate.
When you have finished using the laser, set the laser to OFF.
When you switch to ACTIVE RUN mode, the laser goes off automatically.
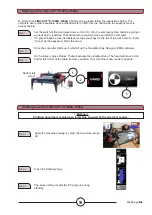
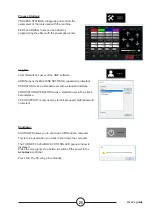
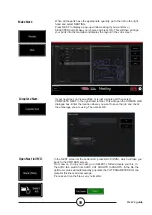
Selection of options:
Step 1
Step 2
Step 3
Step 4